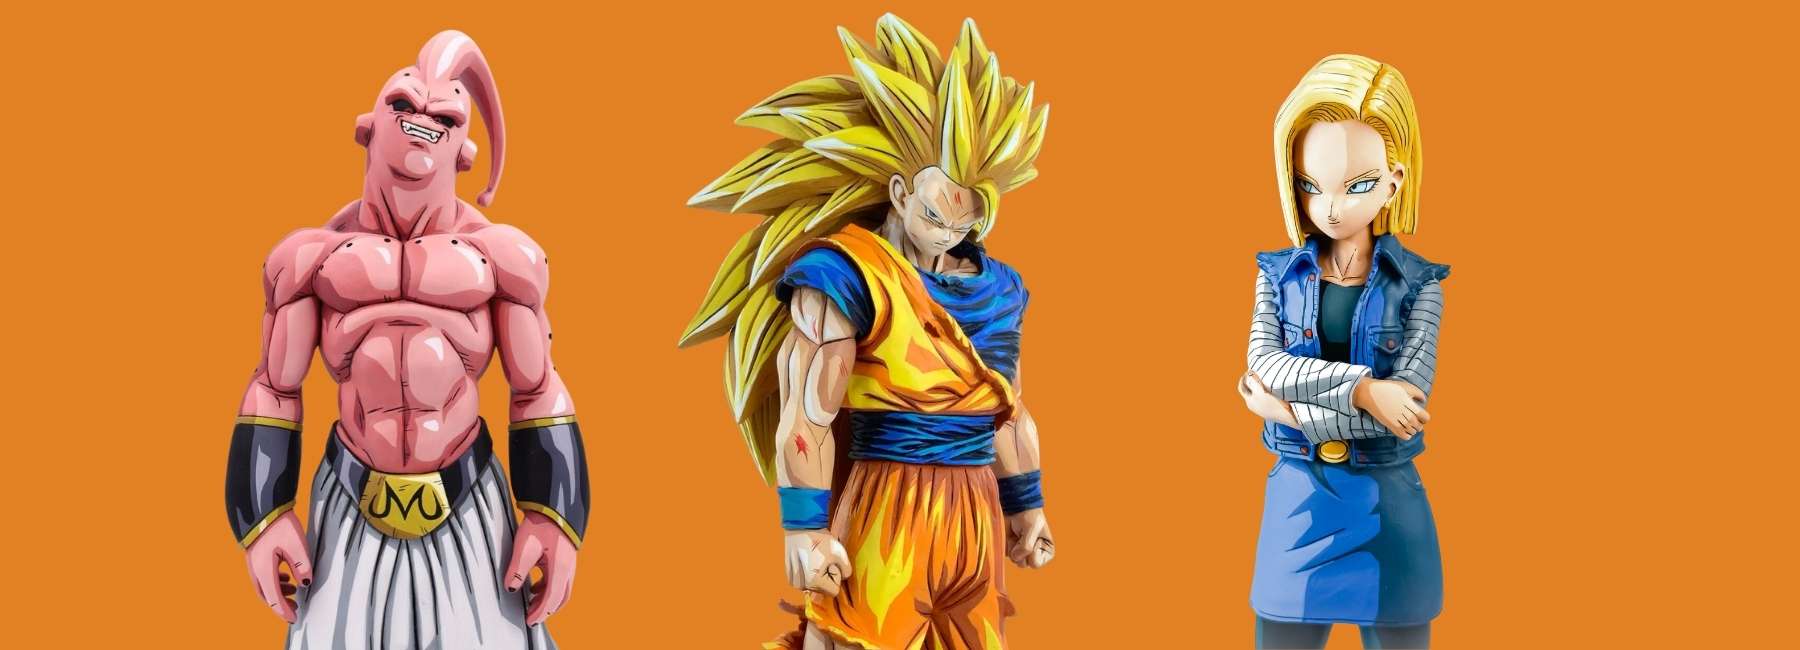
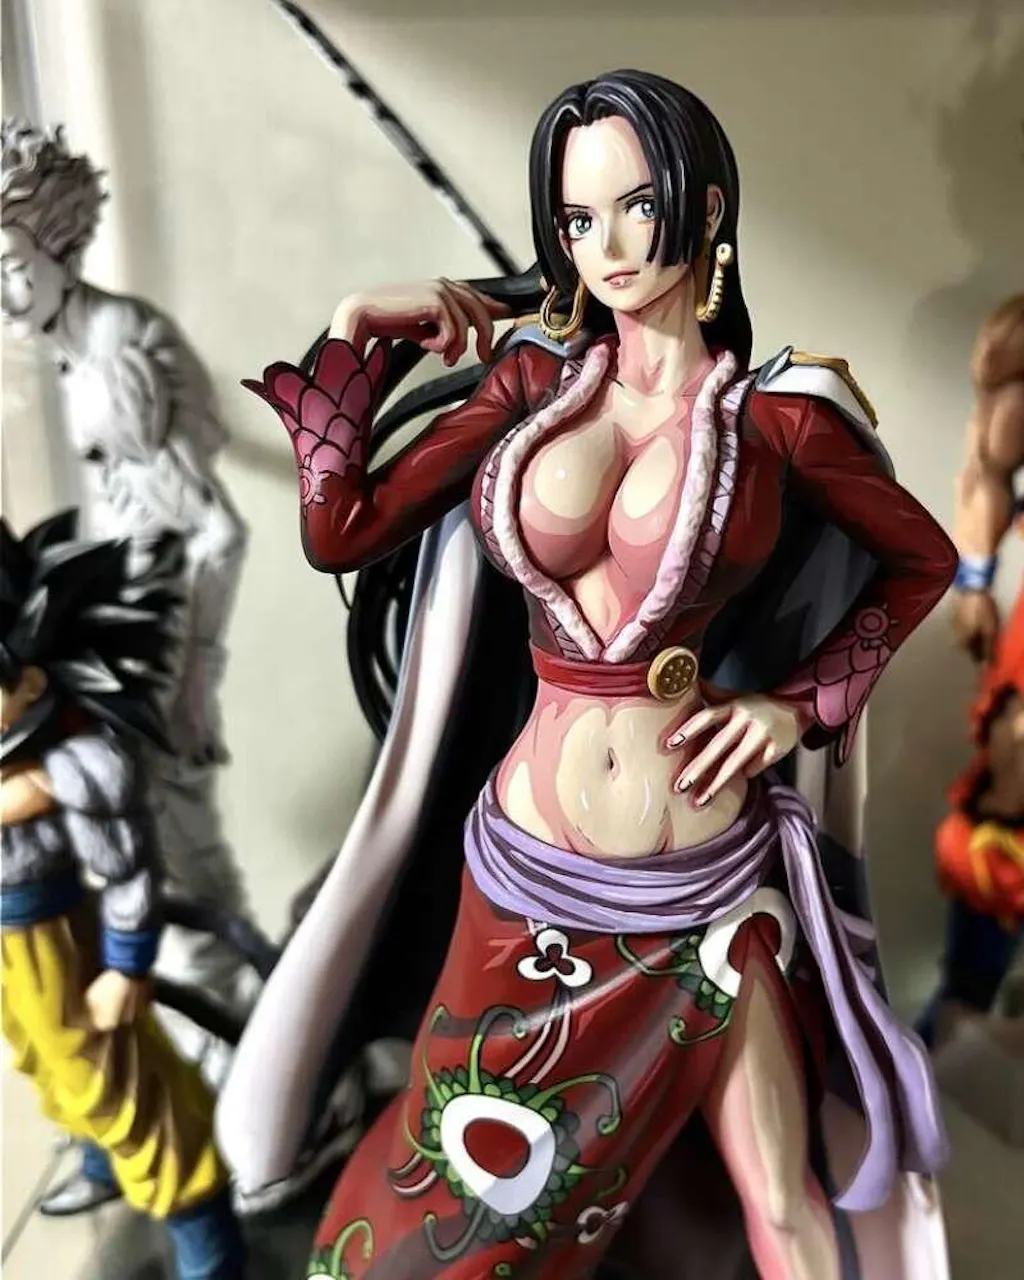
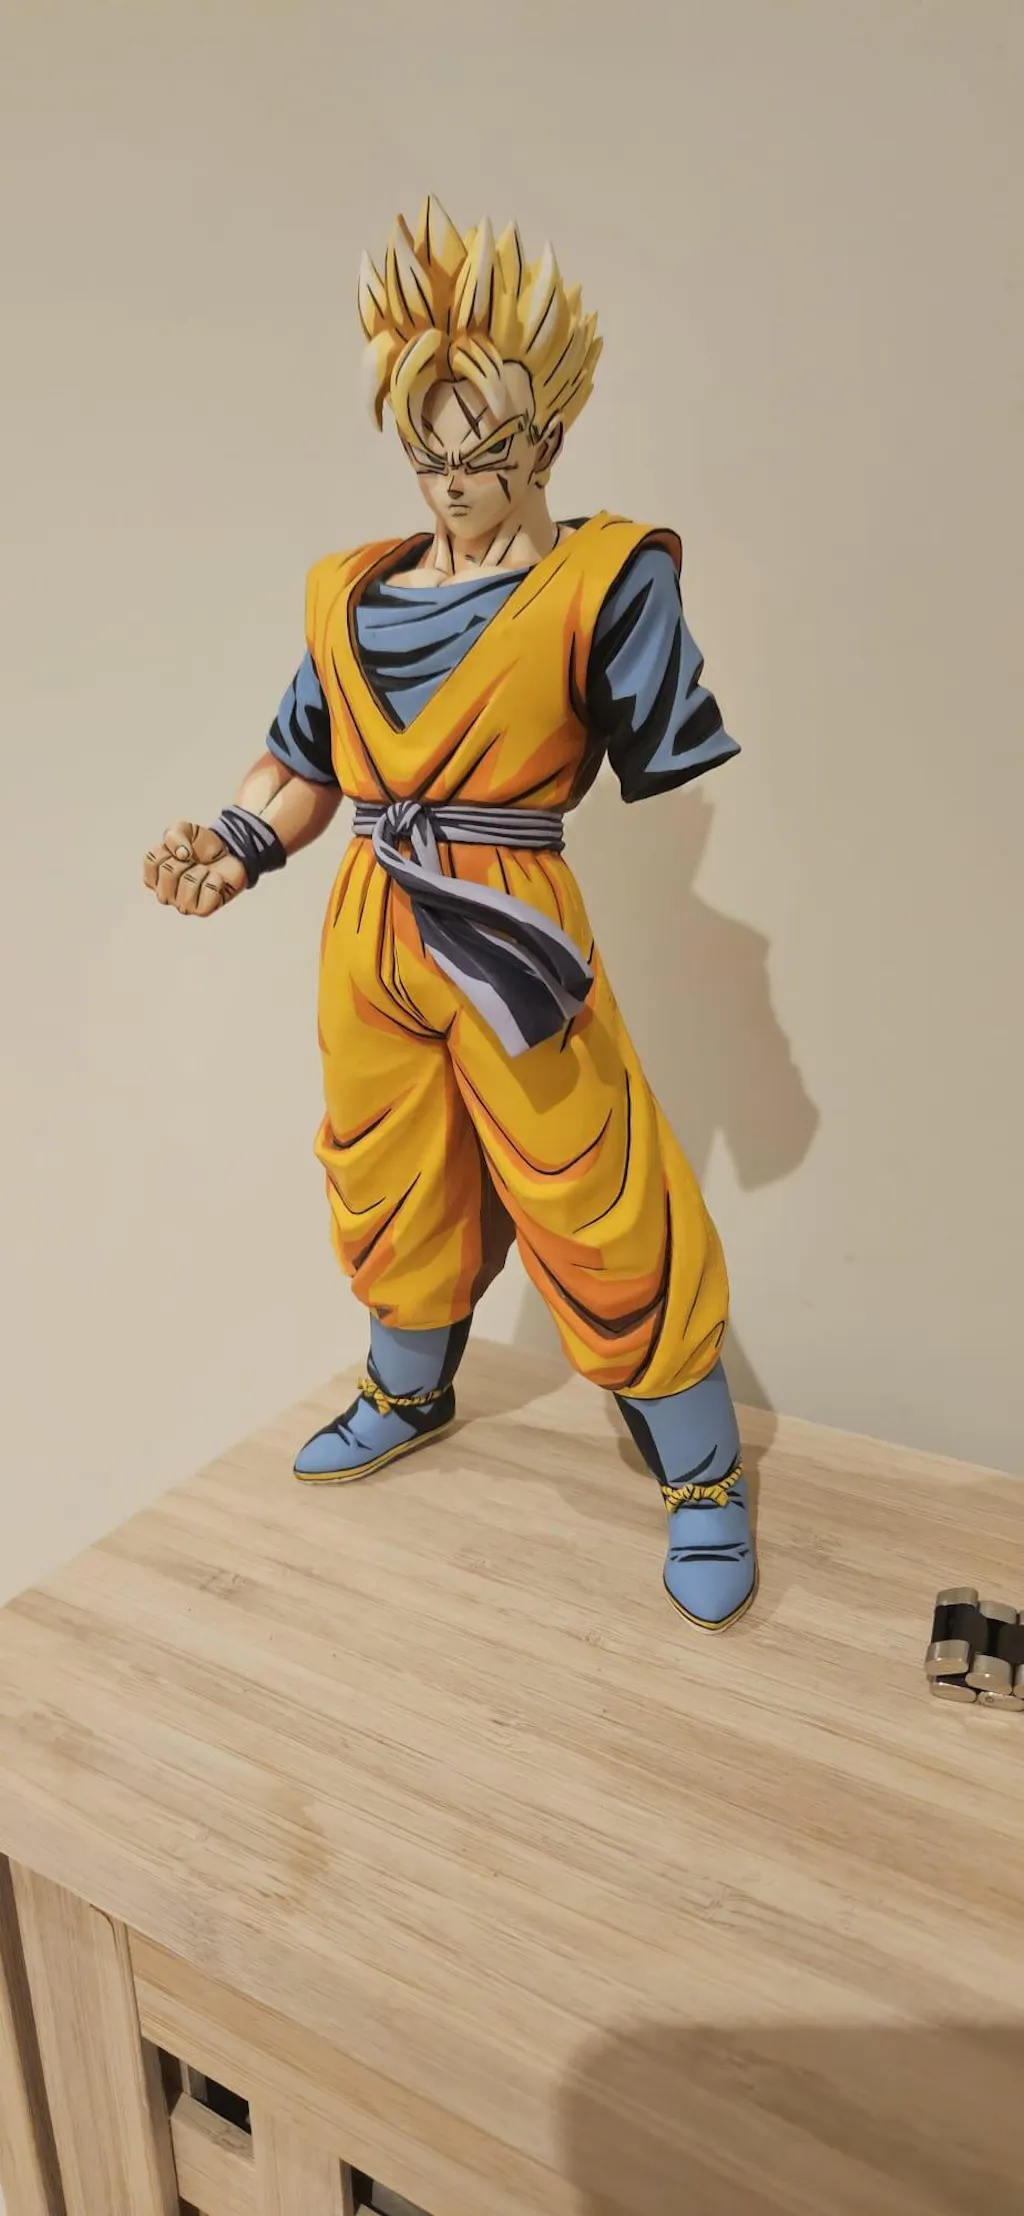
If you collect anime or action figures, you have probably seen two versions of the same character: the standard factory release and the one custom repaint that makes everything else look flat.
The sculpt may be identical, but the finish is not. Stronger shadows, sharper details, cleaner facial work, better contrast, and a more deliberate overall look can completely change how a figure feels on display. That is what a real custom repaint does.
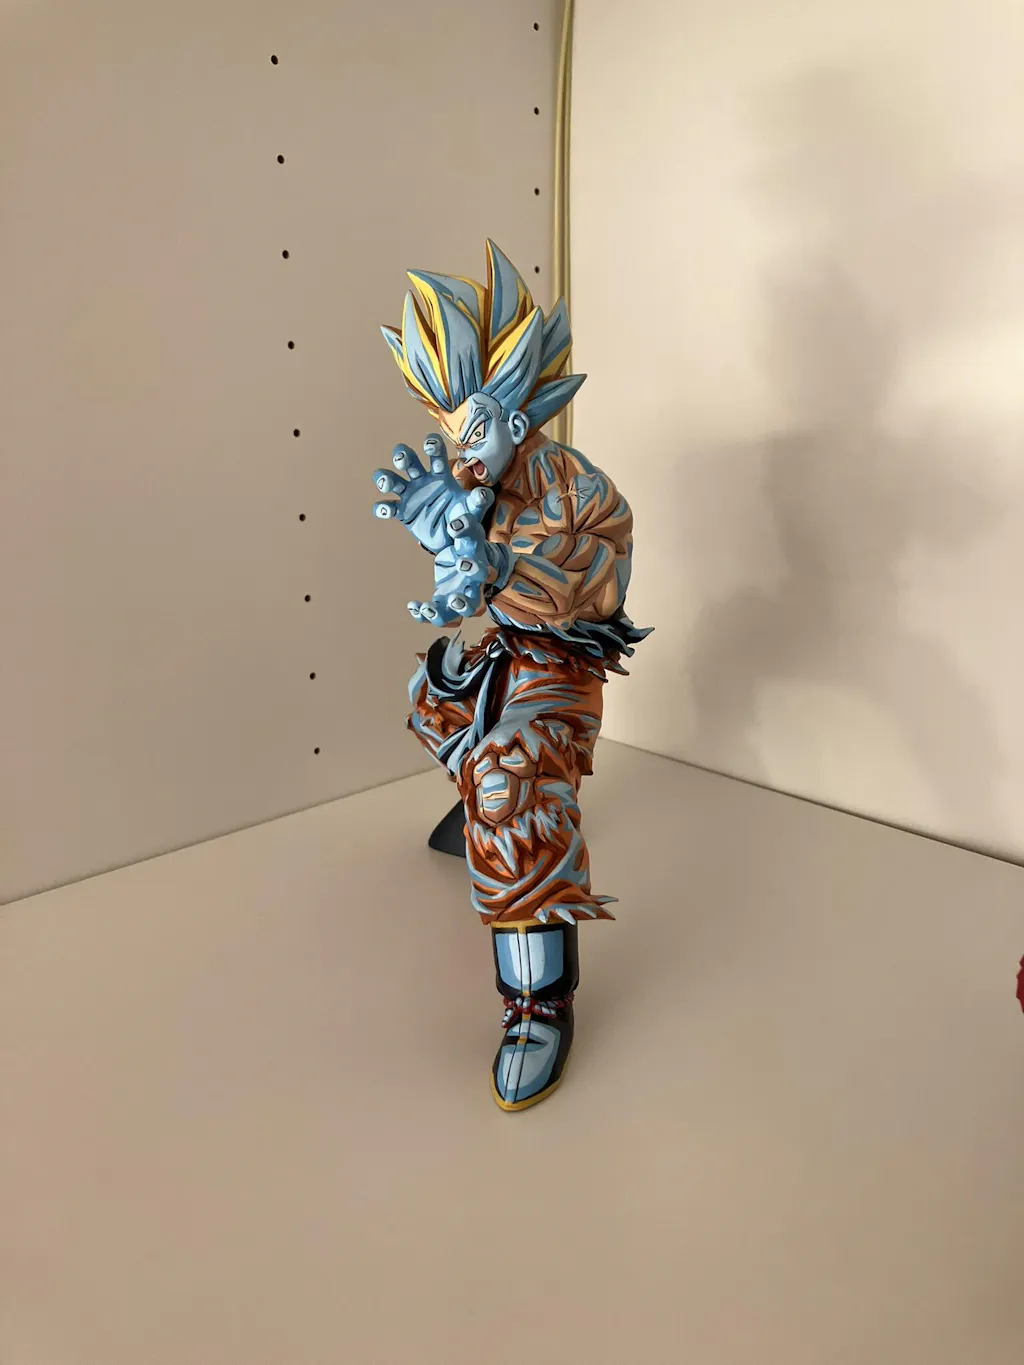
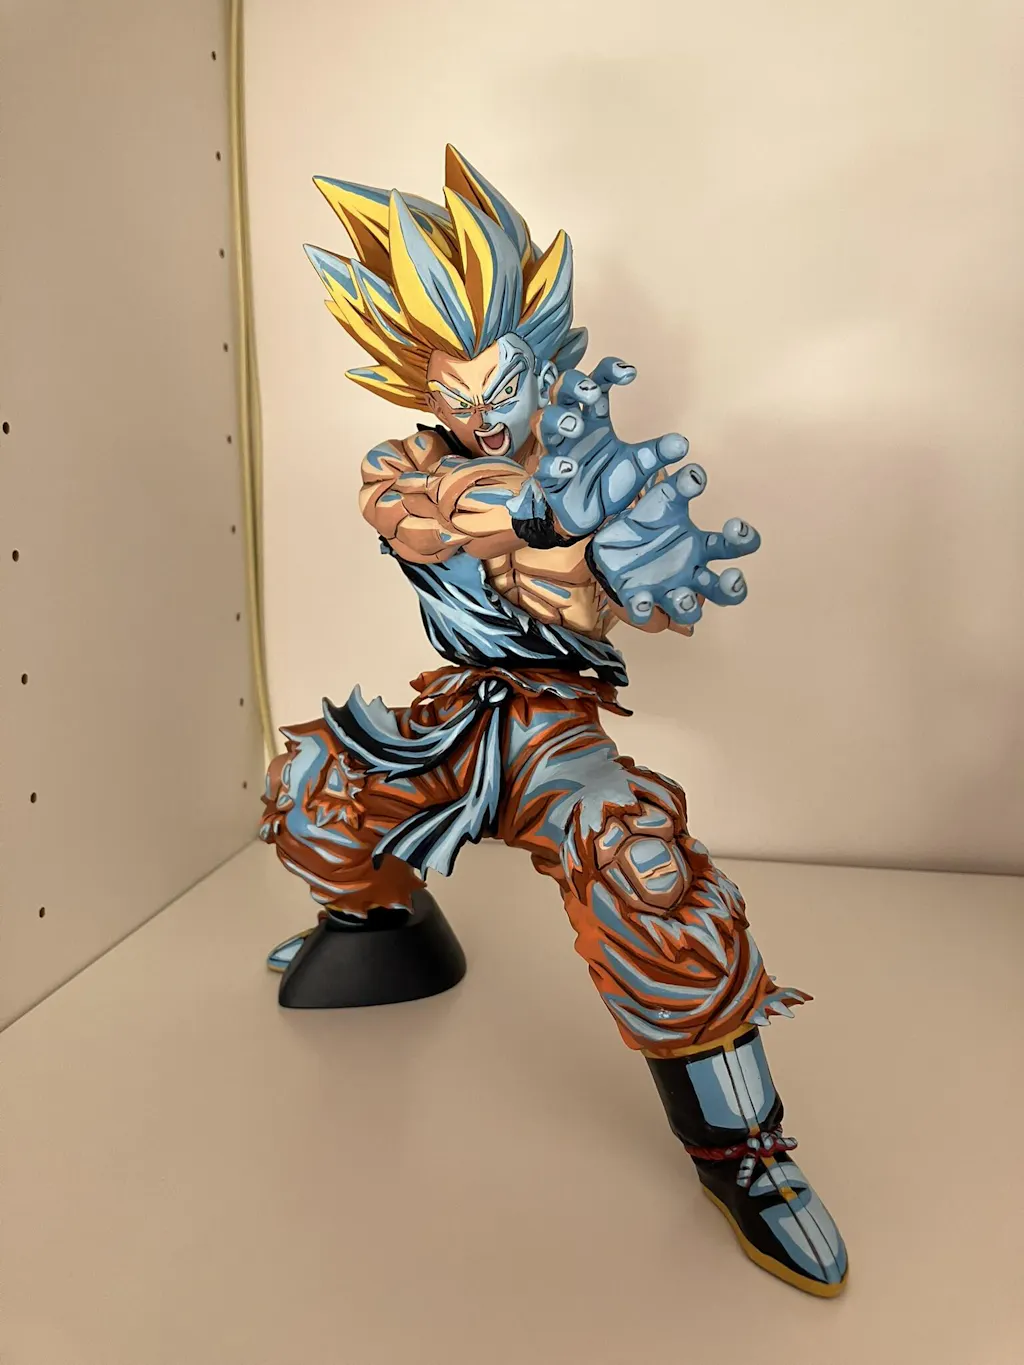
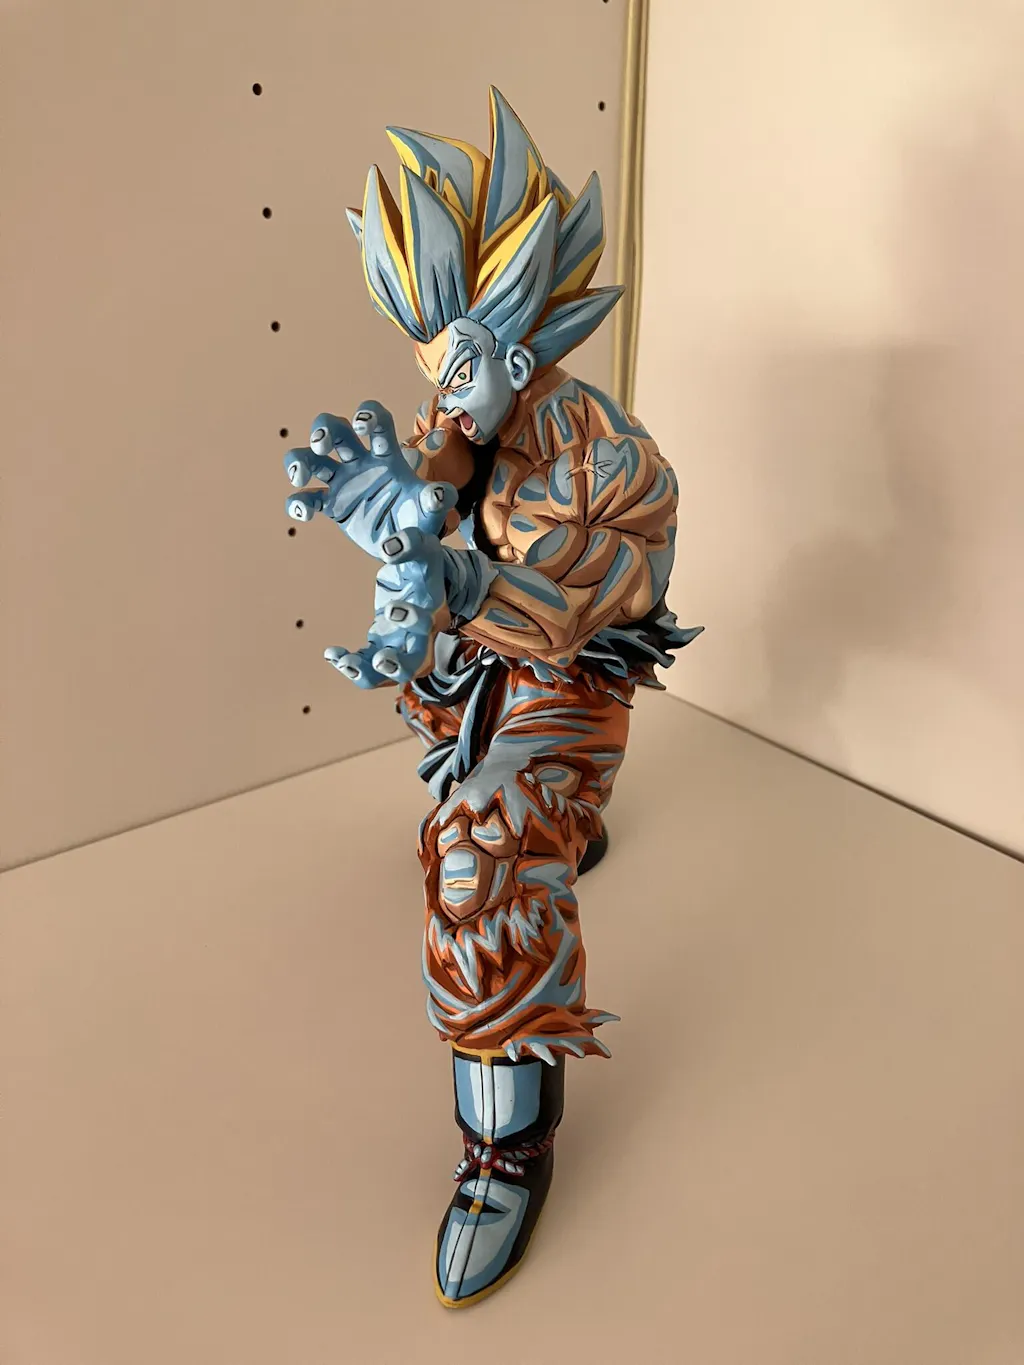
Using a custom Vegeta repaint as the example, we will break down "how to repaint action figures" and "what a repaint actually involves" from preparation and priming to shading, facial detailing, battle damage, and final sealing.
Table of contents:
- Repaint benefits
- Tools artist use
- How to repaint action figures
- Common mistakes to avoid
- Frequently asked questions
What is an Action Figure Repaint?
An action figure repaint is the process of improving, replacing, or completely reinterpreting the original factory paintwork of a figure by hand. The artist will push the figure into a more anime-accurate direction, a more dramatic cel-shaded style, or a darker battle-damaged look that completely changes the character of the piece.

Custom Repaint Benefits
- Depth of the shadows
- Clarity of the highlights
- Expression on the face
- Accuracy of the colours
- Separation between costume areas
- Line work
- Realism or stylisation of the finish
- Overall visual impact on display
That is why repainting matters so much. It is not about adding more paint. It is about using paint to unlock more of the sculpt’s potential.
What Tools Artists Use?
A serious custom repaint is not defined by a huge studio setup. In most cases, the core toolkit is relatively compact. What matters is not how many tools are on the desk, but how well each one is used.
For collectors, understanding these tools helps explain why a high-quality repaint looks sharper, lasts longer, and feels far more refined than a standard factory finish.
🎨 Acrylic Paints
Most repaint artists use hobby-grade acrylic paints because they offer the control, pigmentation, and smooth finish needed for detailed figure work. They dry quickly, layer well, and allow the artist to build shadows, highlights, facial detail, and colour separation with much greater precision than general-purpose craft paint.
This matters even more on anime figures, where colour accuracy and contrast are a huge part of the final result. On a Dragon Ball repaint, the artist needs clean whites, strong skin tones, deep suit colours, controlled shadow tones, and sharp highlight colours that help create that graphic, cel-shaded finish collectors respond to immediately.
Paint Examples:
- Citadel (Games Workshop) - excellent coverage, a great range of ready-mixed shades and washes. A starter set of 13 colours costs around $35
- Vallejo Model Colour - thinner consistency, brilliant for fine detail work. A set of 16 colours costs around $50
- Army Painter - comparable quality to Citadel, often slightly cheaper. Good starter sets for $30
🖌️ Figure Brushes
Brushes are one of the clearest indicators of repaint quality because so much of the final result comes down to control. Most artists rely on a small number of dependable brushes rather than an oversized set.
A larger brush is used for smoother base coats and broader surfaces. A medium brush handles layering, shaping, and more controlled shadows. A fine detail brush is reserved for the areas that often define whether a repaint feels premium or not, such as the eyes, facial lines, edge highlights, and other sharp finishing details.
Brush Examples:
- A flat brush (size 10 or 12) for base coating large areas
- A round detail brush (size 2 or 3) for mid-level detail work
- A fine liner brush (size 0 or 00) for eyes, fine lines, and edge highlights
🫙 Primer
Before the visible repainting begins, the figure needs a stable surface on which the paint can grip properly. That is the role of primer. It creates the base that allows the rest of the paintwork to bond more reliably and behave more consistently.
Without it, the finish is more vulnerable to scratching, chipping, and uneven coverage. With it, the artist has a far better foundation to build on. Collectors may never see the primer stage, but they absolutely see the difference it makes in the durability, smoothness, and overall professionalism of the final piece.
Primer Examples:
- Citadel Chaos Black Spray - the industry standard for beginners. Costs around $20 and covers 20–30 figures per can
- Vallejo Surface Primer - if you move to an airbrush later, this is excellent
🧴 Matte Varnish/Topcoat
Once the repaint is complete, it needs protection. Matte varnish or topcoat is what helps seal the finished work and protect it from handling, light wear, and surface damage. It also plays an important visual role.
A good final coat helps unify the finish across the entire figure, reducing unwanted shine and making the repaint feel more complete. For collectors, that means the piece not only looks better on display, but also feels more resolved and professionally finished.
Topcoat Examples:
- Citadel Munitorum Varnish (spray) - around $15 on Amazon
- Vallejo Matte Varnish (brush-on) - around $8 per bottle, excellent for controlled application
💨 Airbrush
An airbrush is not essential for every custom repaint, but it is one of the most useful tools for achieving smoother coverage, softer transitions, and a cleaner overall finish. It is especially valuable when artists want more control across larger surface areas without leaving visible brush marks.
Airbrush Examples:
- Iwata Eclipse HP-CS - a premium all-round airbrush trusted by many professional artists
- Harder & Steenbeck Ultra - excellent control and easy cleaning, popular for detailed hobby work
- Timbertech Airbrush Kit with Compressor - a common beginner-friendly starter option for learning the process
- FD Airbrush - cordless portable airbrush for anime figure repaints
🛠️ Additional Supplies
Beyond paint, brushes, primer, and varnish, there are a few supporting tools that play an important part in the process.
Topcoat Examples:
- Isopropyl alcohol (IPA) - remove dust, oils, and residue from the surface
- An old toothbrush - for scrubbing figures clean
- A ceramic tile or wet palette - to mix and thin paint correctly
- Water pots, cotton buds, paper towels - to maintain control throughout the repaint
How to Repaint Action Figures?
This is the part most collectors never fully see. A serious custom repaint is not one quick paint session. It is a layered process that starts with raw plastic and ends with a finished, sealed display piece.
Using a classic Vegeta figure as the example, here is what typically goes into a proper repaint and why each stage matters to the final result.
1. How to Clean the Figure

Before any paint is applied, the figure needs to be cleaned properly. Factory residue, dust, oils from handling, and surface grime all interfere with paint adhesion. If this stage is rushed, the repaint becomes weaker from the start.
- Materials - warm water, mild dish soap, old toothbrush, isopropyl alcohol, cotton buds
- Process - the figure is washed in warm soapy water, scrubbed carefully around joints and sculpted detail, then rinsed and left to dry fully before any paintwork begins
- Decals/stickers - if stickers or residue are present, the edges can be softened with isopropyl alcohol and lifted carefully without damaging the plastic
TIP: Proper preparation is one of the least visible parts of repainting, but it has a direct effect on durability and finish quality.
2. How to Disassemble the Figure
Many figures can be partially separated at the joints to make painting cleaner and more controlled. Arms, legs, heads, or armour sections are sometimes removed so the artist can reach hidden areas and keep paint lines sharper.
Disassembly is useful because it allows better access to undersides, inner surfaces, and difficult edges. That said, not every figure should be forced apart. If a part resists, experienced artists will often leave it assembled rather than risk damaging the sculpt or joints.
3. How to Prime the Figure

Priming is one of the most important stages in the process, and one of the main reasons a proper repaint feels more durable than a simple paint-over.
- Why - primer creates the surface that acrylic paint grips to, helping prevent lifting, scratching, and uneven coverage
- How - the figure is primed in light, even coats, usually with short sweeping passes from a controlled distance, rotating the figure to keep coverage smooth without burying sculpted detail
- Time - primer needs proper drying time before painting begins, otherwise problems start to appear in every stage that follows
For collectors, this matters because primer is part of what makes a repaint feel stable, clean, and professionally built rather than temporary.
4. How to Plan Your Colour Map
Before the visible painting begins, the colour placement needs to be planned. This is where the artist decides how each area will be handled in terms of base colour, shadow tone, and highlight tone.
Example: Vegeta colour map
- Skin - Vallejo Basic Skintone base; shade with Reikland Fleshshade; highlight with skintone+white.
- Bodysuit - Xereus Purple base; Druchii Violet wash in recesses; Genestealer Purple mid-tones; Kakophoni Purple edge highlights.
- Armour plates - White Scar base; thin Dawnstone wash for cool shadows; re-highlight edges to White Scar.
- Chest detail - Retributor Armour base; Agrax Earthshade shade; Liberator Gold highlights.
- Hair - Match bodysuit base; layer Genestealer Purple; Kakophoni Purple then white tips.
- Boots/gloves - Skrag Brown base; Tau Light Ochre highlights for warm accents.
- Black lines - Abaddon Black fine-liner along panel edges.
TIP: On a serious custom repaint, colour is not guessed as the artist goes. The plan is part of what keeps the figure consistent and visually controlled.
5. How to Apply the Base Coat

The base coat is the visual foundation of the repaint. At this stage, the figure is not meant to look finished. The goal is clean, smooth, even colour coverage that gives the later shadows and highlights something stable to sit on.
Coating Process:
- Paint is placed onto a palette and adjusted to the right consistency
- The paint needs to be thin enough to flow cleanly, but not so thin that coverage becomes weak
- Large areas are handled first, with smaller and more delicate sections left until later
Example: Vegeta coating approach
- Skin first
- Main bodysuit next
- Armour after that
- Then smaller details such as gloves, boots, belts, and trim
Recommendation:
- Two thin coats are usually preferred over one thick one
- Large surfaces are kept smooth and controlled
- Smaller edges are handled more carefully to preserve clean colour separation
TIP: This is one of the first stages where repaint quality starts to show. Smooth, disciplined base coats almost always lead to a better final piece.
6. How to Figure Shade

Shading is a crucial step where the figure starts to gain real depth. This stage introduces darker tones into the recesses and lower planes of the sculpt, helping the muscles, folds, armour shapes, and facial structure read more clearly.
Recommended washes for Dragon Ball figures:
- Citadel Reikland Fleshshade over all skin tones — it gives skin a warm, realistic depth
- Citadel Drakenhof Nightshade over blue areas like Vegeta's armour — it deepens and enriches the blue beautifully
Shading Process:
- The wash may be used directly or adjusted for smoother flow
- It is guided into folds, grooves, recesses, and sculpted separations
- Any excess is cleaned before it dries so the surface stays controlled
- Once dry, the figure reads with much stronger depth than it did at the base coat stage
What collectors should notice:
- Good shading gives the figure structure rather than just making it darker
- On a strong custom repaint, the shadows help define the muscles, sharpen the armour, and add weight to the overall form
This is one of the clearest differences between a factory finish that looks flat and a custom piece that feels more premium on display.
7. How to Paint Figure Layering

After shading, the figure often looks darker and heavier overall. That is expected. The next stage is layering, where the main colour is carefully brought back onto the raised areas while leaving the darker tones visible in the recesses.
Layering Process:
- The original base tone is reapplied to the upper surfaces
- Raised muscles, armour panels, fabric folds, and larger shapes are brought back into focus
- The darker shading is left visible underneath and around those forms
Recommendation:
- This stage is handled steadily and with restraint
- The goal is not to erase the shadows, but to balance them
- A strong repaint usually has clear separation between dark, mid, and light rather than one flat colour across the whole surface
What collectors should notice:
- Layering is what stops a repaint from looking muddy or overworked
- It brings the colour back where the light would naturally hit, which helps the figure feel cleaner, sharper, and more controlled
When this stage is done well, the piece feels sculpted through paint rather than simply covered with it.
8. How to Paint Figure Highlighting

Highlighting is one of the most important parts of a premium repaint. This is where the figure gains energy, edge definition, and the kind of shelf presence that makes collectors stop and look twice.
Highlighting Process:
- A lighter version of the main colour is mixed
- That lighter tone is applied carefully to raised edges, corners, and top-facing surfaces
- The highlight needs to stay within the same colour family so it feels deliberate and not disconnected
Example: Using a Vegeta figure
- The outer edges of the shoulder armour
- The upper ridges of the gloves and boots
- The leading edges of the forearms
- The top edges of the suit folds
- The sharpest ridges of the hair
On anime-inspired customs, this stage is especially important because it helps create that graphic, cel-shaded finish. When the highlights are controlled and well placed, the figure feels sharper, stronger, and far more custom.
What collectors should notice:
- Highlights are often what give a repaint its visual punch
- They catch the eye first, define the silhouette more clearly, and make the figure feel more alive in both photos and real display lighting
- When highlight placement is clean and confident, the piece looks deliberate
- When it is messy or random, the whole repaint starts to lose quality
9. How to Paint Eyes and Face Details

The face is usually the first thing a collector notices. It is also one of the clearest indicators of repaint quality. A body can be painted well, but if the face lacks intensity or control, the whole piece, including the logo, loses value.
How to work in this sequence with your finest brush:
- White sclera — the eye base is cleaned and sharpened
- Iris colour — selected to match the character and form
- Black pupil — placed carefully to control expression
- Black outline — used to define the eye shape and sharpen the look
- Specular highlight — a tiny point of light can make the face feel more alive
That final highlight is small, but visually important. It often helps the eyes feel sharper and more expressive in both display and photography.
For skin, subtle highlights around the nose bridge, cheekbones, chin, and forehead help the face feel more dimensional. On a character like Vegeta, the facial work carries a lot of the figure’s attitude, so this stage has to be handled with precision.
What collectors should notice:
The face is where a repaint proves itself. Strong eye work, clean lines, and controlled skin tones instantly make the figure feel more premium. If the facial expression feels sharp and alive, the whole repaint gains credibility. If the face looks soft or rushed, even a strong body repaint will feel less convincing.
10. How to Seal and Protect a Figure

Once the repaint is complete, the final stage is protection. A custom figure needs to be sealed properly so the finish holds up over time and feels complete as a display piece.
Sealing Process:
- A matte varnish or topcoat is applied in thin, controlled layers
- The same care used in priming is used here to avoid heavy buildup
- Once cured, the topcoat helps protect the figure from handling, reduces unwanted shine, and brings the finish together visually
TIP: Final sealing has a big effect on how professional the repaint feels. A good topcoat helps the figure look more unified, more durable, and more resolved on display.
Common Mistakes to Avoid When Repainting Figures
Every beginner makes these. Knowing them before you start saves you hours of frustration and at least a few ruined figures.
❌ Skipping Primer
- This is one of the biggest repainting mistakes
- Paint applied directly to bare plastic does not bond properly, so it chips easily once the figure is handled
- Primer gives the surface grip and creates a stable base for every layer that follows
- It is the foundation of a durable repaint
❌ Using Thick Paint
- Paint straight from the bottle is usually too heavy for figure work
- Thick paint fills in sculpted details, leaves rough texture, and dries unevenly
- Thin it slightly on your palette until it feels smooth and easy to control
- Two thin coats will always give a cleaner result than one heavy coat
❌ Rushing Between Coats
- Acrylic paint can feel dry quickly, but that does not mean it is ready for the next layer
- Working too fast can cause streaks, lifting, and patchy coverage
- Let each coat settle properly before moving on
- As a rule, leave standard paint layers for around 20 to 30 minutes, and give primer or varnish much longer
❌ Varnishing in Bad Conditions
- Cold air and humidity can ruin a final finish
- Spray varnish in poor conditions often creates a cloudy white haze known as frosting
- Once that happens, the figure can lose the clean finish you worked hard to achieve
- Always varnish in a dry, stable environment and avoid rushing this stage
❌ Leaving the Eyes Last
- The face is where most people look first
- Even if the rest of the repaint is strong, rushed eyes can make the whole figure feel flat
- Treat the eyes with patience and good lighting
- Small details, especially a sharp pupil and tiny highlight, make the figure feel alive and far more premium
❌ Not Photographing Before Sealing
- Sealing protects the repaint, but matte varnish can slightly soften contrast and reduce how vivid some colours appear
- Take photos before and after sealing so you capture the figure at its strongest for your portfolio, product page, or social content
- In many cases, the pre-seal version looks the most striking
👉 Learn to Repaint - Figure Painting Course
Frequently Asked Questions
What paint is used to paint action figures?
Acrylic paint is the most common choice because it dries fast, is easy to control, and works well for layering, shading, and detail work.
Can I paint directly over old paint?
Yes, but only if the surface is clean, stable, and lightly prepared. For the best result, clean the surface of the action figure first and use primer so the new paint bonds properly.
What is the difference between a repaint and a full custom?
A repaint improves or replaces the existing paintwork, while a full custom usually includes bigger changes such as sculpting, part swaps, new poses, or major design alterations.
Can I earn an income by painting figures?
Yes, but only if your quality, consistency, and presentation are strong enough. Good painters can earn from commissions and sales, but it takes skill, trust, and time to build demand.
Do I need a website to sell custom figures?
No, but it helps a lot. You can start through social media or marketplaces, but a website makes your brand look more professional and gives you more control over sales.
Conclusion: How to Paint Action Figures
The biggest mistake collectors make is assuming action figures painted by hand are just stock pieces with extra colour on top. They are not. A serious custom repaint is a careful process built on prep, surface cleaning, controlled colour judgement, light placement, facial refinement, and finish discipline.
In many cases, the artist may even sand small areas, block out sections with clean base tones, and choose between acrylic or lacquer based approaches depending on the figure, material, and final look they want.

Share:
How To Figure Paint: Vegeta Repainting Guide For Beginners
How to Sell Repainted Figures Online: 90-Day Start Plan