
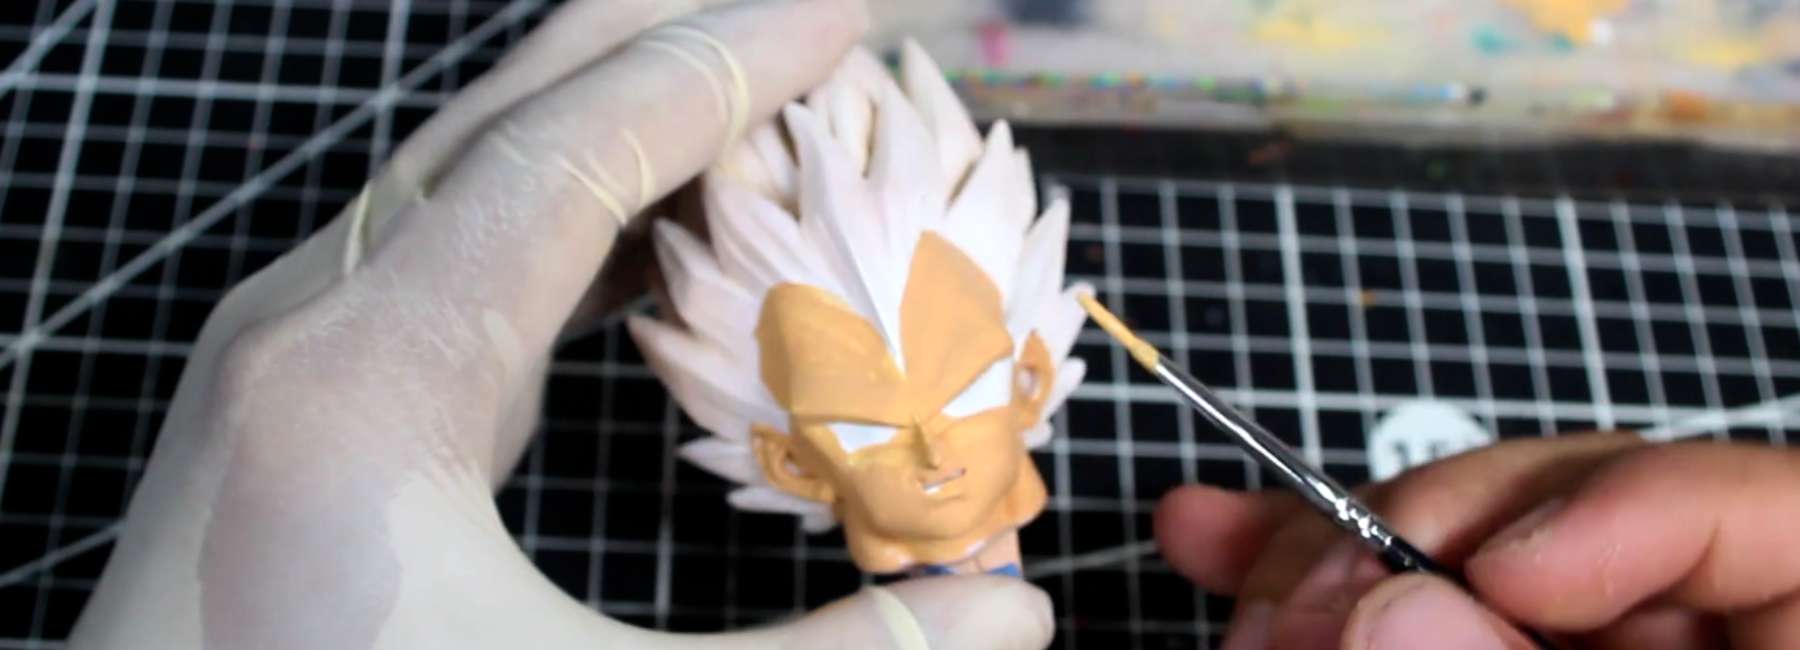
If you have ever finished a figure repaint and wondered why the colours look slightly off, why the surface feels rough up close, or why every later stage seems harder than it should be, the answer almost always traces back to one place: the base coat.
Figure base coating is the stage that gets rushed most often and discussed least. Most beginners treat it as the boring bit between priming and the "real" painting.
That mindset is exactly why so many first repaints fall short. Your base coats are not preparation for the painting — they are the foundation everything else is built on. Weak base coats sabotage every stage that follows.
Table of Contents:
- What is figure base coating?
- Why base coats matter more than beginners think?
- Tools you need for figure base coating
- How to thin your paint properly?
- Step-by-step base coating process
- Working order: which areas to paint first
- Common mistakes to avoid
- Base coating different surface types
- Frequently asked questions
What is Figure Base Coating?
ANSWER: Figure base coating is the stage where you apply the foundational layer of colour to a primed figure, establishing the main tones for every area before any shading, layering, or detail work begins. A base coat is not the finished colour. It is the starting point.
When the base coat is done well:
- Every following stage has a clean, even surface to build on
- Washes are settling into recesses
- Layers brought back over raised surfaces
- Cel-shaded shadows placed with intention
- Edge highlights catching the light
When the base coat is patchy, thick, or uneven, those problems get amplified by every subsequent layer.
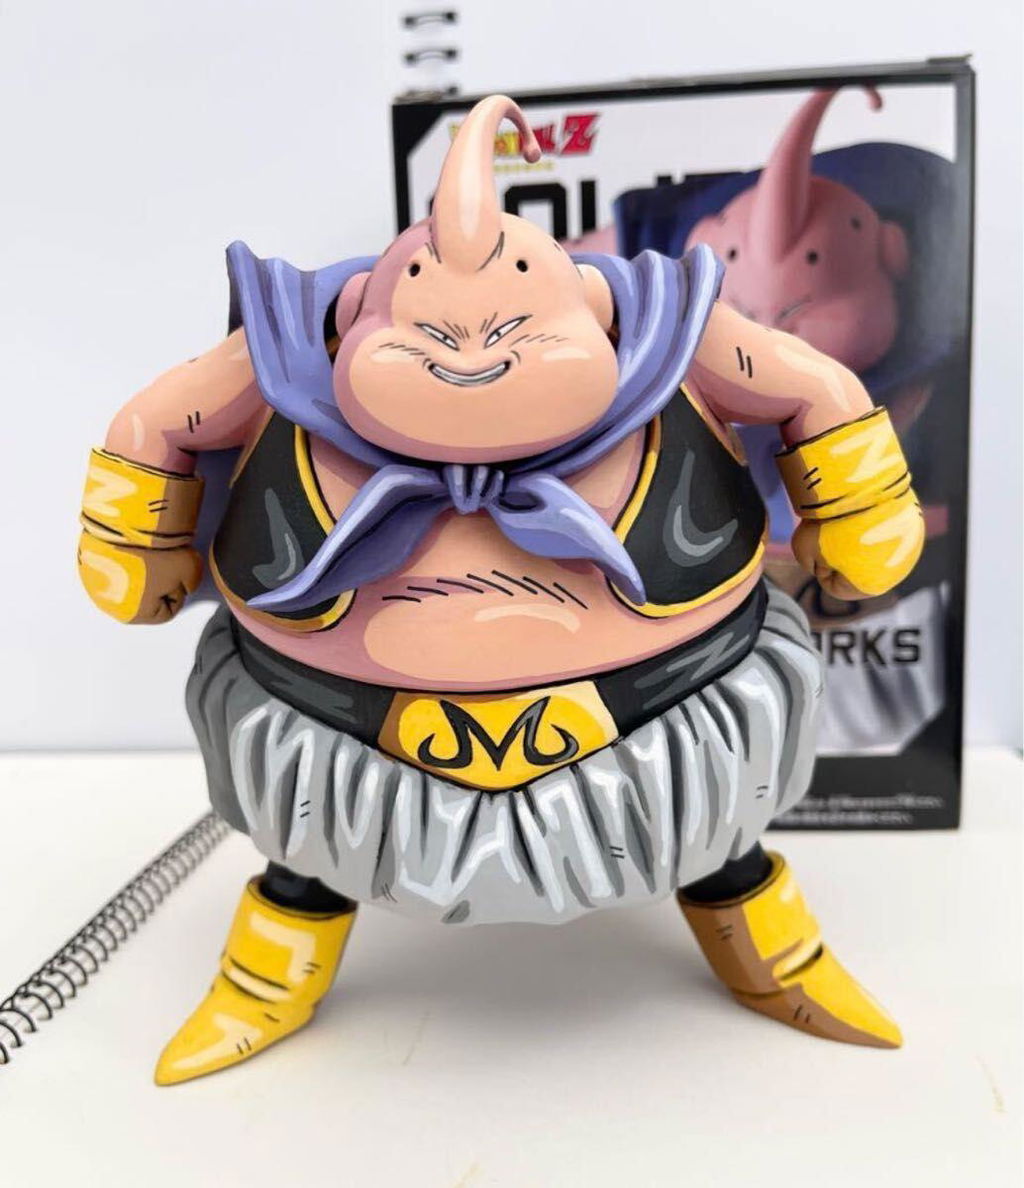
For Dragon Ball Z figures and other anime-style repaints, base coats matter even more than usual. The characters' colours are bold, recognisable, and instantly judged by collectors.
EXAMPLE: A flat, slightly off Goku skin tone or a streaky Vegeta bodysuit reads immediately, regardless of how good the rest of the work is. The base coat is where the figure's identity starts to come through, and getting it right is what separates a repaint that feels deliberate from one that feels rushed.

Why Base Coats Matter More Than Beginners Think?
There are three reasons figure base coating deserves more attention than most beginners give it.
1. It determines the final colour quality of the entire figure
- Acrylic paint is translucent in thin layers, which means anything beneath it influences the final tone
- Patchy base coats, visible primer, or uneven coverage all show through in subtle but noticeable ways
- The character's main colours need to read clearly and cleanly before any other painting technique is layered on top
2. It controls the surface texture you paint over for the rest of the figure
- A smooth, controlled base coat gives you a workable surface for fine detail brushes to glide across
- A thick or rough base coat creates texture that catches your brush, fills in sculpted detail, and makes precise work much harder
- Every line, every shadow edge, every face detail is easier to paint cleanly when the base coat underneath is smooth
3. It sets the tone for how the rest of the painting process feels
- A clean base coat makes shading feel intuitive, layering feel natural, and highlights feel like they have somewhere to land
- A poor base coat makes every following stage harder, which is why so many beginners get frustrated halfway through a repaint without realising the problem started much earlier
Treat the base coat as a serious stage in its own right and the rest of the figure becomes significantly easier.
Tools You Need for Figure Base Coating
You do not need a large set of tools for base coating when painting a miniature, but the few you do use need to be reliable.
Essential tools:
- Acrylic paints — hobby-grade paints designed for figure work. Vallejo Model Colour, Citadel Base, and Army Painter Warpaints are all reliable starting points
- Round brushes in three sizes — a size 1 or 2 for larger surfaces, a size 0 for general work, and a size 00 reserved for tight edges and small areas
- Wet palette or ceramic palette — a wet palette keeps paint workable for longer and helps maintain consistent thinning. A ceramic tile or plastic palette also works for shorter sessions
- Two water pots — one for cleaning brushes, one for clean mixing water. Mixing dirty water into your paint dulls colours
- Paper towel — for controlling moisture on your brush before it touches the figure
- A figure holder or painting handle — to keep your hands off freshly painted surfaces
Practical recommendations:
- Vallejo Model Colour works particularly well for base coating because it thins easily and flows smoothly. A starter set covering the main tones you need for your chosen niche is more useful than a huge collection of rarely used colours
- Synthetic brushes are perfectly suitable for figure base coating; you do not need expensive natural sable brushes at this stage. What matters is a sharp tip and consistent shape
- A wet palette is one of the single most useful upgrades you can make to your setup. It dramatically improves your control over paint consistency and lets you mix once and use the same paint over multiple sessions
What to avoid:
- Cheap craft store acrylics not designed for figure work — they often dry chalky, cover unevenly, and react poorly with later varnishes
- Flat brushes for general base coating — round brushes give better control on curved surfaces, which is most of any figure
- Working with worn brushes that have lost their tip, precision suffers immediately when the brush no longer holds a sharp point
How to Thin Your Paint Properly?
Thinning paint is the single most important skill in figure base coating. Paint applied straight from the bottle is almost always too thick, leaving texture, filling sculpted detail, and creating a rough surface for everything that follows.
The right consistency:
- Properly thinned base coat paint should flow like skimmed milk — slightly thinner than full-fat milk, slightly thicker than water
- It should leave the brush smoothly without pooling, cover with light translucency on the first pass, and reach near-full opacity by the second or third coat
How to thin step by step:
- Place a small amount of paint on your palette using the brush handle or a dropper
- Add water one drop at a time using a clean brush or pipette
- Mix thoroughly with the brush until the paint is fully blended
- Test the consistency on a spare area or the back of your hand — it should flow easily without beading up or running
- Adjust by adding more paint if too thin, or more water if too thick
Practical tips:
- Always thin paint on the palette, never in the pot. Thinning in the pot dilutes the entire bottle permanently
- Add water gradually. It is much easier to thin further than to recover paint that has been over-thinned
- If your paint dries on the palette during the session, refresh it with a single drop of water rather than reaching for fresh paint
- Some flow improver or matte medium can be added to the mix instead of water for an even smoother finish, but plain water is enough to start
What beginners get wrong:
- Trying to paint thick to "save time" by getting full coverage in one coat - the opposite is true
- Thin paint applied in two or three controlled coats is faster, easier to work with, and gives a significantly better result than one heavy coat that needs constant correction

Step-by-Step Figure Base Coating Process
This is the actual workflow from primed figure to fully base-coated figure. Read it through once before starting.
✅ Step 1: Prepare Your Workspace
Before you touch the figure, set up so the session can flow without interruption.
- Strong, neutral lighting positioned to eliminate shadows on your work surface
- Wet palette or ceramic palette ready
- All paints you will need lined up and easily reachable
- Two water pots filled
- Paper towel within reach
- Figure mounted on a holder so you can rotate it freely
A disorganised workspace leads to disorganised painting. A few minutes of setup saves significantly more time during the session itself.
✅ Step 2: Plan Your Colour Map Before Painting
Before any paint touches the figure, decide which colours go where. This prevents indecision mid-session and stops you from painting yourself into corners — like covering an area in dark colour before you realise the lighter colour next to it should have been painted first.
A simple colour map for a Dragon Ball repaint might be:
- Skin tones — face, neck, arms, hands
- Bodysuit — main costume areas
- Armour panels — chest, shoulders, hips
- Hair — main colour and any energy or transformation effects
- Boots, gloves, belts, smaller details
- Trim and final accents
Working from this kind of plan keeps the session structured and helps you avoid mistakes.
✅ Step 3: Start with the Largest Areas First
Always paint from the largest area to the smallest. This means working through the major colour zones before moving to smaller, more detailed sections.
- Skin tones and large bodysuit areas first
- Armour panels and major secondary colours next
- Hair and medium-sized elements after that
- Boots, gloves, belts, and other defined sections last
- Smaller details, trim, and accents at the end
There are two reasons for this:
- It is much easier to correct any small overspill from a smaller colour into a larger one than the other way around
- Working from large to small lets you build up your control gradually as the surfaces get more demanding
✅ Step 4: Apply the First Thin Coat
Load your brush lightly with thinned paint. Wipe excess off on the paper towel before touching the figure — the brush should feel loaded but not dripping.
- Apply in smooth, controlled strokes following the form of the figure
- Paint in one consistent direction per layer rather than scrubbing back and forth
- Accept that the first coat will look patchy and slightly translucent — that is normal and expected
- Work across the entire colour zone before moving on, so the whole area dries at the same time
The first coat is establishing colour presence, not full coverage. Trying to force opacity now leads to thick paint and lost detail.
✅ Step 5: Allow Full Drying Time
Wait until the first coat is completely dry before applying the second. Acrylic paint can feel surface-dry within minutes but still be soft underneath — going back too soon causes streaking, lifting, and patchy results.
A full drying interval of 15 to 20 minutes between coats is a safe minimum. Use that time to work on a different area or a different figure.
✅ Step 6: Apply the Second Coat
The second coat is where coverage starts to look properly clean. Approach it the same way as the first.
- Same thinned consistency
- Same controlled, single-direction strokes
- Same patience with patchy areas, which should be filling in by this point
After the second coat, most areas will look close to finished colour-wise, with maybe one or two patches still needing a third pass.
✅ Step 7: Add a Third Coat Where Needed
Some areas — particularly light colours over a dark primer, like white armour panels — will need a third coat to reach full, even coverage.
Apply the paint only where needed rather than re-coating the whole figure unnecessarily.
✅ Step 8: Inspect the Finished Base Coats
Once everything is dry, examine the figure under your strongest light from multiple angles.
A correctly base-coated figure should show:
- Even consistent colour across each area
- No visible primer or patchy spots
- Clean colour separation between areas with no overspill
- No visible brush strokes or texture
- Sculpted detail still clearly visible, not filled in by thick paint
Any small touch-ups can be done now before moving to the wash stage.
👉 Cell Shade 2D Figure Painting Course - full Vegeta repaint - 12x focused chapters
Working Order: Which Areas to Paint First?
The order you paint matters as much as the technique itself. A smart working order saves time and prevents avoidable mistakes.
1. Figure Skin
Skin is usually the most visible single area on a figure and the one collectors judge most quickly. Painting it first lets you give it the cleanest attention before fatigue sets in.
It also means any later overspill from neighbouring colours can be corrected by touching up the bordering colour rather than the skin itself, which is harder to match.
2. Main Costume Colours
The bodysuit, gi, or main outfit fills the largest visual surface on most figures. Painting it second establishes the figure's overall colour identity and gives you a clear sense of how the rest of the colours will sit alongside it.
3. Armour & Hard Surfaces
Armour panels often have sharper edges and need more careful colour separation from neighbouring areas. Painting them after the main costume means you can paint cleanly up to the edges without worrying about ruining underlying work.
4. Hair & Medium Details
Hair has its own challenges — colour transitions between strands, the relationship to skin tones beneath, and often complex sculpted detail. By this stage your control is warmed up and you can give hair the attention it needs.
5. Smaller Defined Sections
Boots, gloves, belts, weapons, and accessories. These usually need the cleanest edges and highest precision, but the surfaces are smaller, so the work goes faster.
6. Trim & Accents
Gold edging, small painted symbols, jewellery details, and final accents. These are the easiest to ruin if painted early, because every brush near them risks disturbing them. Save them for last.
Common Mistakes to Avoid
❌ Painting straight from the bottle
- Paint at full bottle consistency is too thick for figure work. It leaves texture, fills sculpted detail, and creates a rough surface that fights every later technique
- Always thin on the palette before applying
❌ Trying to cover in one coat
- Forcing full coverage in a single pass means thick paint, visible brush strokes, and lost detail
- Two or three thin coats always produce a cleaner, more professional result
- Build colour gradually.
❌ Going back over semi-dry paint
- When acrylic paint is partially dry, the surface is forming but the layer beneath is still soft
- Brushing over it lifts the paint, creates streaks, and ruins the layer
- Either commit to a clean stroke or wait for the layer to dry fully before correcting
❌ Not waiting between coats
- Surface-dry is not the same as fully dry
- Painting a second coat over a first coat that is still soft underneath causes lifting, patchy coverage, and inconsistent colour
- Wait the full drying interval
❌ Overspilling between colour areas
- Rushing through colour zones leads to small smudges of one colour creeping into another
- These look minor at the base coat stage but become very visible once shading and layering amplify them
- Work carefully along borders, and correct overspill as soon as you notice it
❌ Working in poor lighting
- Base coat problems hide in dim light and become obvious under strong light, by which point the figure is already finished
- Work under the brightest, most neutral light you have access to throughout the session
❌ Using worn brushes
- A brush with a lost tip cannot give you clean edges or controlled coverage
- Replace base coating brushes regularly — they do more work than detail brushes and wear faster
Basecoating Different Surface Types
Different surfaces on a figure respond to base coating in slightly different ways, and adjusting your approach for each gives noticeably better results.
Smooth Flat Surfaces (armour panels, capes, large costume areas):
These show every brush stroke and every inconsistency. Use slightly more thinned paint, paint in long single-direction strokes, and use a wet palette to keep consistency stable across multiple coats. Two or three thin coats are essential here.
Textured Surfaces (hair, fur, fabric folds):
Texture forgives more than flat surfaces, but it also catches paint differently. Slightly less thinned paint helps avoid pooling in the recesses, while still being thin enough to flow cleanly. Follow the direction of the texture with your strokes.
Detailed Sculpted Areas (faces, hands, accessories):
Use a smaller brush — typically size 0 — and slightly thinner paint than usual to avoid filling in the small sculpted detail. Multiple very thin coats are particularly important here. The face especially deserves extra patience because it sets up the most demanding stage of the entire repaint.
Small Precise Areas (eye sockets, fine trim, individual accents):
Switch to a size 00 brush. Use even less paint on the brush than usual, and rest your hand against the figure stand or your other hand for steadiness. These areas are too small for normal stroke patterns — instead, use small dabs and short, controlled placements.
Frequently Asked Questions
How many base coats does a figure need?
Most areas need two thin coats. Light colours over a dark primer (whites, yellows, light greys) often need three. Very vibrant colours (reds, bright purples) sometimes need three or four to reach full saturation. The goal is even, smooth coverage — paint until you reach it, no further.
Can I base coat without priming first?
Technically yes, but it is strongly not recommended. Without primer, paint adhesion is weaker, coverage is uneven, and the finish is far more vulnerable to chipping. Always prime first, ideally using a zenithal priming approach for additional benefits.
What is the difference between base coats and final colour?
Base coats are the foundational colour layer. Final colour is what the figure looks like after every subsequent technique — washing, layering, cel-shading, highlighting — has been applied on top.
Base coats are usually slightly darker and flatter than the eventual finished colour, because shading and highlighting will push the contrast in both directions.
How long does base coating take for a full figure?
For a mid-size Dragon Ball figure, full base coating typically takes between two and four hours across multiple sessions, including drying time between coats. Rushing this stage to finish faster is one of the most common reasons beginner repaints look rushed.
Can I use white primer instead of grey or black for base coating?
White primer works well for figures with predominantly bright colours where you want maximum vibrancy. Grey and black primers work better for darker overall figures and for zenithal priming. Many experienced painters keep all three on hand and choose based on the figure.
Do I need a wet palette for base coating?
A wet palette is not strictly required, but it is one of the single most useful upgrades for any figure painter. It keeps paint workable for hours, helps maintain consistent thinning, and reduces wasted paint. If you plan to paint regularly, it pays for itself quickly.
Conclusion: Master Figure Base Coating
Figure base coating is the stage that quietly determines how good your repaint will eventually look. Strong base coats give every following technique a clean foundation to enhance. Weak base coats undermine everything that comes after them, no matter how skilled your shading or detail work might be.
It requires patience, properly thinned paint, controlled strokes, and the discipline to build colour gradually rather than forcing it. Once you have base-coated two or three figures with that mindset, the process becomes second nature and the results speak for themselves.
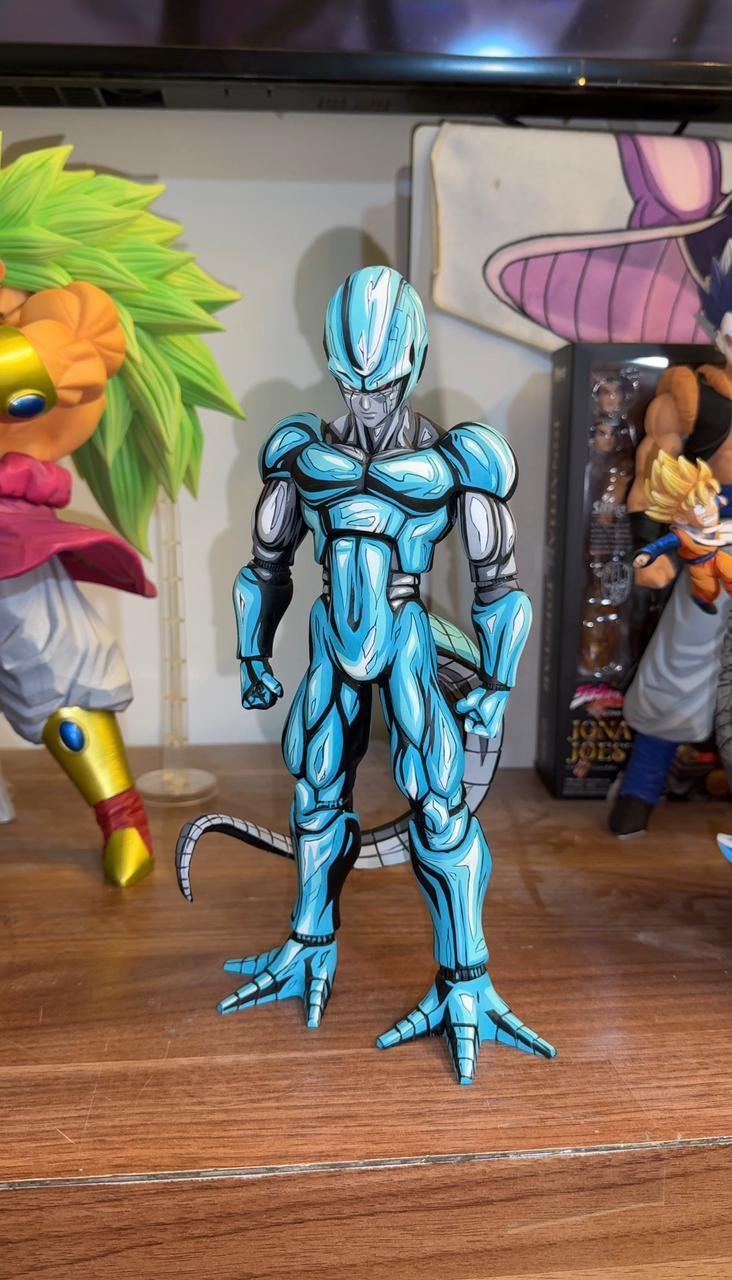
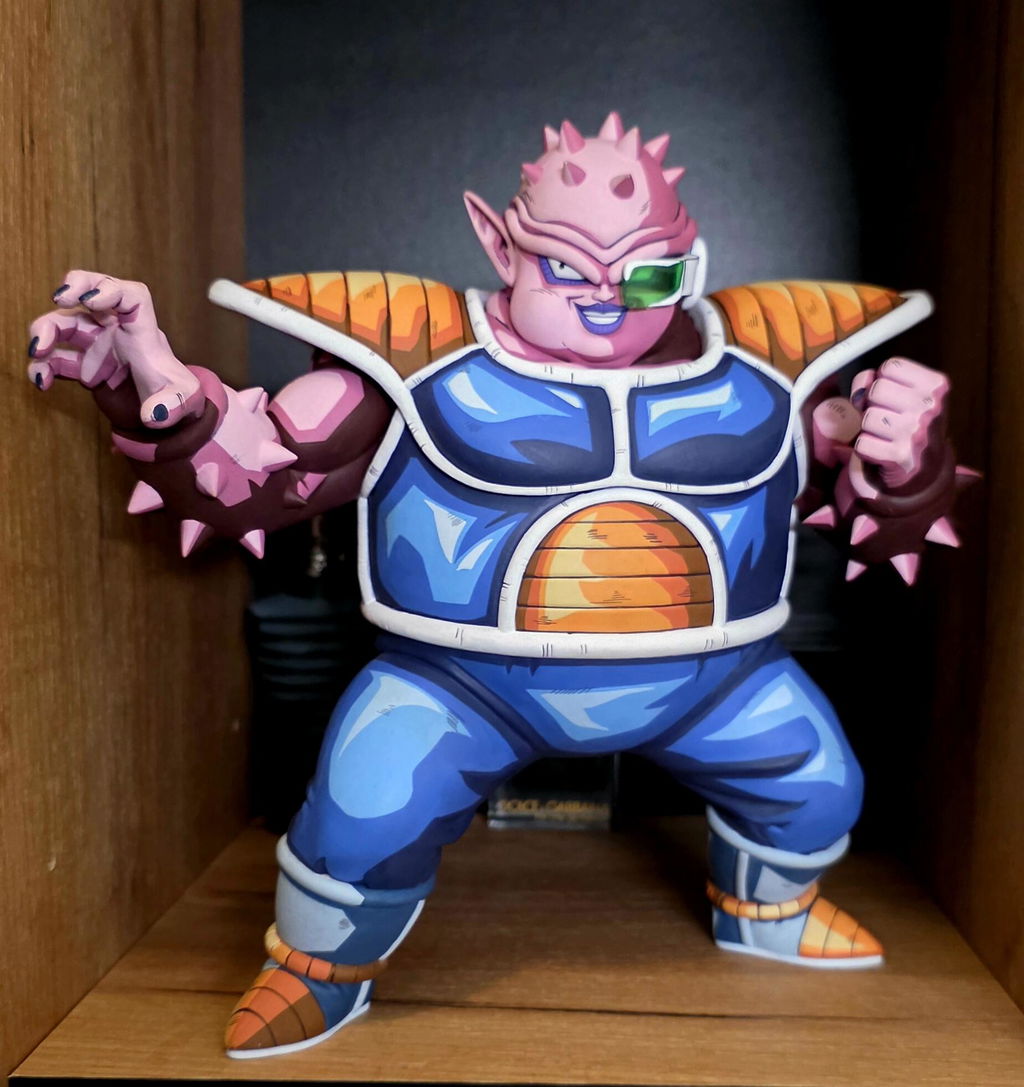
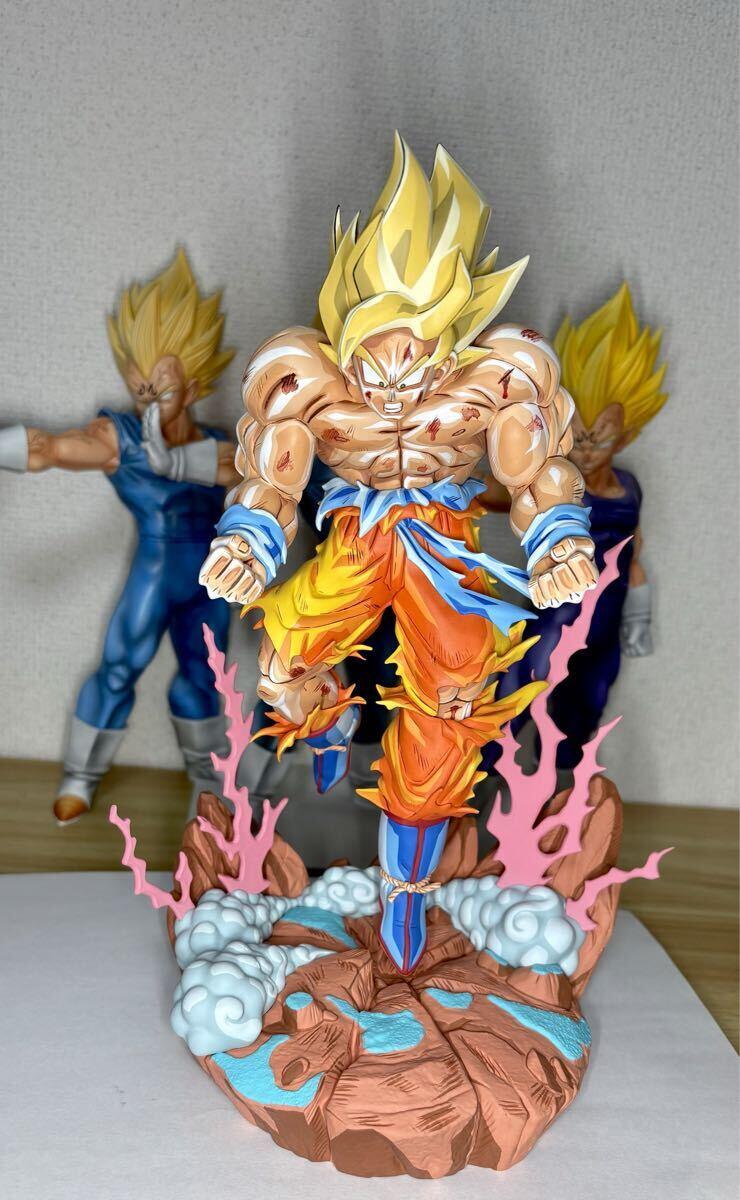
A clean basecoat over a good zenithal prime sets up your washing, layering, and cel-shading work to land properly — and the repaint as a whole starts to feel like collector-level work rather than amateur effort.
Share:
Step by Step Zenithal Priming Guide for Beginner Painters
Step-by-Step Figure Washing Tutorial for Paint Beginners