If you have been painting figures for a while and feel like your repaints are still landing somewhere between "decent" and "actually impressive," there is a strong chance the issue is not your colour choice, your brush control, or your detail work. It is your priming stage.
Most beginners prime in a single flat colour and start painting straight over the top. That works, but it means every shadow, every highlight, and every sense of depth has to be built entirely from scratch with the brush. Zenithal priming gives you a head start.
By simulating natural overhead light during the priming stage itself, it bakes a base layer of light and shadow into the figure before you have applied a single drop of colour. For Dragon Ball repaints and any anime-style figure work, this is a quietly transformative technique. It does not replace your shading or highlighting — it gives them a stronger foundation to sit on.
Table of Contents:
- What is zenithal priming?
- Why zenithal priming matters for figure repainting?
- Tools you need for zenithal priming
- Step-by-step zenithal priming process
- How to use zenithal priming with base coats?
- Common mistakes to avoid
- Zenithal priming for different figure types
- Frequently asked questions
What is Zenithal Priming?
ANSWER: Zenithal priming is a figure preparation that uses two or three primer coats applied from different angles to create a built-in light-and-shadow effect on the figure before any colour painting begins.
HISTORY: The word "zenithal" comes from "zenith" — the highest point in the sky. In real-world lighting, when you stand under a midday sun, light falls from directly above. The top of your head is brightest, your shoulders catch some light, your chin is in shadow, and the area beneath your jaw is darker still. Zenithal priming mimics that effect on a figure.
The process works in two main stages:
- The figure is first primed entirely in a dark colour — usually black or dark grey — so every surface and recess is covered.
- Then a lighter primer is sprayed only from directly above, allowing it to land on upward-facing surfaces while leaving the underside, recesses, and downward-facing areas untouched, creating a contrast paint effect.
The result is a figure that already shows where light naturally falls and where shadows naturally sit. For figure repainting, this is not just visually interesting — it is genuinely useful. It acts as a roadmap for every painting stage that follows.

Why Zenithal Priming Matters for Figure Repainting?
- A flat-primed figure forces you to do all the visual work with the brush
- You have to imagine where the light would fall, where shadows should sit, and where highlights belong, then paint all of that information manually
- That is hard, especially for beginners who are still learning how to read three-dimensional surfaces
Zenithal priming changes the starting point in three meaningful ways:
1. It builds in a natural light map
Once the priming is done, you can look at the figure under your painting light and see exactly which surfaces are catching light from above and which ones sit in shadow. This is the same information your final repaint needs to communicate, and you have it before you start.
2. It strengthens your final shadows and highlights
When you apply thinned base coats over a zenithal primed figure, the dark areas beneath show through subtly in the recesses while the lighter zones make the upper surfaces feel naturally brighter. The final result has more visible depth without requiring extreme contrast in your painted layers.
3. It improves your figure painting under all conditions
Anime-style figures, particularly Dragon Ball pieces, depend heavily on clear contrast and well-placed shadow. Zenithal priming reinforces the figure's structure before you have to think about any of that, freeing your attention for the more demanding techniques later in the process — washing, cel-shading, edge highlighting, and face work.
Tools You Need for Zenithal Priming
You do not need a large kit to do this properly. The technique relies on control rather than equipment.
Essential tools:
- Dark primer — black or dark grey aerosol spray primer. Citadel Chaos Black, Vallejo Surface Primer in black, or Army Painter Matt Black all work reliably
- Light primer — white or light grey aerosol spray primer. Citadel Wraithbone, Vallejo White Primer, or Army Painter Matt White are all solid choices
- Optional middle tone — a mid-grey primer can be added between the dark and light stages for a softer, three-step gradient
- A well-ventilated area — outdoors or a properly ventilated workshop. Aerosol primers should never be used in an enclosed indoor space
- A figure holder or stick — a painting handle, a cork attached to a stick, or a small clamp lets you rotate the mini freely while spraying without touching wet primer.
- A clean, dust-free surface for the figure to dry on between coats
Practical recommendations:
- Grey primer as your dark base often works better than pure black for beginners — black can be too unforgiving if your white pass is slightly uneven
- White primer can sometimes feel chalky or slightly textured if applied heavily; light grey gives you a similar effect with more forgiveness
- Have all your primer cans at room temperature before starting. Cold cans spray unevenly and can leave a textured, gritty surface
- Test the spray on a piece of cardboard first to check the can is flowing cleanly — primer cans that have been stored for a long time can spit or splatter on the first pass
What to avoid when priming your model:
- Cheap craft store primers are not designed for plastic figures; they often peel, flake, or react badly
- Priming in a humid environment, which can cause a cloudy or frosted finish
- Using a brush-on primer for the light coat — the technique relies on the spray pattern landing naturally from above, which is very difficult to replicate by hand
👉 Learn to repaint DBZ figures => Figure Painting Course
Step-by-Step Zenithal Priming Process
This is the actual process from start to finish. Read it through once before you begin so you know what is coming, then work through it stage by stage.
✅ Step 1: Prepare the Figure
Before any primer touches the figure, the surface needs to be clean. Factory residue, mould release agents, and oils from handling all interfere with primer adhesion, especially when using acrylic paints.
- Wash the figure in warm water with a small amount of mild dish soap
- Use a soft toothbrush to gently scrub around joints, recesses, and detailed areas
- Rinse thoroughly under clean water
- Pat dry with a lint-free cloth and leave to air dry for at least an hour
If you skip this stage, the primer can lift, peel, or chip later. It is the least exciting part of the process and one of the most important.
✅ Step 2: Mount the Figure
Attach the figure to a painting handle, cork, or stick using poster putty or a small piece of double-sided tape. You need to be able to rotate it freely without touching any surface that is about to be primed.
If the figure has separate parts that will be painted individually, mount each one on its own holder so you can prime them in the correct orientation.
✅ Step 3: Apply the Dark Base Coat
This is your foundation layer. The goal is complete, even coverage with no plastic showing through, especially when using black primer.
- Hold the spray can roughly 20 to 30 cm from the figure
- Spray in short, sweeping passes from multiple angles — front, sides, back, and underneath
- Rotate the figure as you spray to reach every surface, including underarms, behind the legs, and inside any concave areas
- Use light, even passes rather than one heavy coat — two thin coats give better coverage with less risk of obscuring sculpted detail
- Allow the primer to dry fully before moving on. Most aerosol primers need at least 30 to 60 minutes; some benefit from being left overnight
When this stage is done correctly, the figure should look uniformly dark from every angle.
✅ Step 4: Optional Middle Tone Pass
If you are using a three-step zenithal — dark, mid, light — this is where the mid-grey goes in. Skip this step if you are doing a standard two-step zenithal.
- Hold the can at roughly a 45-degree angle above the figure
- Spray in shorter, more controlled bursts, allowing the mid-grey to land on upward and outward-facing surfaces
- Leave the deepest recesses and the underside untouched
This gives you a softer transition from shadow to mid-tone and is particularly useful on figures with smooth, large surfaces like armour panels.
✅ Step 5: Apply the Light Top Coat
This is where the zenithal effect actually appears. The most important factor is the angle.
- Hold the can directly above the figure, pointing straight down
- Spray in short bursts, allowing the primer to fall naturally onto upward-facing surfaces
- Move the can in small horizontal circles above the figure rather than spraying continuously in one spot
- Rotate the figure between bursts so all upward-facing surfaces get treated, but always keep the can above
- The dark recesses, undersides, and downward-facing areas should remain untouched
You are not trying to coat the figure again. You are trying to catch only the surfaces that natural overhead light would hit.
✅ Step 6: Inspect Under Your Painting Light
Once the final coat is dry, place the figure under your normal painting light and examine it from multiple angles.
A correctly zenithal-primed figure should show:
- Lightest tones on the top of the head, shoulders, upper armour, top of the chest, and outer hair edges
- Mid-tones on the sides, outer arms, and upper thighs
- Darkest tones underneath the chin, beneath overhanging armour, in muscle separations, between fingers, and in the deepest folds of fabric
If the gradient is patchy, uneven, or the white has covered too much of the figure, you can correct it with another light pass of the dark primer to recover the shadows and start the light pass again.

How to Use Zenithal Priming with Base Coats?
Zenithal priming is most useful when your base coats are thinned properly. If you apply thick, opaque paint over the zenithal, you cover up the gradient entirely and lose the benefit. The technique relies on the primer showing through subtly.
The right approach:
- Thin your base coats slightly more than usual on your palette — they should flow easily and feel slightly translucent
- Apply in thin layers, allowing the underlying gradient to influence the final tone
- Areas of the figure that were left dark by the zenithal will naturally appear slightly darker once base-coated, while the lighter areas will appear slightly brighter
- Build colour gradually across two or three thin coats rather than one heavy pass
This gives you a base-coated figure that already has a sense of light and shadow before you have started shading or highlighting. From there, your wash, layering, and cel-shading work has a much stronger foundation to enhance rather than create from scratch.
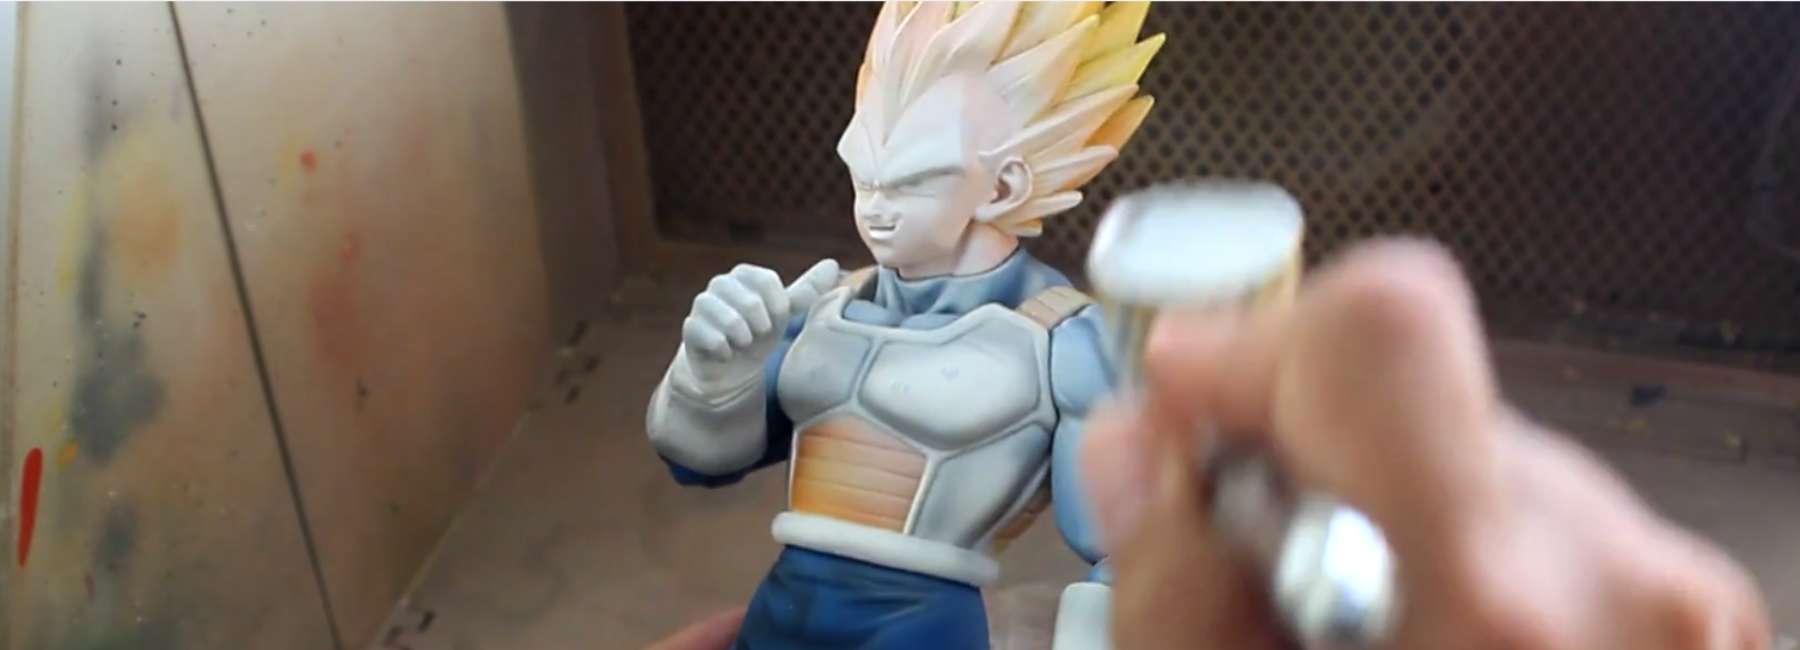
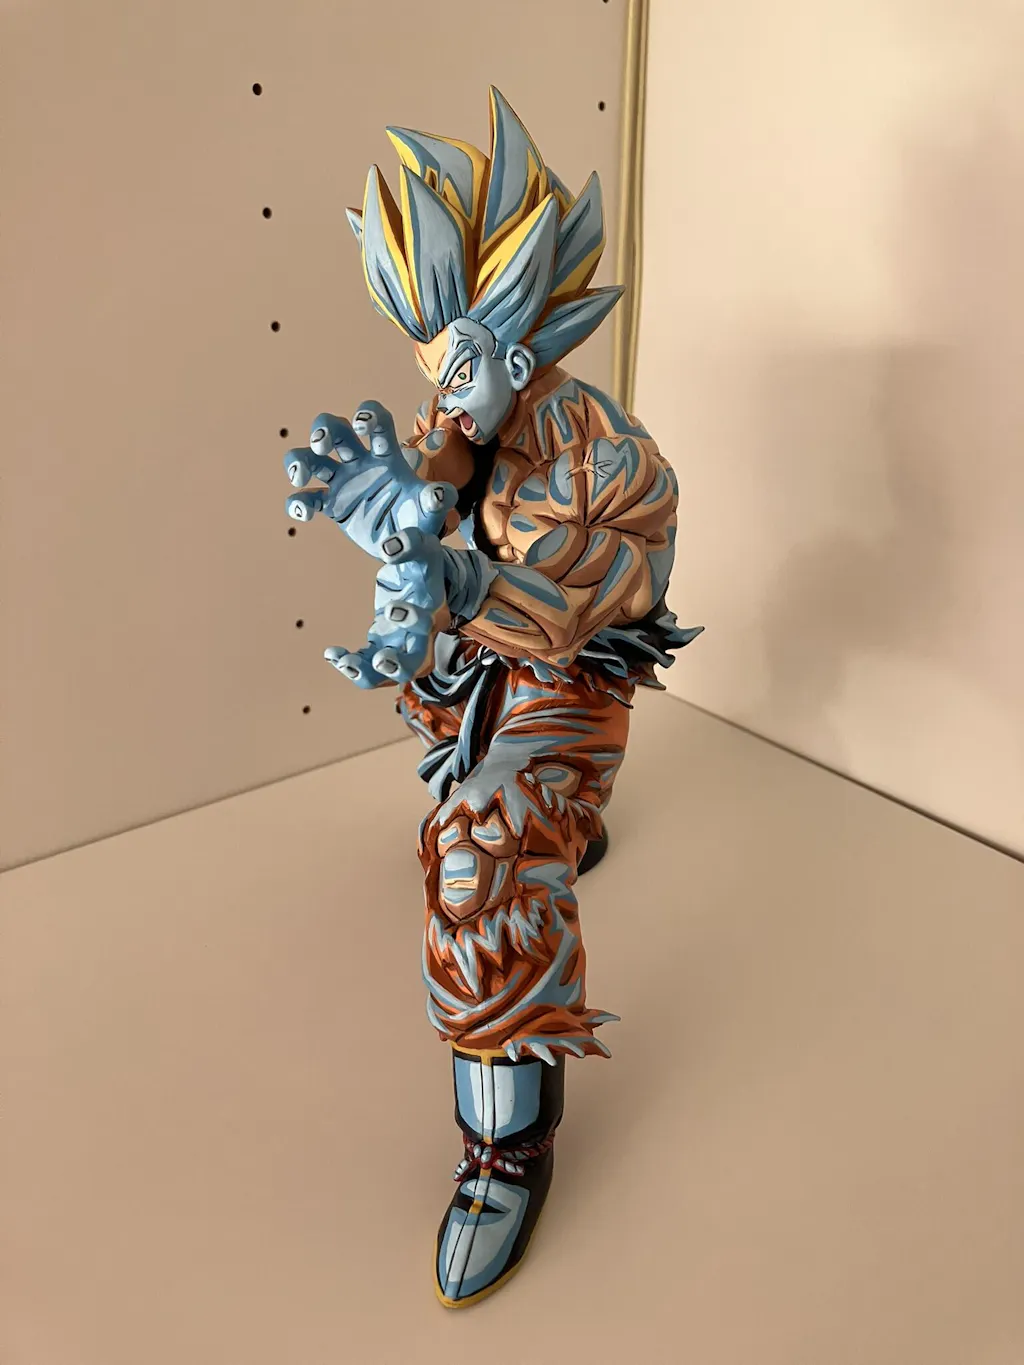
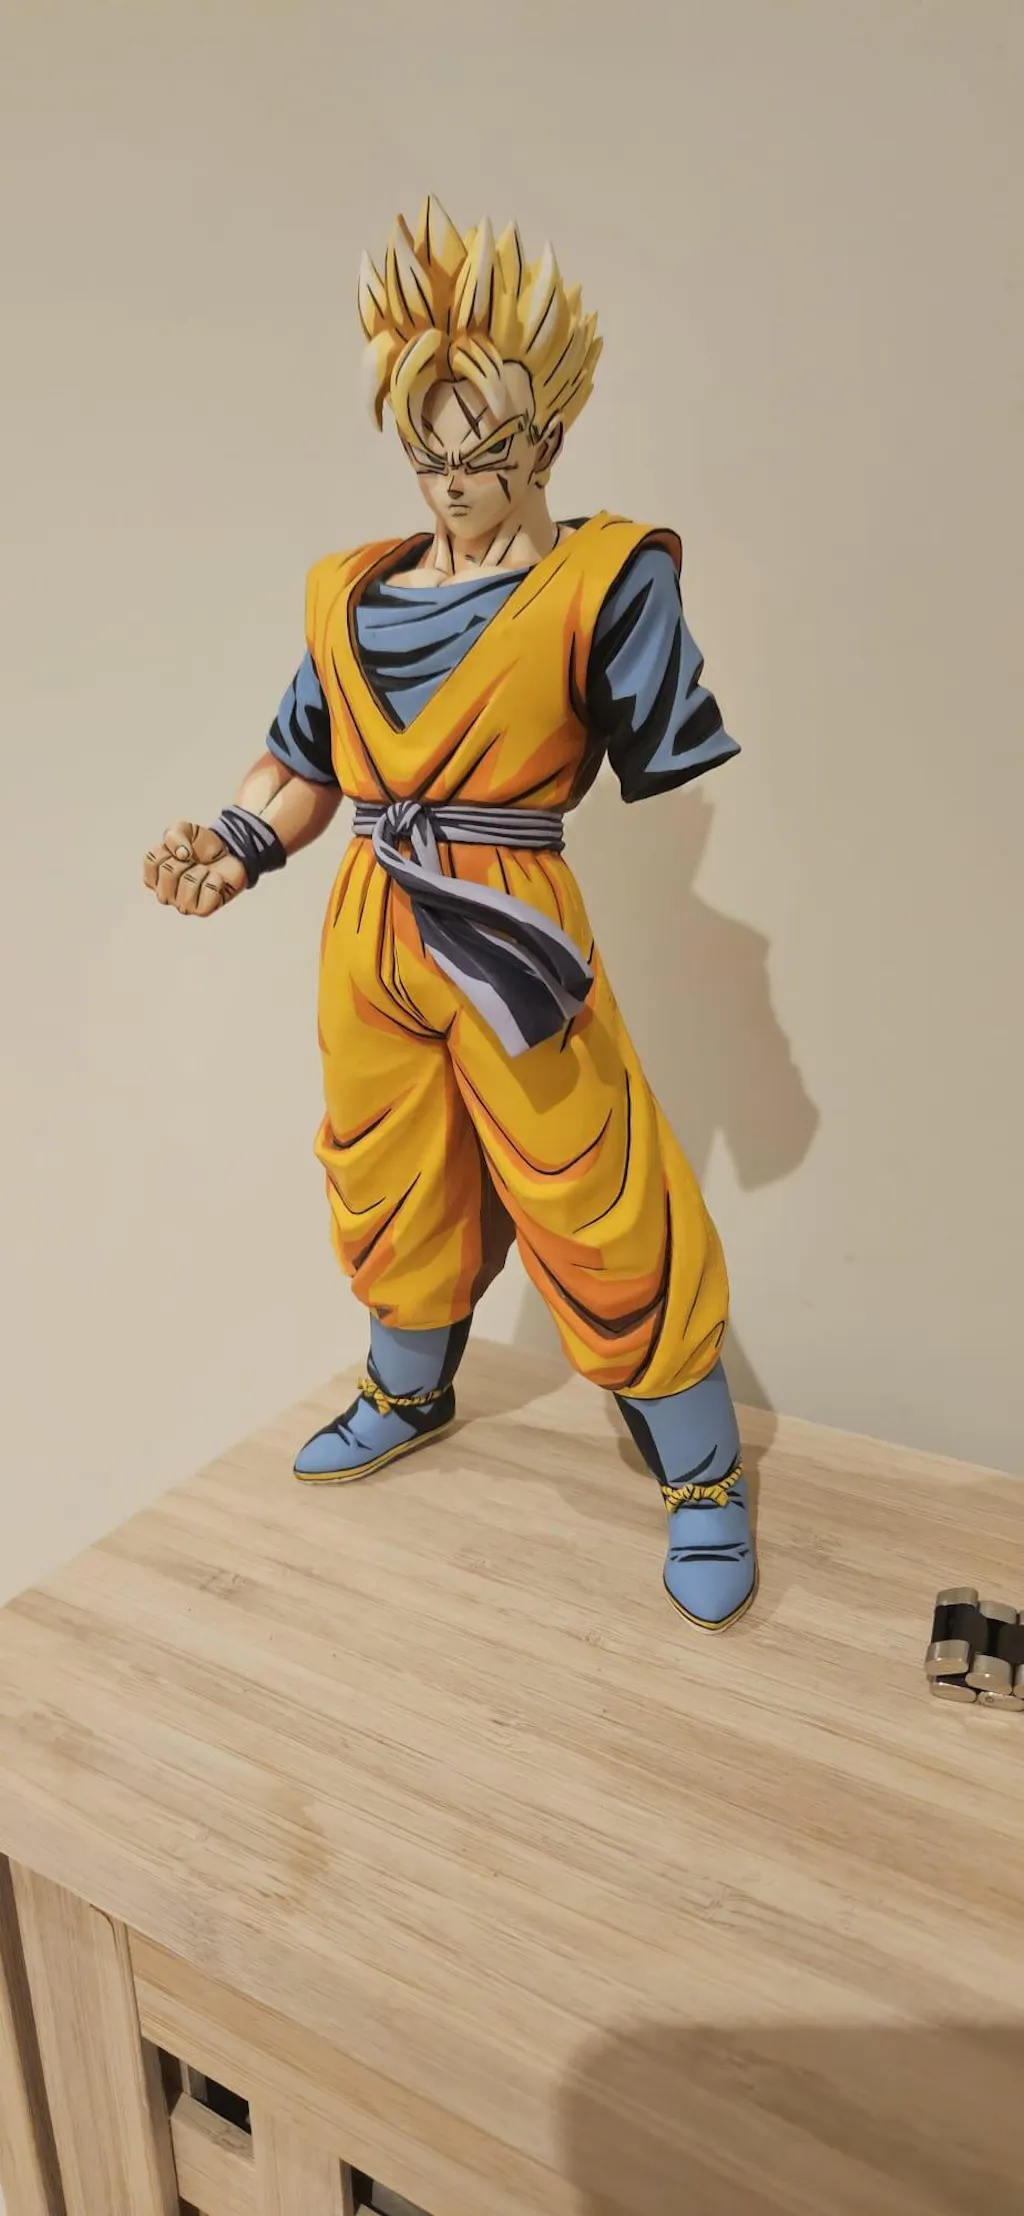
For Dragon Ball Z repaints specifically, this works particularly well on skin tones, bodysuit colours, and armour. A Vegeta figure with a properly zenithal-primed base will show subtle shadow under the chin and in the armpits before you have even started your wash, which makes the whole figure read more naturally once finished.
Common Mistakes to Avoid
❌ Spraying the light coat from too low an angle
- The technique only works when the lighter primer falls from directly above
- If you angle the can to the side, you simply cover the figure with another flat coat in a different colour
- Stay overhead
❌ Using too much light primer
- The light pass should be brief and controlled to achieve the best results with white zenithal priming
- If you cover the figure entirely with white, you have erased the zenithal effect and undone your dark base
- Short bursts, plenty of rotation between passes, and a willingness to stop earlier than feels natural are all important
❌ Skipping the cleaning stage
- Primer adhesion problems almost always trace back to a model that was not properly cleaned before priming
- If your primer is lifting, peeling, or feeling tacky after drying, this is usually why
❌ Priming in cold or humid conditions
- Aerosol primers behave badly outside their working temperature range
- Cold air can cause uneven, gritty coverage
- High humidity can cause a cloudy, frosted finish that ruins the surface
- Aim for a dry day with a temperature between 15°C and 25°C if priming outdoors
❌ Applying base coats too thick over the zenithal
- The whole point of zenithal priming is that the gradient shows through into your base coats
- Thick, opaque paint defeats this
- Thin your base coats slightly more than you would over a flat primer
❌ Rushing between coats
- Each layer of primer needs to dry fully before the next is applied
- If the dark base is still tacky when you spray the light coat, you can lift the dark primer, mix the colours, and end up with a muddy mid-grey across the whole figure rather than a clean gradient
Zenithal Priming for Different Figure Types
The technique works across most figure types, but the application differs slightly depending on the sculpt.
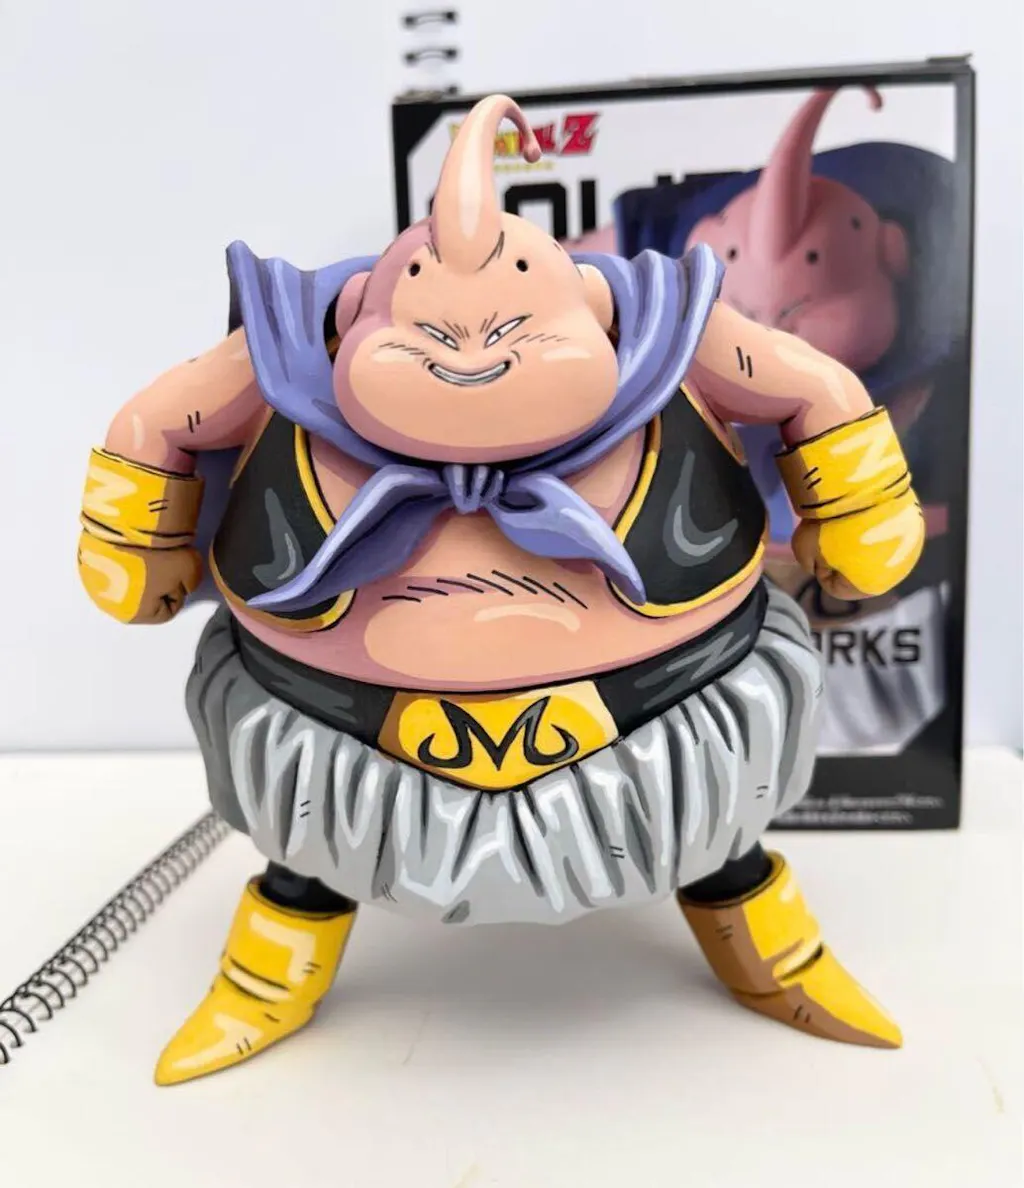
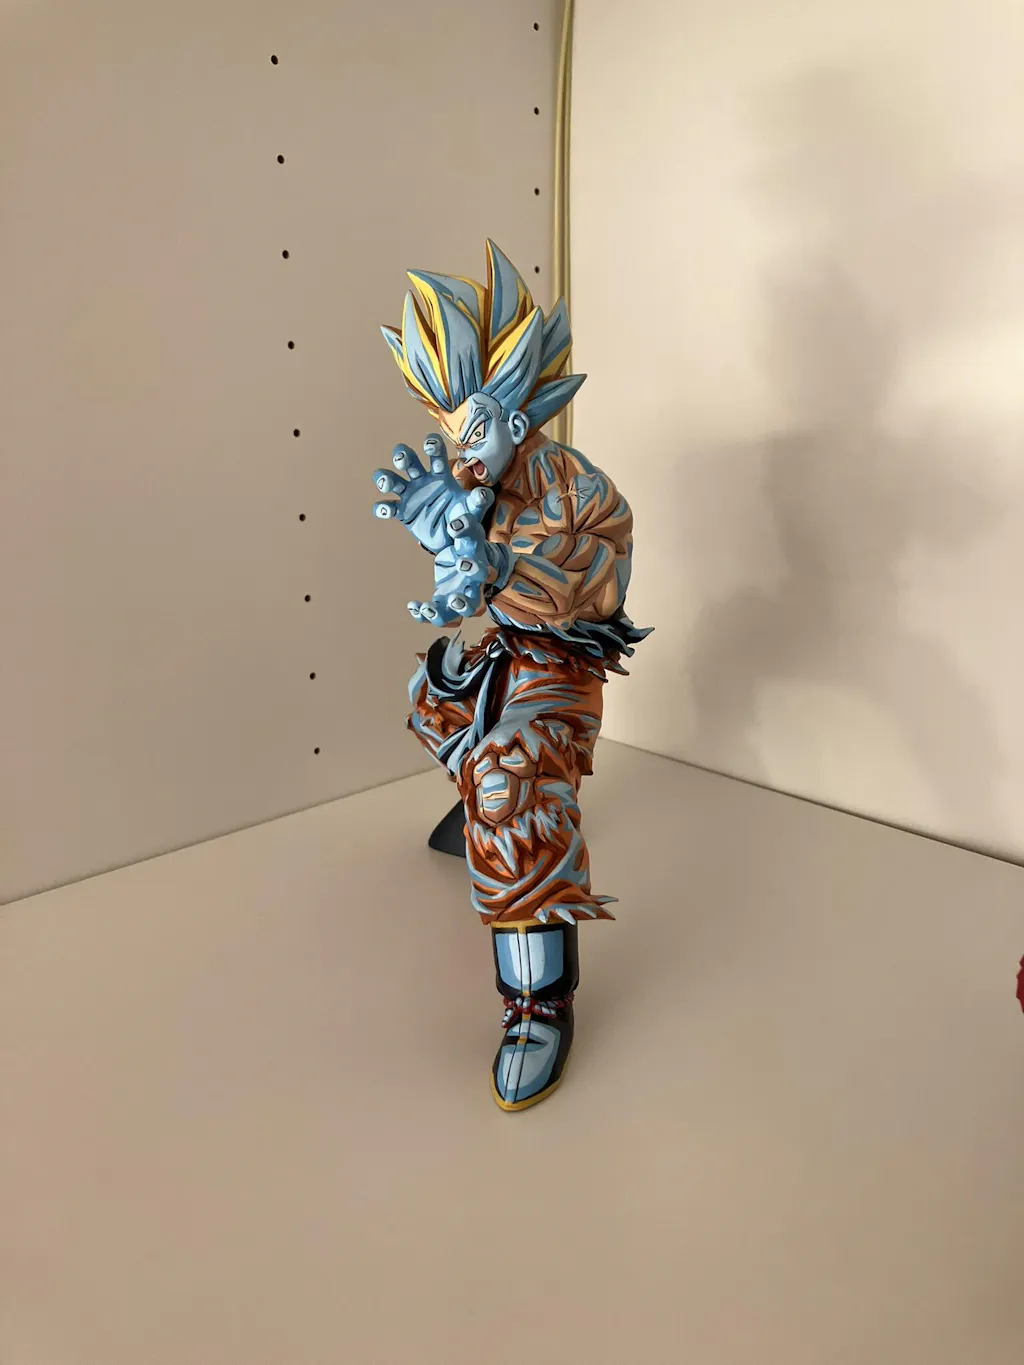
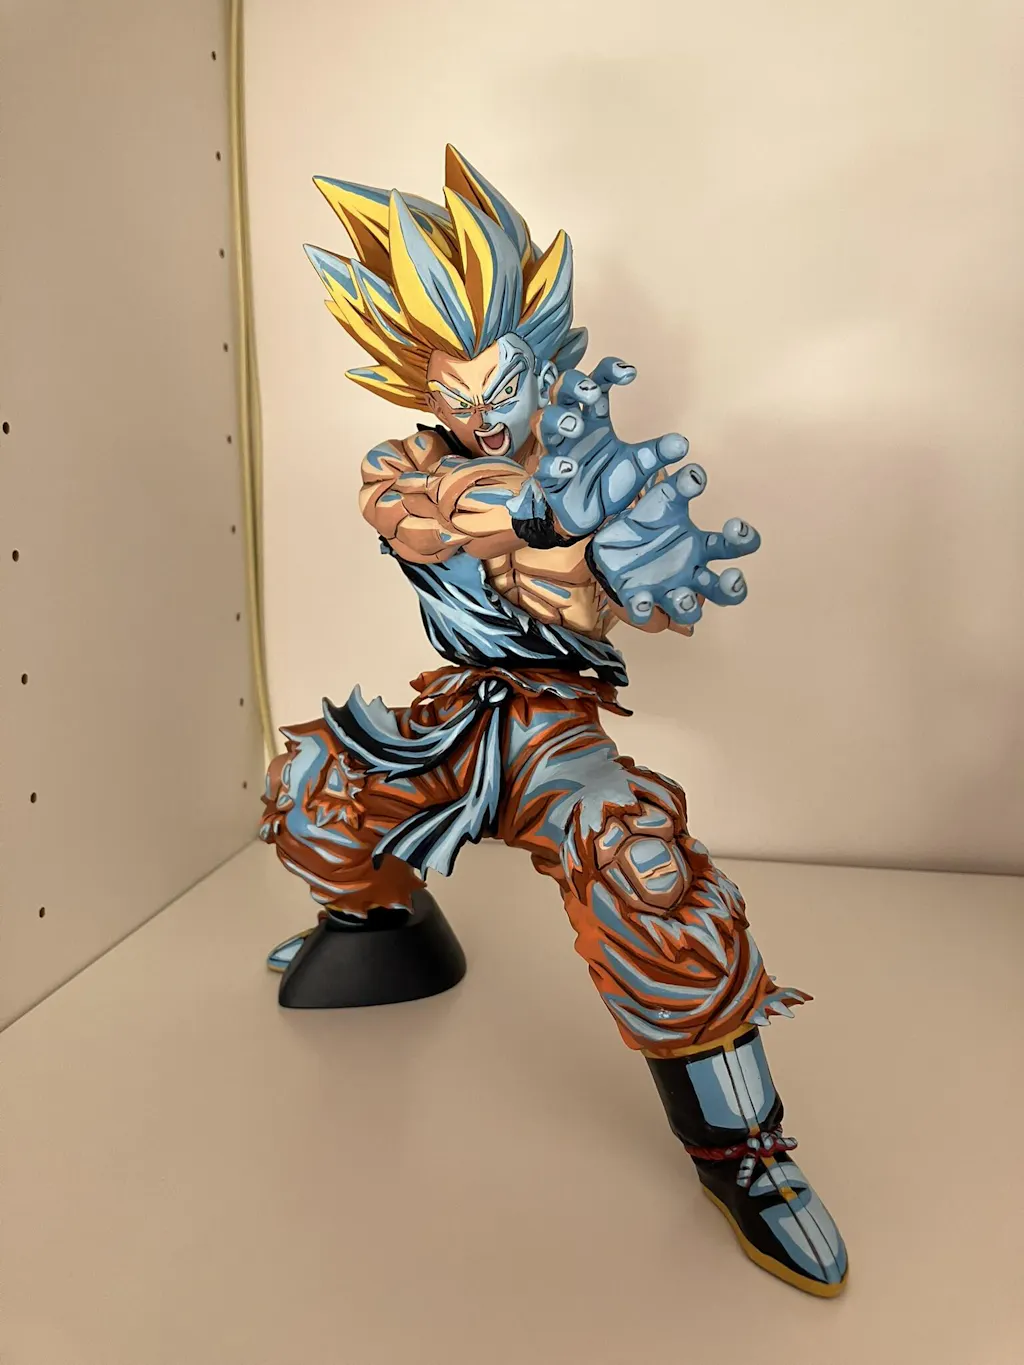
Anime figures (Dragon Ball, My Hero Academia, One Piece):
The strong, defined shapes of anime figures respond particularly well to zenithal priming. Sharp armour edges, defined hair spikes, and pronounced muscle structure all catch the light coat clearly. Use a clean two-step zenithal and let the gradient guide your later cel-shading.
Realistic or detailed figures (Marvel Legends, Star Wars, historical):
These benefit from a softer transition, which is where the optional mid-grey pass can be useful. The three-step zenithal helps capture the more subtle surface detail and gives a smoother foundation for realistic shading work.
Smooth or large-surface figures:
Figures with large flat areas — full-body armour, wide capes, smooth helmets — sometimes show the zenithal gradient too obviously after priming. In these cases, a slightly more generous mid-tone pass blends the transition more naturally and prevents the final base coat from looking patchy.
Smaller or highly detailed figures:
For figures under 15 cm or those with very fine sculpted details, hold the can slightly further away during the light pass to avoid overwhelming the smaller surfaces. Short, light bursts give you more control on smaller mini pieces than longer continuous sprays.
Frequently Asked Questions
Do I need an airbrush to do zenithal priming?
No. Aerosol spray primers work well for the technique and are how most beginners learn it. An airbrush gives you more control over the gradient softness, but it is not required to get useful results.
Can I zenithal prime with brush-on primer?
The dark base coat can be applied with brush-on primer, but the light overhead pass is very difficult to replicate by hand. The natural top-down spray pattern is what creates the gradient — brushing the lighter colour on simply does not produce the same effect.
How long should I wait between primer coats?
At least 30 to 60 minutes between coats is the minimum, and overnight drying is safer. Each primer brand has its own recommended times printed on the can — follow those rather than guessing.
What primer colours work best for beginners?
Dark grey as the base and light grey as the top coat is the most forgiving combination for first attempts. Pure black and pure white create stronger contrast but punish small mistakes more visibly. Once you have done a few zenithals, switching to black and white gives you a more dramatic effect.
Will zenithal priming show through my final paintwork?
Only if your base coats are thinned properly for optimal adhesion with the grey and white primer. With thin, controlled base coats, the gradient subtly influences the final colour. With thick, opaque base coats, the zenithal effect is mostly covered. The technique is designed to be used alongside thin layering — that is what makes it work.
Is zenithal priming worth it for very small details?
For full figures, yes. For tiny standalone elements like accessories or weapons under 5 cm, the benefit is much smaller and the technique is harder to apply cleanly. Standard flat priming is often more practical for very small parts.
Conclusion: Zenithal Priming
Zenithal priming is one of those figure painting techniques that sounds more complicated than it actually is. Once you have done it correctly on one figure and seen the difference it makes to the rest of your painting process, it becomes a natural part of your routine rather than an extra step.
The whole point is to give yourself a head start. Instead of building light and shadow entirely with the brush, you let the priming stage do some of the work for you — and every stage that follows benefits from that foundation.
Your base coats sit better. Your washes settle more naturally. Your highlights have a logical place to land. Your final figure reads with more depth than a flat-primed equivalent ever could.
If you are working through the eight core figure painting techniques used by Dragon Ball artists, this is the right place to start. Get the priming stage solid, and everything else gets easier.


Share:
Top 8 Figure Painting Techniques for Dragon Ball Artists
Step by Step Figure Base Coating Guide for Beginner Artists