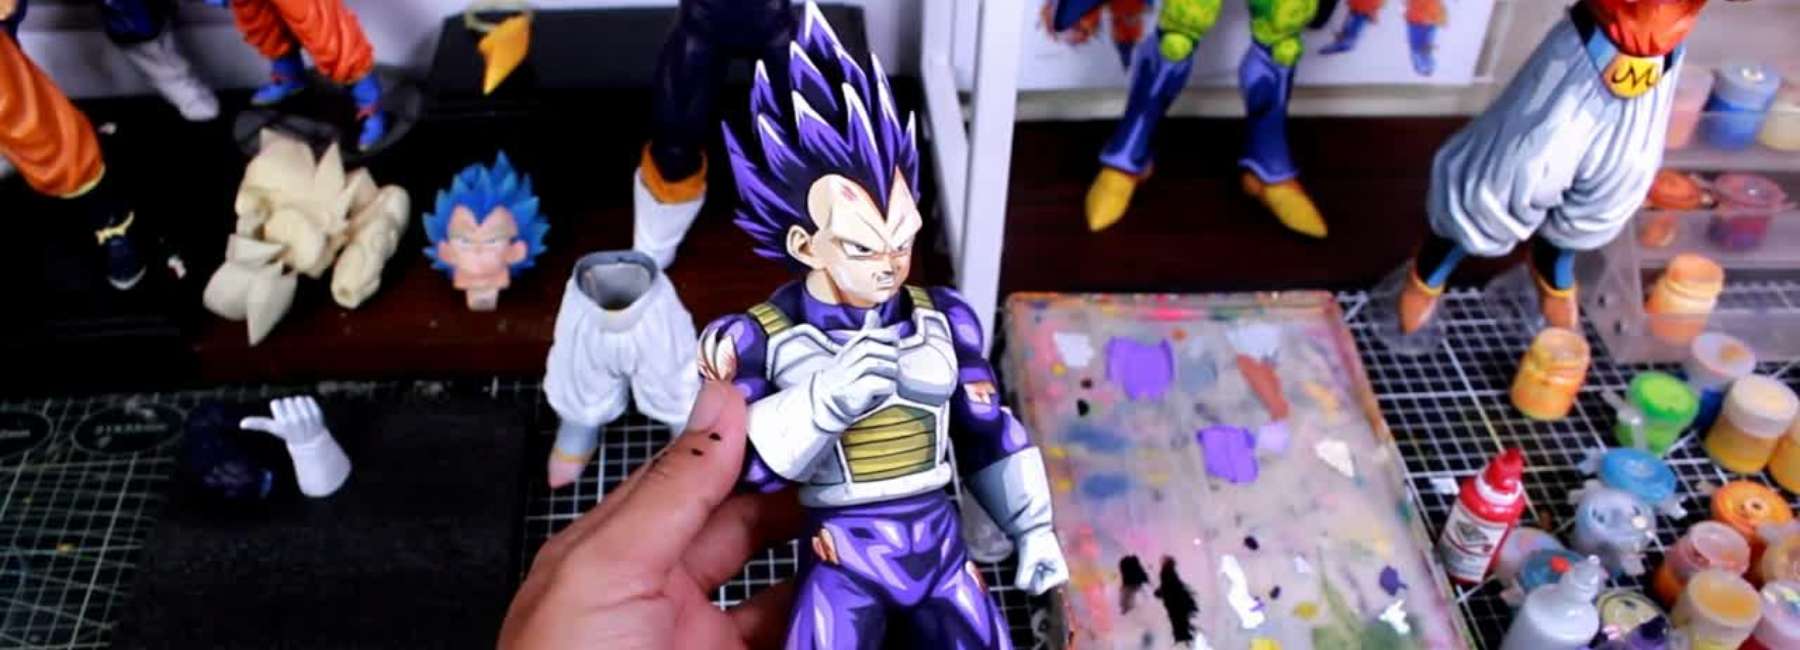
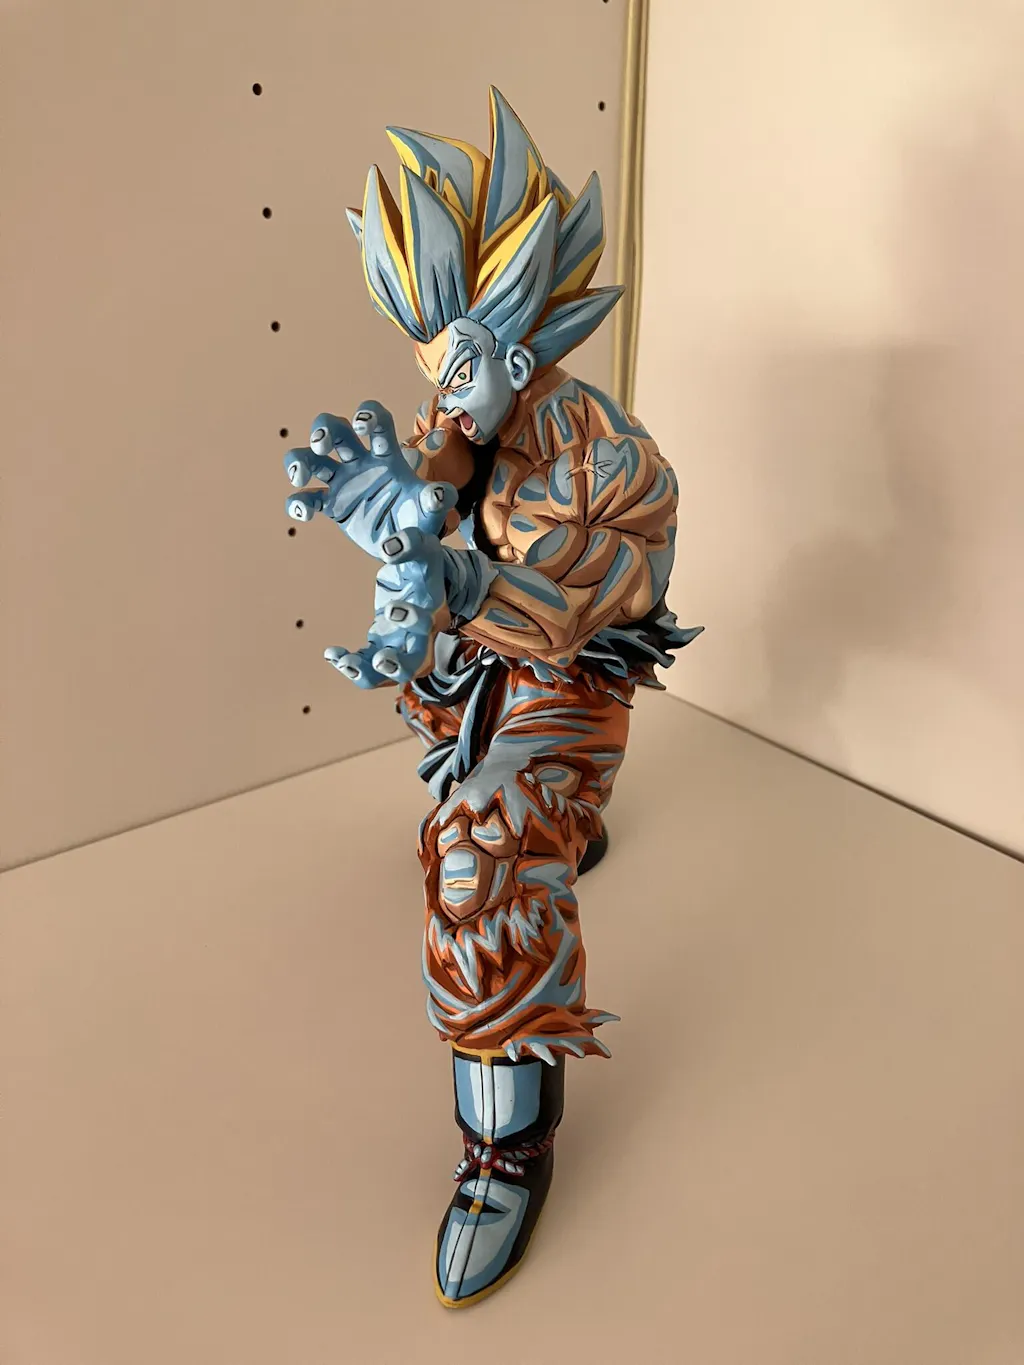
If you’ve ever picked up a Dragon Ball figure and thought “this looks off”, you’re not wrong. Most figures are mass-produced and that means shortcuts: Flat colours, Weak shading or Soft details.
I’m not going to overload you with theory. I’m going to show you how to figure paint in a way that actually matters, what to avoid and how to get clean, collector-level results step by step. If you follow this guide, your first few repaints won’t be perfect, but they will look better than most factory paint jobs.
Table of Contents:
- Module: Foundation
- Module: Tools & Setup
- Module: Paint Control
- Module: Preparation
- Module: Priming
- Module: Base Coats
- Module: Light & Depth
- Module: Shading
- Module: Details & Line Work
- Module: 2D / Cel-Shaded Look
- Module: Fixing Mistakes
- Module: Sealing & Protection
- Module: Practice Strategy
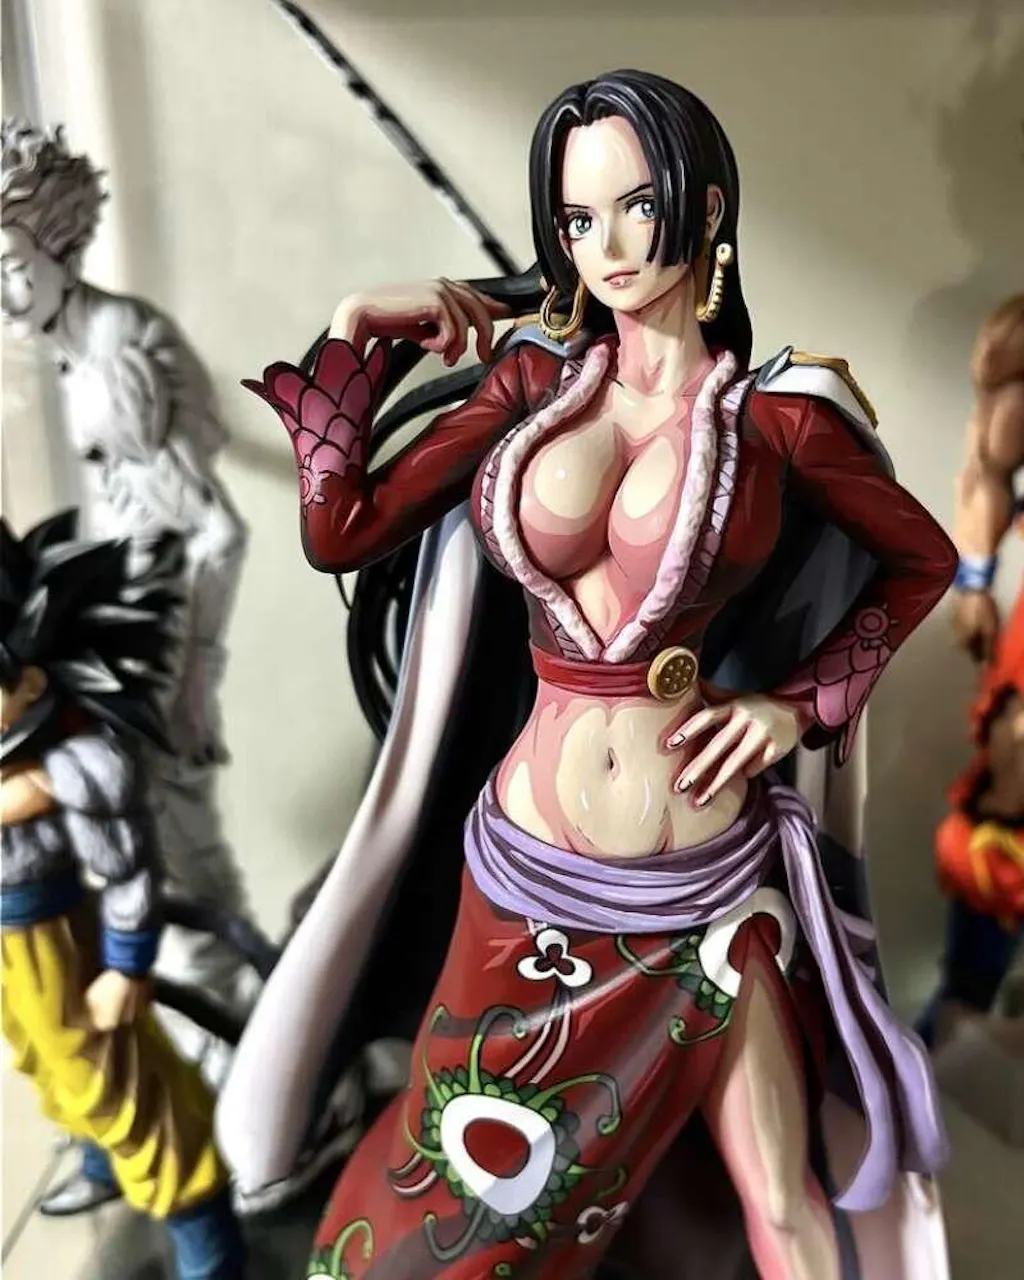
What is figure painting?
Figure painting is the process of adding colour, shading and detail to collectible models, such as Dragon Ball figures, to give them a more refined and life like finish. For anime-style repaints, the goal is usually to recreate the look of the series through clean colours, strong shading and crisp line work.

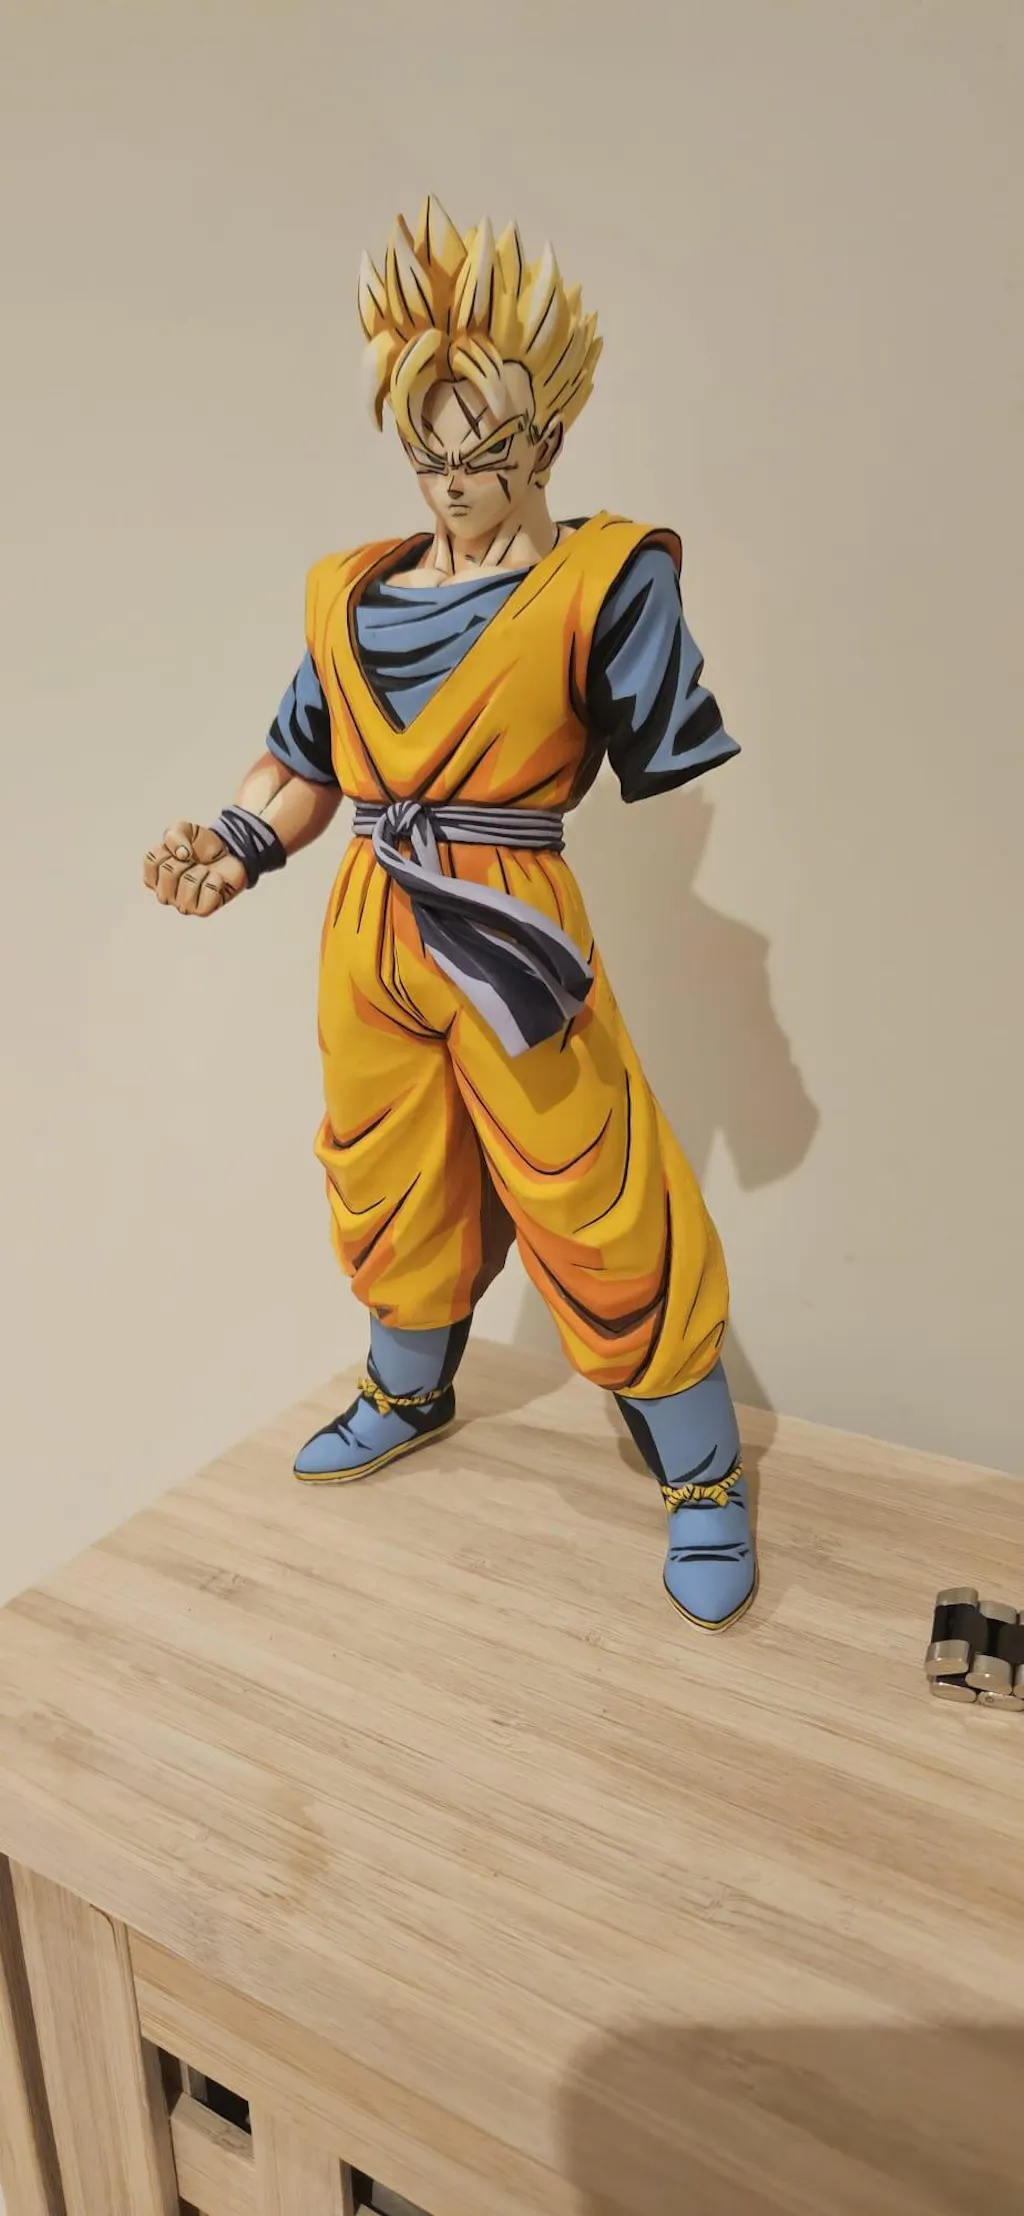
How to figure paint?
Learning how to figure paint goes beyond simply coating plastic. It is about understanding contrast, colour placement, paint control, and fine detail so a figure reads clearly and expressively at a glance. A strong repaint does not rely on using more paint. It relies on using paint better.
Are there any figure painting courses for beginners?
There are currently several tutorials online, but most of them require you to piece together different videos just to understand the full process. Very few take you through one repaint from start to finish in a clear, beginner-friendly way using a single figure, like 2DF's course below:
| 👉 Figure Painting Course: How to Repaint Vegeta from Scratch 🎨 |
Guide: 13 Steps of Figure Painting
If you’re new to figure painting, knowing where to start can be the hardest part. This guide breaks the process down into 13 simple steps, from preparation and base coats to shading, details and finishing, so you can follow a clear path and get cleaner, more professional-looking results.
1. Module: Foundation
Most beginners approach figure repainting like colouring, and that is exactly why their results look flat, messy, or inconsistent. They see the figure as a set of areas that need colour, instead of a three-dimensional object that needs structure, contrast, and visual clarity. That shift in thinking is where better repainting starts.
Figure repainting is not just “adding paint.” It’s about correcting, enhancing and redefining a figure so it matches the quality you expect as a collector. You’re not just painting surfaces, you’re rebuilding how the figure reads visually.
Figure repainting is the process of:
- Improving details
- Adding depth with shadows
- Making figures look closer to how they appear in anime
What beginners get wrong:
They focus on what colour to use instead of how to apply it. That’s backwards. Your result depends far more on:
- Paint consistency
- Layer control
- Brush precision
Two people can use the same paint and get completely different results because of the technique.
Your goal in this guide:
- Clean base coats
- Controlled shadows
- Sharp details
If you get those right, your figures will already look better than most first-time repaints online, and more importantly, they’ll actually look good in your collection.
2. Module: Tools & Setup

A clean repaint starts long before the brush touches the figure. Your setup matters, not because it needs to be expensive, but because it needs to be simple, repeatable, and predictable. The more organised and reliable your setup is, the easier it is to focus on control instead of fighting your tools.
A lot of beginners waste money buying too much too early. They buy extra brushes, too many paints, or hobby tools they do not yet know how to use. In reality, a small setup that you understand well will take you much further than a large setup that creates confusion. Keep it simple, learn how each tool behaves, and build from there.
Tools to start with:
- Acrylic paints (Vallejo recommended)
- Brush Size 0 round → main work (80% of painting)
- Brush Size 00 round → eyes and fine details
- Brush Size 1 round → base coats and mixing
- Primer (grey spray primer is safest)
- Matte varnish (spray or brush-on)
- Water + palette (ceramic or plastic)
- Paper towel
What actually matters:
- A sharp brush tip (more important than price)
- Paint you can thin easily
- Good lighting (natural or white LED)
Some practical setup tips:
- Use a size 0 brush for 80% of your work - this is your main tool
- Keep your 00 brush only for eyes and fine lines
- Rinse your brush constantly - dried paint ruins control
- Replace brushes when the tip starts bending
- Keep water, palette, and towel within reach
What beginners get wrong:
They overbuy tools instead of mastering them, even though a simple setup used well will always outperform a complex setup used poorly.
3. Module: Paint Control

If there is one area that decides whether your repaint looks smooth or amateur, it is paint control. Before you think about shading, facial detail, or anime accuracy, you need to understand how your paint behaves on the brush and on the figure. Most beginner problems come from paint that is too thick, too wet, or poorly mixed.
Good paint control means knowing how to thin paint until it flows smoothly without flooding detail. You want paint that covers in layers, not paint that clumps, streaks, or fills sculpt lines. This takes a bit of feel, but once you understand it, everything else in figure painting gets easier.
What you’re aiming for:
Paint that flows smoothly but stays where you place it. Aim for a slightly thinner consistency than milk.
Tools used:
- Palette (mandatory)
- Size 1 brush (for mixing only)
- Clean water
How to control it:
- Use a palette - never paint straight from the bottle
- Add water gradually (1–2 drops at a time)
- Mix thoroughly with your brush
Some practical tips:
- If paint leaves texture → too thick
- If it floods into gaps → too thin
- Always remove excess paint from your brush before touching the figure
- Test your paint every time, even professionals do this
What beginners get wrong:
They skip testing the paint. Always test on your palette or a spare surface first.
4. Module: Preparation
Preparation is one of the least exciting parts of repainting, which is exactly why so many beginners rush or skip it. But this stage has a huge effect on how the paint behaves later. If the surface is dirty, oily, glossy, or slightly rough in the wrong places, your paint will show it.
A clean figure gives you a better foundation. Paint adheres more evenly, layers sit more smoothly, and you reduce the chances of lifting, patchiness, or strange texture later. Good prep is not about doing something fancy. It is about removing avoidable problems before they show up in your paintwork.
Tools used:
- Mild soap
- Soft toothbrush
- Clean cloth
- Sanding sponge (1000 - 2000 grit)
Process before painting:
- Wash the figure (warm water + mild soap)
- Let it dry completely
- Inspect the surface carefully under lighting
What to look for:
- Dust or residue
- Glossy plastic
- Mold lines or imperfections
Some practical tips:
- Don’t touch the figure with unwashed hands
- Use gloves or hold it with washed hands [oil-free]
- If sanding, go lightly - you’re refining, not reshaping
What beginners get wrong:
They assume the figure is clean. Factory residue is common, skipping prep leads to poor adhesion and uneven paint.
5. Module: Primer

Priming is the step that helps your paint grip the figure properly and behave in a more predictable way. Without it, you are often painting directly onto a surface that was never meant to hold thin acrylic layers well. That usually leads to frustration, especially for beginners who already have enough to focus on.
Think of primer as the bridge between the plastic and your paint. It gives you a more even surface to work on, helps colours behave more consistently, and makes the next stages less slippery and less unpredictable. It is not glamorous, but it is one of the reasons experienced painters get cleaner results.
Tools used:
- Grey spray primer
- Alternative: brush-on primer
What it does:
- Improves adhesion
- Creates a uniform base
- Helps colours apply evenly
How to apply:
- Light even passes
- Keep distance (20 - 30 cm if spraying)
- Let it dry fully before painting
Some practical tips:
- Rotate the figure while spraying
- Spray in short bursts, not continuously
- Always work in a ventilated area
What beginners get wrong:
Using too much primer. You’re not covering the figure - just preparing it.
6. Module: Base Coats

Base coats are where your repaint starts to become real. This is the stage where the figure begins to take on its new look, and it is also where many beginners either build a strong foundation or create problems they later struggle to fix. If the base coats are rough, patchy, or too thick, every later stage becomes harder.
A good base coat should look smooth, even, and controlled. It does not need to cover perfectly in one pass, and in fact, it should not. Strong base coats are built gradually. Multiple thin layers give you better colour, better surface quality, and much more control around edges and details.
Tools used:
- Size 1 brush (larger areas)
- Size 0 brush (controlled edges)
What you want:
- Smooth surface
- Even colour
- No visible brush strokes
How to do it:
- Thin your paint
- Apply 2 - 4 layers
- Let each layer dry
Some practical tips:
- Paint in the same direction per layer
- Don’t go back over semi-dry paint
- First layer will look bad - that’s normal
Example skin tones:
- Layer 1 → patchy
- Layer 2 → improving
- Layer 3 → smooth
What beginners get wrong:
Trying to finish in one coat. Build gradually, that’s how you get a professional finish.
7. Module: Light & Depth

This is where repainting starts to feel like actual painting rather than simple colour application. Before adding shadows, you need to understand where they belong and why. Light defines how the figure reads. It gives shape to muscles, depth to clothing folds, and visual structure to hair, boots, gloves, and armour.
A lot of beginners place darker paint where it “feels right” without following a clear light source. That usually creates random shadows and a messy result. Even bold anime-style shading needs logic. Once your light direction is consistent, the figure immediately starts to feel more intentional and more believable.
Tools used:
- Size 0 brush
- Reference images (essential)
Step 1: Choose a light source
- Most common: Top-down light
Step 2: Place shadows logically
- Under chin
- Under muscles
- Under hair
- Inside folds
Some practical tips:
- Look at anime references before painting
- Use your size 0 brush to map shadow areas lightly
- Keep lighting consistent across the entire figure
What beginners get wrong:
Inconsistent lighting. Guessing. If the light direction isn’t consistent, the figure looks messy instead of detailed.
8. Module: Shading

Shading is what turns a flat repaint into something with real impact. It creates separation between planes, makes sculpted details stand out, and gives the figure a more finished, premium look. For anime figures especially, shading is one of the biggest visual upgrades you can make.
The trick is to keep the shading intentional. In anime-style repainting, you usually want strong contrast, clear shapes, and minimal blending. You are not trying to mimic soft realism. You are trying to make the character read clearly and feel closer to the source material, especially from a display distance.
Tools used:
- Size 0 brush
- Darker tone of base colour
Best approach for anime figures [cell shading]:
- Sharp edges
- Strong contrast
- Minimal blending
How to apply:
- Use a darker tone of your base colour
- Keep edges clean
Some practical tips:
- Never jump straight to your darkest tone
- Don’t over-darken
- Study reference images carefully
What beginners get wrong:
Over-blending → kills the anime look instantly and makes the figure look dull.
9. Module: Details & Line Work

Detailed work is the stage that exposes everything. If your base coats and shading are decent but your facial lines are shaky or your clothing edges are sloppy, the whole repaint will feel weaker. On the other hand, even a simple repaint can look far more impressive when the details are clean.
This part requires patience more than speed. Eyes, eyebrows, mouths, edge lines, and small accents all need a steady hand and controlled paint. It is better to place one careful stroke at a time than to rush and spend the next hour fixing avoidable mistakes.
Tools used:
- Size 00 brush (fine detail)
- Size 0 brush (general detail)
Focus areas:
- Eyes
- Eyebrows
- Mouth
- Clothing lines
Some practical tips:
- Use very little paint
- Anchor your hand on the table
- Work slowly and deliberately
- If a line goes wrong, let it dry and repaint
What beginners get wrong:
Rushing details. Clean lines come from control, not speed.
10. Module: 2D/Cel-Shaded Look

This is the look most collectors actually want: a figure that feels like it stepped out of the anime rather than a softly painted toy. The 2D or cel-shaded style works so well because it pushes contrast, sharpens forms, and makes the sculpt easier to read from a distance.
A good cel-shaded repaint is not just about adding darker lines. It is about using bold shadow placement, crisp transitions, and subtle but clean outlining to create that animated feel. When done well, it makes hair spikes, muscles, clothing folds, and armour shapes look stronger and more graphic.
Key elements:
- Strong contrast
- Sharp shadow edges
- Clean outlines
How to approach it:
- Use bold shadows instead of soft gradients
- Keep lines consistent
- Focus on readability from a distance
Some practical tips:
- Use your size 00 brush for edge lines
- Keep outlines subtle, not too thick
- Compare your figure to anime references
What beginners get wrong:
Trying to make everything smooth. Anime style works because it’s bold and defined.
11. Module: Fixing Mistakes

Mistakes are part of the process, even for experienced painters. Paint will sometimes go outside the line, a layer may dry rough, or a colour choice might look wrong once it is on the figure. None of that means the repaint is ruined. It just means you need to know how to recover cleanly.
The biggest mistake beginners make here is panicking. They try to wipe, scrub, or fix wet paint immediately, and that usually makes the problem worse. A calm correction process almost always gives a better result: let it dry, assess the issue, and correct it in thin, controlled passes.
Common issues:
- Paint overflow
- Uneven layers
- Wrong colour
How to fix:
- Let the paint dry completely
- Reapply thin layers
- Clean edges carefully
Tools that help:
- Size 0 brush (for corrections)
- Slightly damp brush (for soft adjustments)
Some practical tips:
- Fix small areas at a time
- Don’t rush corrections
- Keep your paint thin
What beginners get wrong:
Trying to fix mistakes while the paint is wet. That almost always makes it worse.
12. Module: Sealing The Figure

Once the repaint is finished, you need to protect the work you have just spent time building. Sealing is what helps lock the paint in, reduce unwanted shine, and make the overall finish feel more consistent across the entire figure. It is the final stage that turns painted plastic into something that feels complete.
A lot of beginners either skip this step or use too much varnish. Both are problems. Too little protection leaves the finish vulnerable, while too much can make the surface cloudy, dusty-looking, or uneven. The goal is simple: a light, controlled finish that protects the repaint without overpowering it.
What to use:
- Matte varnish (spray recommended)
Why it matters:
- Protects paint
- Removes unwanted shine
- Gives a consistent finish
How to apply:
- Light coats
- Even distance
- Let dry fully
Some practical tips:
- Spray in a dust-free area
- Don’t touch until fully dry
- Apply 1 - 2 light coats max
What beginners get wrong:
Using too much varnish. That leads to a cloudy or uneven finish.
13. Module: Improving Over Time
This is where real progress happens, not in theory, but in repetition. You do not improve just by understanding the steps. You improve by applying them, reviewing what went wrong, and making small corrections the next time. That is how brush control develops and that is how your eye gets sharper.
The fastest way to improve is not to chase ambitious projects too early. It is to repeat the basics until they stop feeling random. Simple figures, controlled practice, good references, and honest review will take you much further than jumping into a difficult repaint before you are ready.
What works:
- Practicing regularly
- Reviewing your mistakes
- Adjusting your approach
Best approach:
- Start with cheaper figures
- Focus on one skill at a time
- Use a reference every time
Some practical tips:
- Take before/after photos
- Compare your results objectively
- Don’t jump into complex projects too early
What beginners get wrong:
Expecting fast results. Improvement comes from consistency, not perfection.
👉 2D Figure Painting Course - Vegeta repaint across 12 focused chapters
Simple Starter Kit
If you’re just getting into figure repainting, you don’t need a huge setup to start getting good results. In fact, keeping your kit simple is one of the best things you can do early on. The goal is not to have more tools — it’s to understand and control the essentials.
🎨 Paints:
- Acrylic paints (recommended: Vallejo)
- Start with a small range: skin tone, black, white, and a few core colours for your figure
🖌️ Brushes:
- Size 0 round → main brush (you’ll use this most of the time)
- Size 00 round → fine details (eyes, lines)
- Size 1 round → base coats and paint mixing
◻️ Surface Prep:
- Mild soap + soft toothbrush (for cleaning)
- Fine sanding sponge (1000–2000 grit, optional for smoothing)
🫙 Priming & Finishing:
- White primer (spray is easiest for beginners)
- Matte varnish (for protection and clean finish)
🔧 Basic Setup:
- Palette (ceramic or plastic)
- Water container
- Paper towel (for controlling paint on your brush)
What matters most is:
- How well you control your paint
- How clean your layers are
- How consistent your process is
Start simple, learn the fundamentals, and upgrade your tools only when your skill actually requires it.
Frequently Asked Questions
Can beginners learn figure repainting at home?
What paint is best for figure repainting?
Acrylic model paints are usually the best choice for figure repainting because they are easy to control, dry fairly quickly, and work well in thin layers. Many beginners start with Vallejo because the paint is smooth, beginner-friendly, and suitable for clean anime-style repaints.
Do I need to prime a figure before painting it?
Yes, in most cases primer is highly recommended. Primer helps paint stick to the surface properly, creates a more even base, and makes your colours behave more consistently. If you skip primer, the paint can struggle to grip and may look patchy or uneven.
How do I avoid brush marks when painting figures?
The main way to avoid brush marks is to thin your paint properly and build colour in multiple light layers instead of one heavy coat. It also helps to use the right brush size for the area, paint in controlled strokes, and avoid going back over paint that is already starting to dry.
How do I make a figure look more like anime or cel-shaded?
To create a more anime-style finish, focus on strong contrast, clean base colours, sharp shadow placement, and neat line work. Instead of soft blending, use more defined shadows and controlled edges so the figure reads clearly and looks closer to a 2D animated style.

Share:
Dragon Ball Z Broly Figure Ideas For Collectors | Best To Worst
How to Repaint Action Figures: Collectors' Guide