
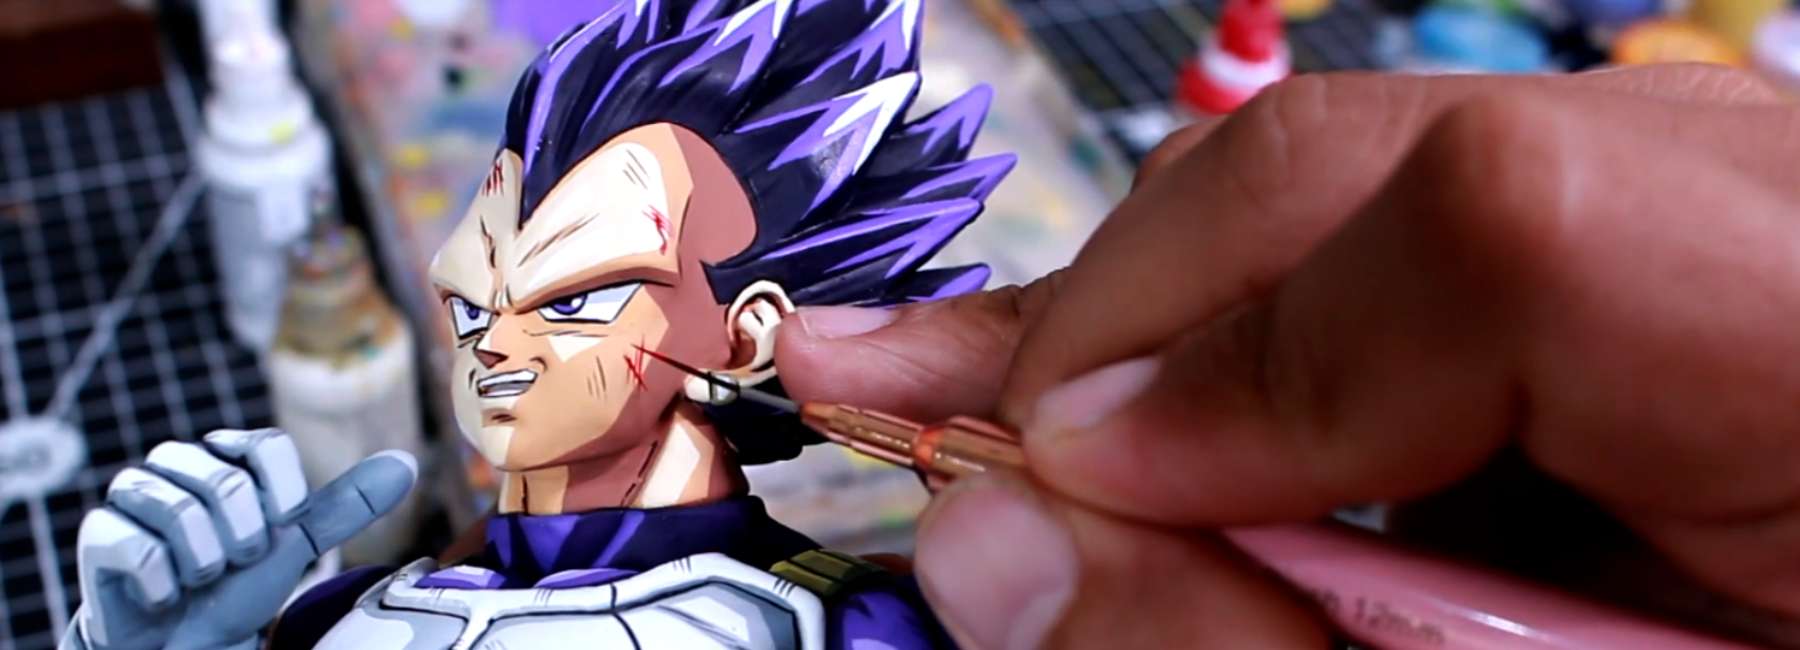
Face and eye detailing is the technique that punishes shortcuts more than any other stage of the painting process. A perfectly painted body with weak face work always looks worse than a simpler body with strong face work. The face is what collectors look at first, judge fastest, and remember longest.
For Dragon Ball figures especially, this stage is where the character's personality lives. Vegeta's intensity, Goku's determination, Gohan's quiet focus — all of it is carried in the eyes and the expression.
This guide walks you through what figure face and eye detailing actually is, why it matters, what tools you need, and exactly how to apply it cleanly on your first attempt.
Table of Contents:
- What is figure face and eye detailing?
- Why face work makes or breaks a repaint?
- Tools you need for face and eye detailing
- Understanding face anatomy on figures
- Step-by-step face and eye detailing process
- How to paint eyes cleanly?
- Examples of face detailing in practice
- Common mistakes to avoid
- Detailing different facial features
- Frequently asked questions
What is Figure Face and Eye Detailing?
ANSWER: Figure face and eye detailing is the precision stage of a repaint where every facial feature — eyes, eyebrows, mouth, skin tones, and expression details — is painted with the smallest brushes and the most careful technique to bring the character's personality to life.
What this stage actually covers:
- The eyes, including sclera, iris, pupil, outline, and specular highlight
- The eyebrows, including shape, colour, and edge definition
- The mouth, including lip tone, mouth line, and any expression detail
- Subtle skin highlights on the bridge of the nose, cheekbones, chin, and forehead
- Final adjustments to skin tone and facial shadow
Where face detailing sits in the painting workflow:
- Comes after base coating, washing, layering, cel-shading, and edge highlighting
- The final brush technique before sealing
- Builds on the foundation every previous stage has provided
- Cannot be rushed regardless of how strong the rest of the figure is
Why this stage demands separate attention:
- The face is the smallest, most detailed area on most figures
- Errors are highly visible and very hard to correct without starting over
- The eyes alone contain more painting decisions than entire armour panels
- The character's personality lives or dies at this stage
For Dragon Ball figures specifically, face detailing is where the character actually emerges. Bold expressions, sharp eyebrows, defined eye shapes, and characterful mouth work are the elements that make the figure feel like the anime character rather than a generic painted toy.

Why Face Work Makes or Breaks a Repaint?
There are three reasons figure face and eye detailing carries more weight than any other stage.
1. It is what collectors look at first
- When someone picks up or walks past a figure, the eyes draw attention immediately
- The body can be painted to a professional standard, but if the face looks flat or rushed, the whole figure feels amateur
- Equally, even a simpler body becomes impressive when the face is sharp and full of character
2. It is the most personal feature
- Anyone can recognise a poorly painted face instantly because human brains are wired to read faces with extreme precision
- This same brain wiring punishes facial errors that would go unnoticed on any other surface
- A slightly off-centre pupil reads as immediately wrong in a way that a slightly off-centre armour highlight never would.
3. It defines the character
- A figure of Vegeta with weak eyes is not really a Vegeta figure
- It is a figure that looks vaguely like Vegeta
- The character lives in the expression
- The face work is what brings the character into the figure
For a beginner working through the eight core figure painting techniques, face detailing is the technique that most clearly determines the difference between a good repaint and a great one.
Tools You Need for Face and Eye Detailing
Face detailing demands the most precise toolkit of any stage in figure painting.
| Tool | Purpose | Recommended Options |
|---|---|---|
| Ultra-fine detail brush | Eye work and tightest details | Citadel XS Artificer Layer, Winsor & Newton Series 7 size 000, Rosemary & Co Series 33 size 5/0 |
| Fine detail brush | Eyebrows, mouth, edge work | Citadel S Layer, Winsor & Newton Series 7 size 0 |
| Skin tone paints | Base, shadow, and highlight skin colours | Vallejo Game Color flesh range, Citadel skin paints |
| Pure white | Sclera (white of the eye) | Citadel White Scar, Vallejo Pure White |
| Pure black | Pupils and eye outlines | Citadel Abaddon Black, Vallejo Black |
| Iris colour | Eye colour matching the character | Custom mixed for the specific character |
| Wet palette | Maintaining paint consistency for precision work | Redgrass Games Painter or Army Painter |
| Magnification | Seeing fine details clearly | Magnifying lamp, head loupe, or strong reading glasses |
| Strong neutral lighting | Precision visibility | Daylight LED minimum 1,000 lumens |
Practical recommendations:
- Brush quality matters more here than at any other stage. A worn brush with a damaged tip cannot place the dot of pigment a pupil requires
- A magnifying lamp transforms face detailing accuracy. The eyes on most figures are smaller than 2mm, and working at that scale without magnification leaves significant accuracy on the table
- Reserve dedicated face brushes and protect them carefully. These brushes do precision work and should never be used for any other stage
What to avoid:
- Soft, fluffy brushes; face detailing needs the springy, controlled flex of natural sable or sable-blend brushes
- Pre-thinned paints for eye work; you need full control over consistency
- Overhead lighting that casts shadow on the face; side lighting is significantly better for face detailing
Understanding Face Anatomy on Figures
Before painting, it helps to understand exactly what features need attention and where they sit on a typical Dragon Ball figure's face.
Key facial features for detailing:
- Eye sockets — the sculpted recesses where the eyes sit
- Sclera — the white area of the eye surrounding the iris
- Iris — the coloured circle around the pupil
- Pupil — the central black dot
- Specular highlight — the small white catchlight in the iris
- Upper eyelid — the line above the eye, often emphasised in anime style
- Eyebrows — sculpted ridges or smooth surfaces depending on the figure
- Nose bridge — the raised area between the eyes
- Cheekbones — the raised structure beneath the eyes
- Mouth — the lip area and mouth line
- Chin — the raised area beneath the lower lip
- Forehead — the broad area above the eyebrows
Understanding this layout matters because face detailing follows a specific logical order. You work from the broadest skin tones down to the smallest precision details, building up gradually rather than tackling the most demanding work first.

Step-by-Step Face and Eye Detailing Process
This is the actual workflow from completed body to fully detailed face.
✅ Step 1: Confirm Previous Stages Are Fully Dry
- Face detailing goes on top of every previous stage and needs the underlying paint completely dry
- A surface that is still soft will be disturbed by precision brushwork
- Wait at least an hour after the previous stage, ideally longer
✅ Step 2: Set Up Magnification and Lighting
- Position your magnifying lamp or head loupe before starting
- Adjust your light source to come from the side rather than directly overhead
- Side lighting reveals sculpted detail far better than overhead lighting
- This single setup change improves face detailing accuracy more than any other factor
✅ Step 3: Prepare the Skin Tone Foundation
If the skin tones from earlier stages need any final adjustment, do it now before moving to the eyes. Subtle skin highlights on the bridge of the nose, cheekbones, chin, and forehead can be added at this stage. Use very thinned paint and build gradually.
✅ Step 4: Paint the White Sclera
- Load a fine detail brush with thinned pure white and place clean white into the eye socket area
- The sclera should fill the eye socket cleanly
- Do not extend it beyond the sculpted eye area
- Two thin coats produce better results than one heavy coat
- Allow to dry fully before moving on.
✅ Step 5: Paint the Iris
- Mix the iris colour to match the character
- Apply with an ultra-fine detail brush, leaving a thin border of white visible around the iris
- The iris should not fill the entire eye
- Leaving a small amount of white showing creates the round, anime-style eye shape that defines Dragon Ball characters
✅ Step 6: Place the Pupil
Load the ultra-fine brush very lightly with pure black and place a single small dot at the centre of the iris. The pupil placement determines the figure's expression. Centred pupils look forward.
Slightly upward pupils look intense. Slightly side-placed pupils suggest focus or movement. Choose deliberately based on the character you are painting.
✅ Step 7: Add the Eye Outline
With pure black on the ultra-fine brush, paint a thin line along the upper edge of the eye where the eyelid meets the eye. This dark line defines the eye shape, sharpens the expression, and gives the face the bold anime quality. Keep the line thin and confident.
For some characters, a thinner line along the lower eye edge can be added for additional definition.
✅ Step 8: Add the Specular Highlight
A tiny dot of pure white placed within the iris creates the specular highlight — the catchlight that makes the eye look alive. Place it consistently across both eyes (typically upper-left or upper-right of the iris) and keep it small.
A specular highlight that is too large makes the eye look overlit. This single dot is what most clearly transforms a painted eye into a living one.
✅ Step 9: Paint the Eyebrows
Using the same colour as the hair (or slightly darker for emphasis), paint the eyebrows in the direction of the brow shape. Anime eyebrows tend to be sharper and more defined than realistic ones. Bold, confident strokes with clean edges produce the right look.
✅ Step 10: Detail the Mouth
The mouth line is painted with a fine brush using a slightly darker tone than the surrounding skin. For most Dragon Ball figures, the mouth line should be subtle but defined. Lip colour can be added with a subtle warm skin tone slightly darker than the face.
✅ Step 11: Final Skin Highlights
- Add tiny final highlights to the bridge of the nose, the tips of the cheekbones, the chin, and the forehead
- These should be subtle — barely visible up close but giving the face dimension at display distance
✅ Step 12: Inspect Under Strong Light
Once everything is dry, examine the face under your strongest, most neutral light from multiple angles.
A correctly detailed face should show:
- Clean, defined eyes with clear sclera, iris, pupil, and outline
- A specular highlight that brings the eyes to life
- Sharp, characterful eyebrows
- A defined mouth that suits the character
- Subtle skin dimension across the bridge of the nose, cheekbones, and chin
- An overall expression that captures the character's personality
Any small adjustments can be made now before the figure moves to sealing.
How to Paint Eyes Cleanly?
Eye work is the single most demanding precision task in figure painting.
1. Anchor your hand completely
- Rest your brush hand against the figure base, your other hand, or the edge of your work surface
- A floating brush hand will produce shaky lines. An anchored hand produces clean placements
2. Use the very tip of the brush
- Eye work uses the absolute point of the brush, not the side
- The tip should be sharp, clean, and freshly loaded for each placement
3. Work in micro-strokes
- Eye details are placed with tiny, controlled movements, not full brush strokes
- A pupil is a single dot. An eye outline is a thin, confident line
- Both are placed in seconds, not minutes
4. Plan each placement before touching the figure
- Look at where the brush will land before it lands
- Adjust your hand position, your angle, and your breathing before applying paint
- The actual brush contact should feel almost automatic because the planning has already been done
5. Hold your breath during placement
- This sounds excessive but works
- A held breath stabilises the body and reduces brush movement
- Take a breath, hold it, place the detail, release
- Repeat for the next placement
6. Build up gradually
- If you are uncertain about a placement, apply less paint and assess
- Adding paint is easy
- Removing paint from a small detail is significantly harder.
Practical tips:
- Work under your magnifying lamp throughout the session
- Take regular breaks; precision fatigue affects eye work more than any other stage
- Keep a wet brush ready for cleanup of small mistakes before they dry
- Never attempt eye work when tired or rushed
What beginners get wrong:
- Trying to paint eye details with too much paint on the brush
- Eyes are placed with the smallest possible amount of paint
- A loaded brush deposits more pigment than the eye can hold, blurring the detail and ruining the precision
Examples of Face Detailing in Practice
The examples below walk through face detailing decisions for the most common areas of a Dragon Ball figure face.
Example 1: Detailing Vegeta's Eyes
Vegeta's eyes are one of his most recognisable features — sharp, intense, and slightly narrowed.
- Starting point: Layered and cel-shaded skin tone with shadows beneath the brow ridge.
- Sclera: Pure white filling the eye socket cleanly, leaving sculpted edges defined.
- Iris: A specific Vegeta eye colour — typically a dark blue or grey-blue depending on the version. Applied as a circle leaving thin white edges.
- Pupil: Pure black dot placed slightly centred. For an intense expression, place the pupil slightly upward.
- Eye outline: A confident black line along the upper eyelid, slightly thicker than for some characters to suggest the sharper Vegeta brow shape.
- Specular highlight: A tiny white dot in the upper portion of the iris.
RESULT: The eyes capture Vegeta's intensity. The slightly narrowed shape and confident outline give the face the determined expression that defines the character.
Example 2: Detailing Goku's Eyes
Goku's eyes are softer, rounder, and more open than Vegeta's — capturing his cheerful, determined personality.
- Starting point: Same skin tone foundation with shadows beneath the brow.
- Sclera: Pure white filling the eye socket fully — Goku's eyes are bigger than Vegeta's so the white area is larger.
- Iris: A black or very dark brown circle, leaving more white visible around it than on Vegeta.
- Pupil: Black dot placed centred for an open, forward-looking expression.
- Eye outline: A thinner black line than Vegeta's, keeping the softer expression.
- Specular highlight: A larger white catchlight in the upper iris, contributing to the brighter, more open feel of Goku's eyes.
RESULT: The eyes capture Goku's optimism and determination. The rounder shape and brighter catchlight give the face a warmer expression that defines the character.
Example 3: Detailing Vegeta's Eyebrows
Vegeta's distinctive sharp, downturned brow is one of the defining elements of his face.
- Starting point: Skin tone established, eyes complete.
- Eyebrow placement: Sharp angled lines above each eye, painted with an ultra-fine brush in pure black or very dark brown.
- Direction: Following the sculpted brow ridge, with the inner ends slightly lower than the outer ends to create the iconic angry expression.
- Edge definition: Sharp, clean edges with no fuzzy transitions.
RESULT: The face takes on Vegeta's signature stern expression. The sharp brow definition is one of the single most important details for character recognition.
Example 4: Detailing Skin Tones and Final Highlights
After the eyes and eyebrows are complete, subtle skin work brings the face together.
- Starting point: Eyes and eyebrows finished.
- Nose bridge highlight: Skin tone mixed with a touch of pale skin tone, applied along the top of the nose bridge.
- Cheekbone highlights: Same lighter mix applied to the highest point of each cheekbone.
- Chin highlight: A subtle highlight on the chin tip.
- Forehead highlight: A small lighter spot on the centre of the forehead.
RESULT: The face gains subtle three-dimensional depth that makes it look sculpted and lit rather than flat. Combined with the eye work, the figure now feels alive.
Example 5: Detailing the Mouth
The mouth is more subtle than the eyes but still important for character expression.
- Starting point: All other facial features complete.
- Mouth line: A thin line painted with a fine brush in a slightly darker skin tone or a warm brown.
- Lip tone: Subtle warmer skin tone applied to the upper and lower lip area, slightly darker than surrounding skin.
- Expression detail: For characters with a determined or smirking expression, the corners of the mouth can be slightly emphasised.
RESULT: The mouth completes the facial expression. Combined with the eyes and eyebrows, the face now reads as the specific character with a specific emotional state.
Common Mistakes to Avoid
❌ Trying to paint eye details with a worn brush
- A brush with a damaged tip cannot place a clean dot
- Face detailing brushes must hold a sharp point
- Replace them the moment they fail to hold a tip
❌ Working without magnification
- Eyes on most figures are smaller than 2mm
- Working at that scale without magnification leaves significant accuracy on the table
- A magnifying lamp transforms results
❌ Using too much paint
- Excess paint on the brush ruins eye precision
- The brush should hold the smallest possible amount of pigment for each placement
- Wipe excess on paper towel before applying
❌ Misplacing the pupils
- A pupil who is even slightly off-centre reads as immediately wrong
- Plan placement carefully before painting and work under magnification
❌ Skipping the specular highlight
- The catchlight is what makes an eye look alive
- It seems like a small detail, but skipping it leaves the eyes feeling flat and lifeless
❌ Rushing this stage
- Face detailing is the stage that most punishes rushing
- If you are tired or short on time, stop and come back to it
- Rushed face work cannot be fixed without significant rework
❌ Working in poor lighting
- Face detail precision depends entirely on seeing the figure clearly
- Strong, neutral, side-positioned lighting is non-negotiable
❌ Using too thick a line for the eye outline
- A thick eye outline overwhelms the eye and ruins the expression
- The line should be confident but thin
- For most figures, the line is barely thicker than a pencil mark
Detailing Different Facial Features
Different facial features need different approaches.
Figure Eyes:
- The most demanding work in this stage
- Use the smallest brushes, the most magnification, and the most patience
- Sclera, iris, pupil, outline, and specular highlight — all five elements need attention for a complete eye
Figure Eyebrows:
- Bold, confident strokes with sharp edges
- Anime eyebrows are more defined than realistic ones
- Choose colour carefully — too dark looks heavy, too light disappears
Figure Mouth:
- Subtle but present
- A thin mouth line, slightly warmer lip tone, and any character-specific expression details are usually all that is needed
Figure Nose:
- Mostly handled through subtle skin highlighting
- A tiny highlight on the nose bridge tip and a slightly darker shadow beneath the nostril area is usually sufficient
Figure Cheekbones and forehead:
- Subtle highlight work that adds dimension without dominating
- These highlights should be barely visible up close but visible at display distance
Figure Chin:
- A small highlight on the chin tip and a subtle shadow beneath the lower lip
- Do not overwork the chin — it draws attention away from the eyes
Frequently Asked Questions
What is the most important part of face detailing?
The eyes — by a significant margin. Strong eyes save a face that has weak detailing elsewhere. Weak eyes ruin a face regardless of how well everything else is painted.
Do I need a magnifying lamp for face detailing?
You do not strictly need one, but it dramatically improves results. Eyes on most figures are smaller than 2mm. Working without magnification leaves accuracy on the table that any beginner could otherwise capture.
How do I fix a mistake on the eyes?
Stop immediately. Let the paint dry fully. Then carefully repaint the affected area starting from the white sclera and rebuilding the layers. Wet correction almost always makes things worse on eye work.
What is the difference between Vegeta and Goku eye styles?
Vegeta's eyes are narrower, sharper, and more intense. The pupils tend to be slightly upward and the brow is steeper. Goku's eyes are rounder, more open, and warmer. The pupils tend to be more centred and the brow is more relaxed.
How long does face detailing take?
For a Dragon Ball figure, full face detailing typically takes between two and four hours. The eyes alone can take an hour to do properly. Rushing this stage is one of the most common reasons beginner figure repaints fall short.
Should I paint the eyes before or after sealing?
Always before sealing. Matte varnish over completed eyes can slightly soften the sharpness of the details. If you want extra protection on the eyes specifically, a small dot of gloss varnish can be applied to the eye area after the matte sealing of the rest of the figure.
Can I use decals or transfer eyes instead of painting them?
Yes, eye decals are available for some popular characters and produce clean, consistent results. However, painted eyes typically look more characterful and integrated. Most collectors prefer hand-painted eye work where possible.
What if my eye work just is not improving?
Eye painting is a skill that takes deliberate practice for any artist. Paint multiple test heads or simple figures specifically for eye practice. Improvement comes from repetition, not from waiting until your "real" repaint is ready.
Conclusion: Figure Face and Eye Detailing
Figure face and eye detailing is the technique that completes a repaint properly. Every previous stage — priming, base coating, washing, layering, cel-shading, edge highlighting, dry brushing — builds toward this moment.
The face is where everything you have done on the rest of the figure either pays off or falls apart. The technique is not difficult; you can learn it quickly through practice. It rewards precision, patience, the right tools, and the discipline to work slowly and deliberately.
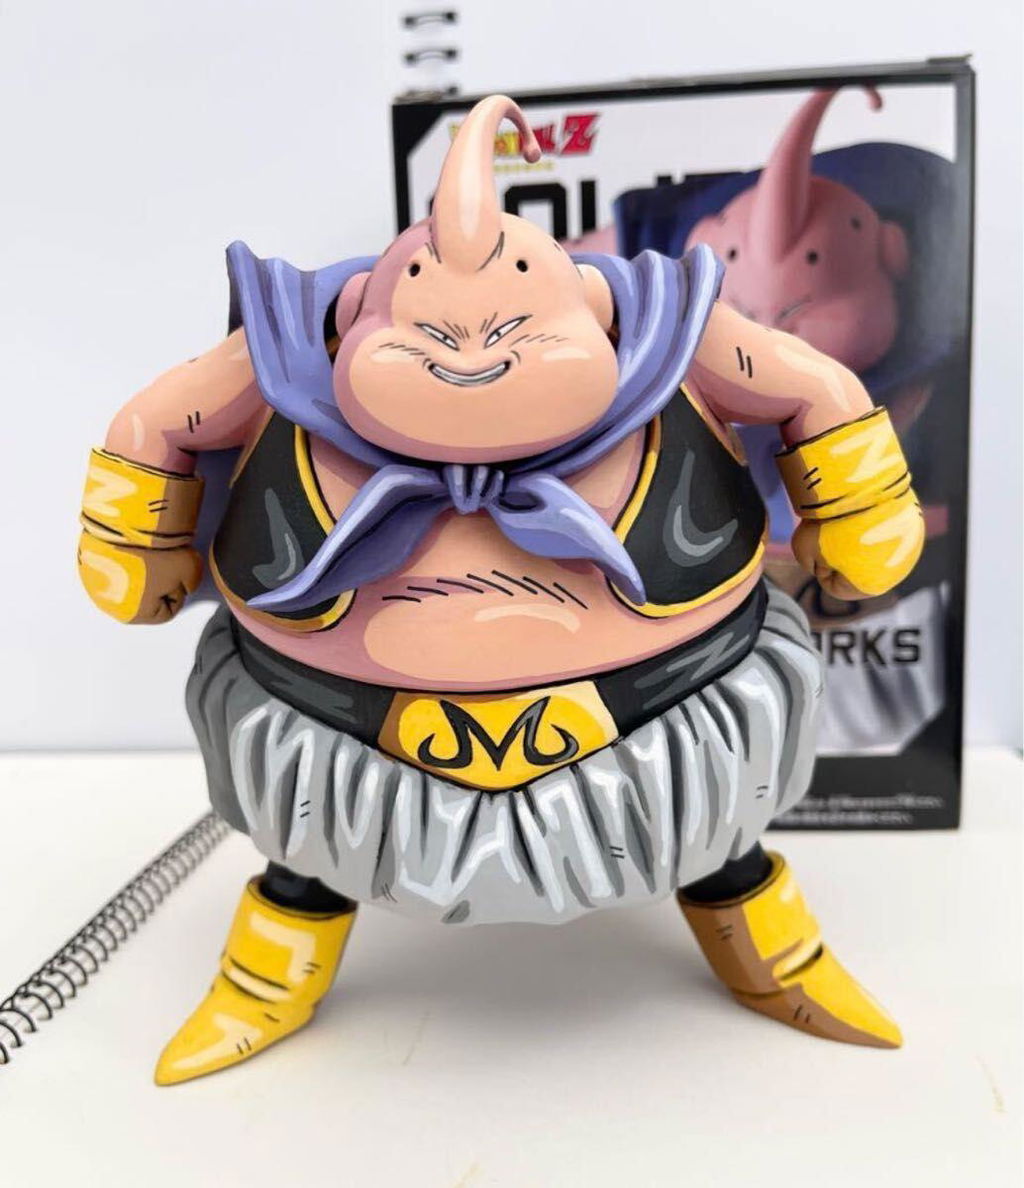
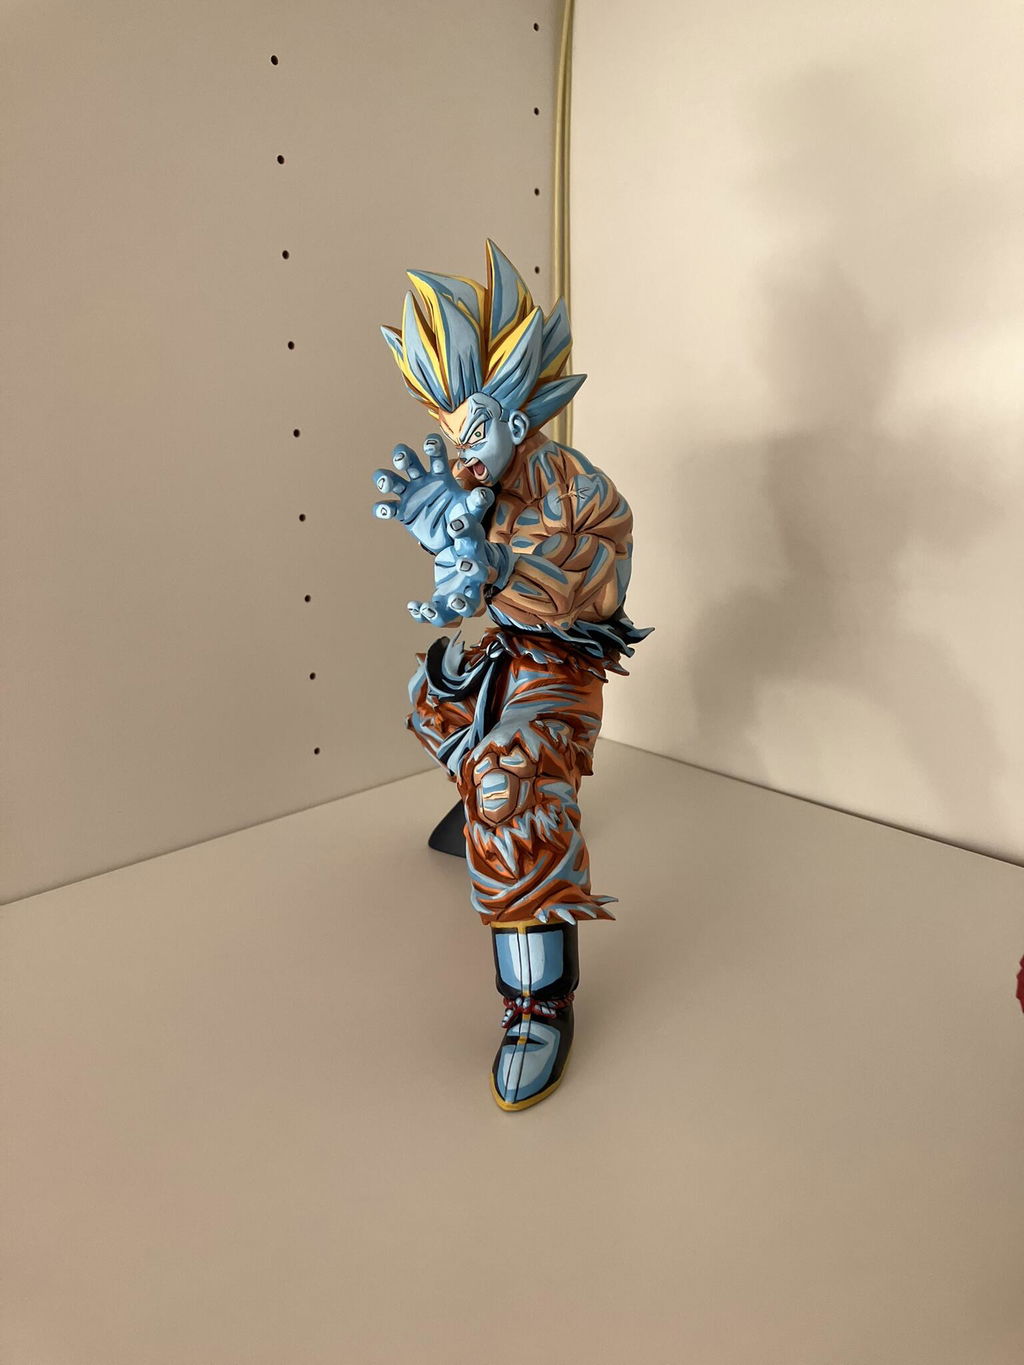
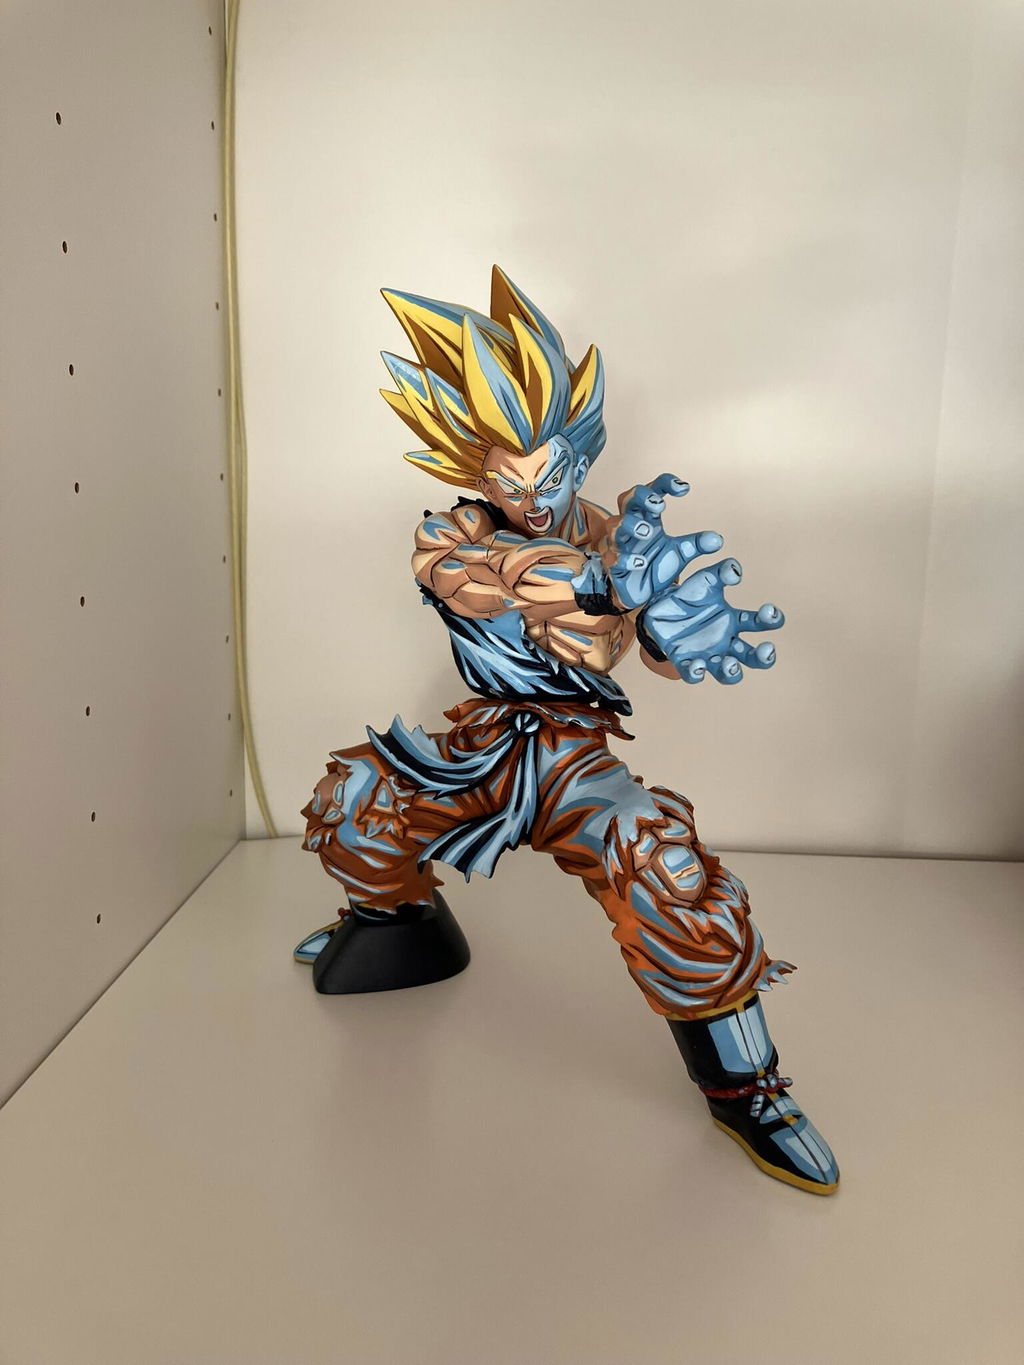
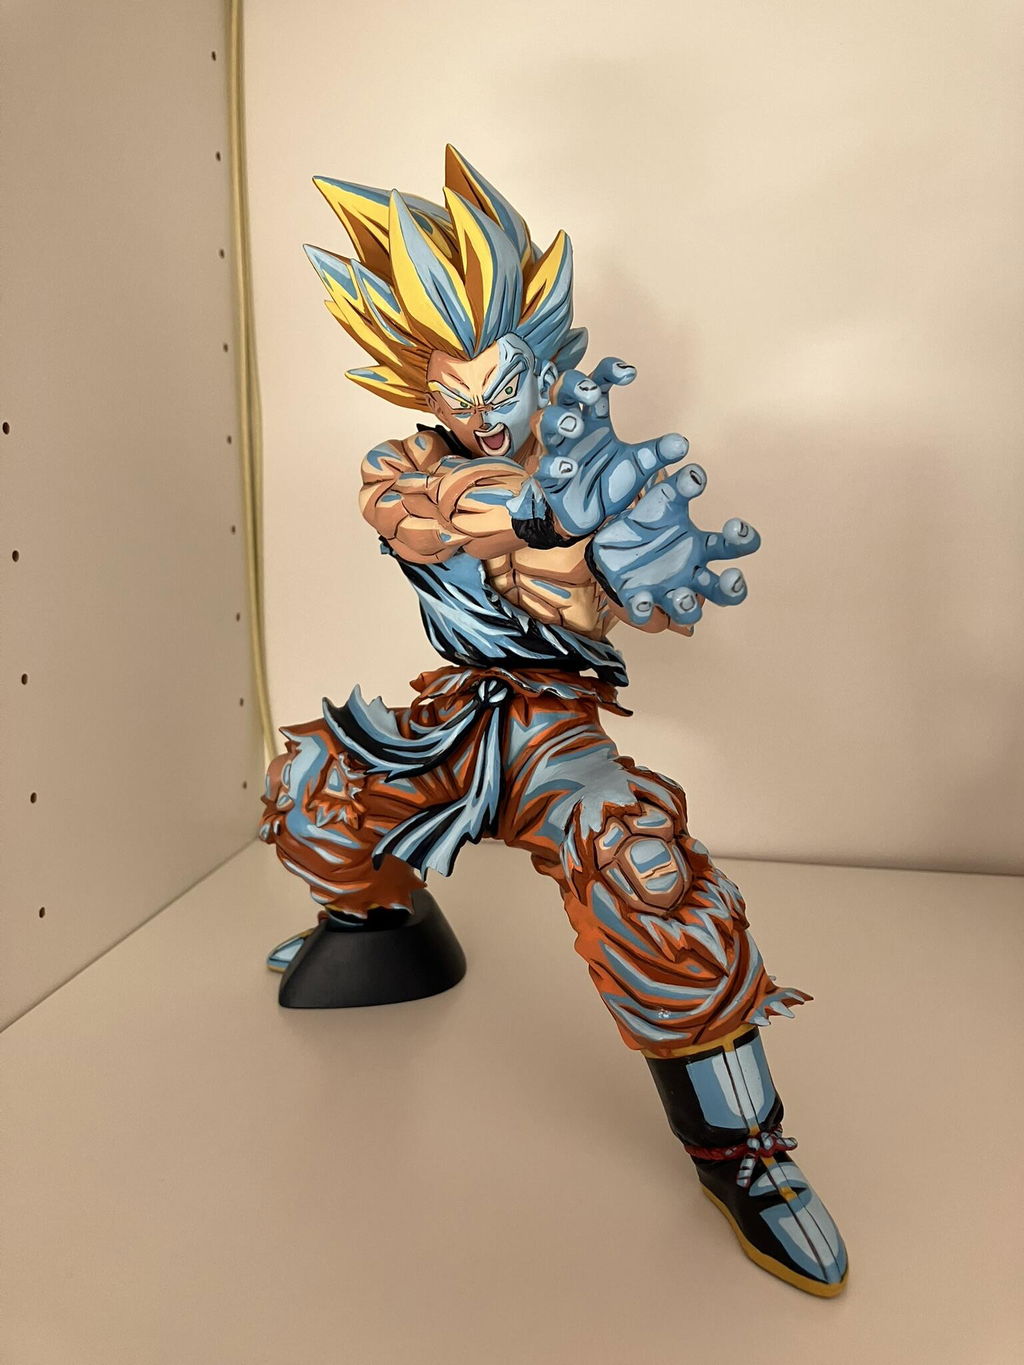
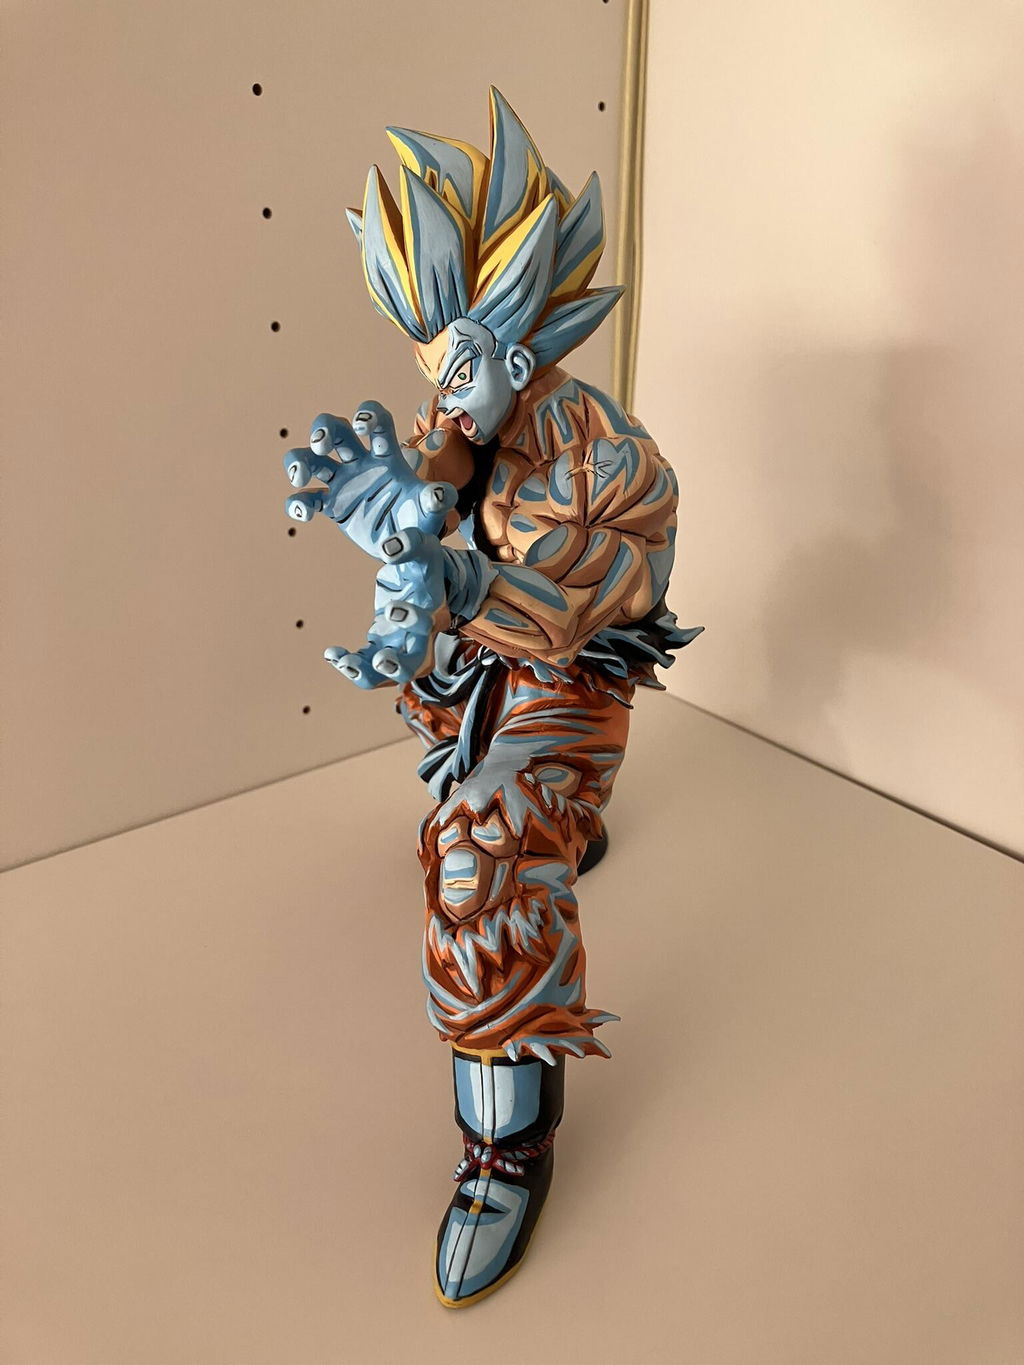
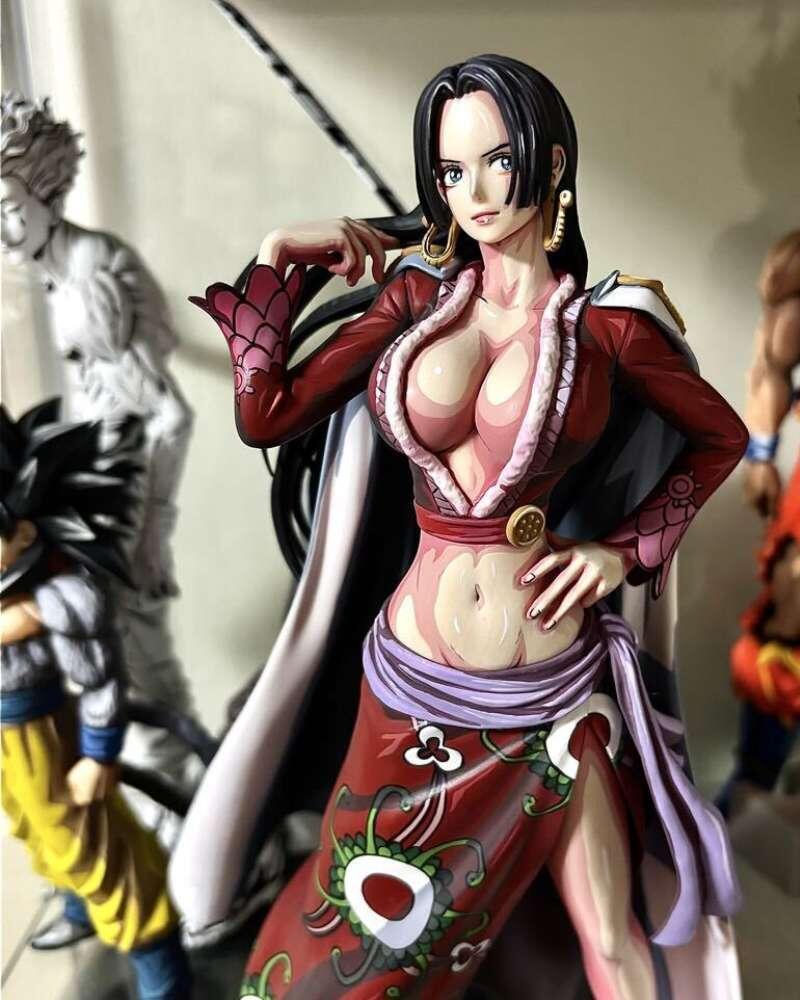
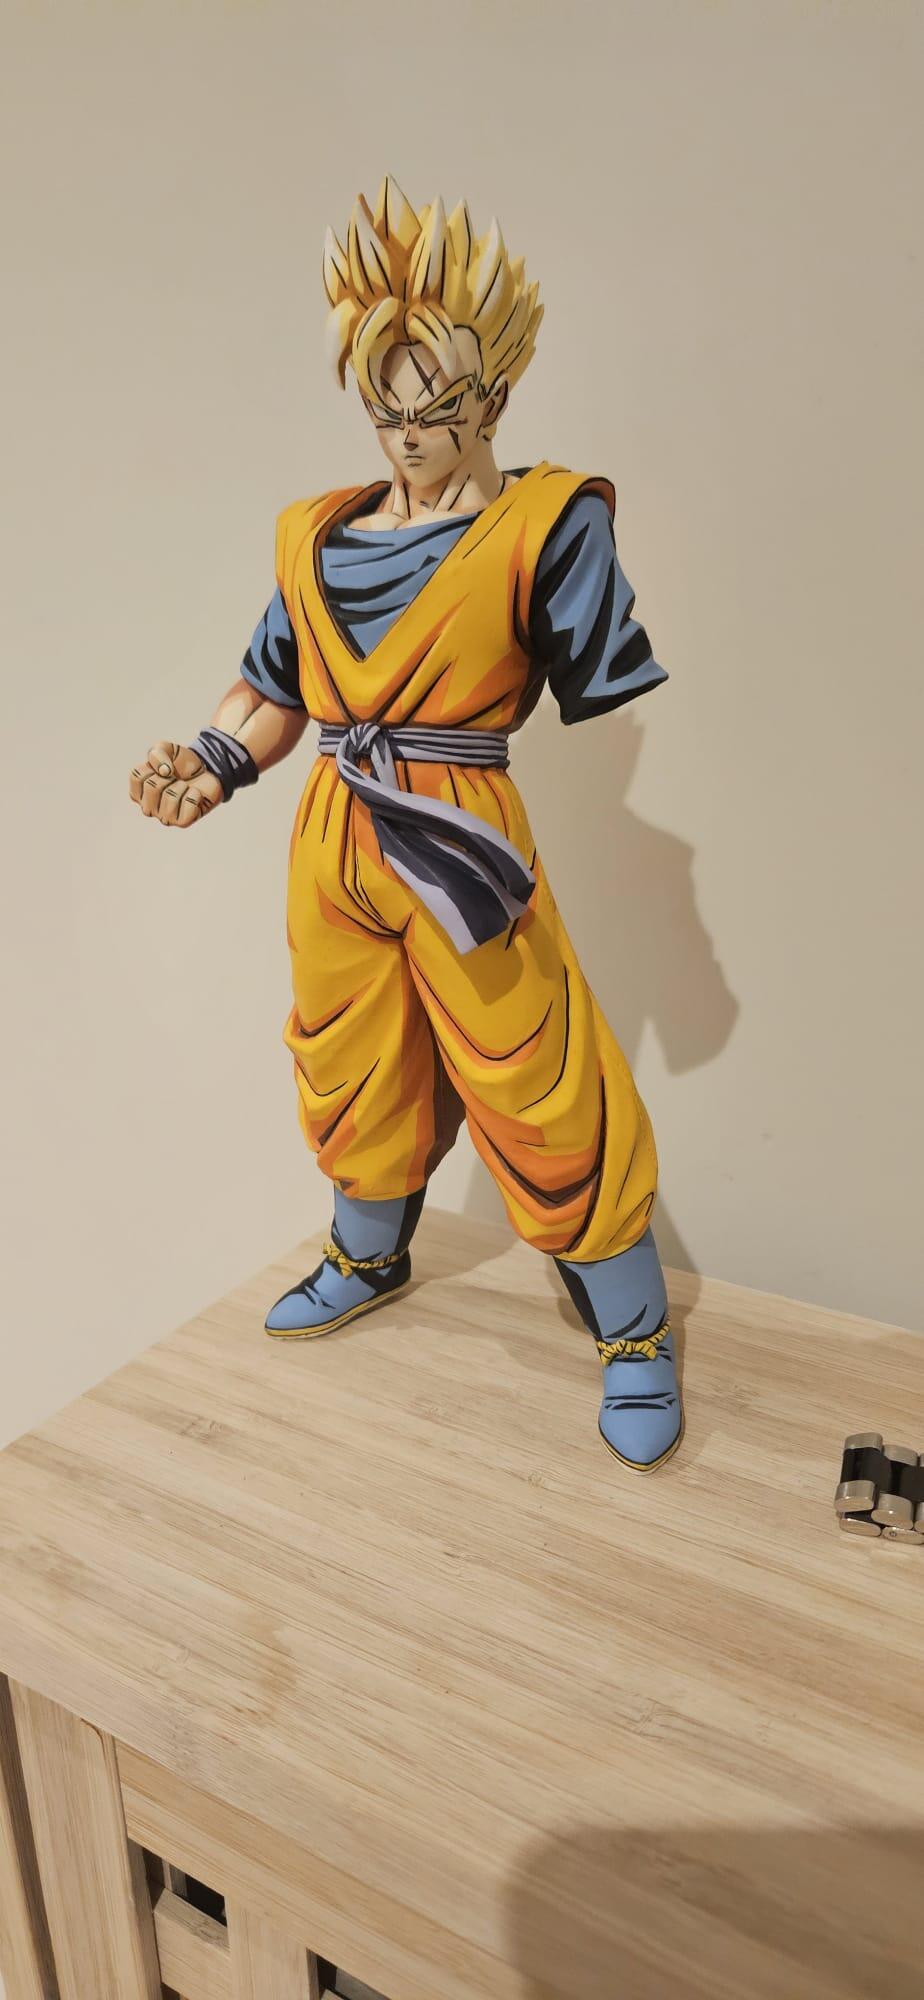
Strong magnification, confident brush work, and the willingness to take breaks rather than push through fatigue are what produce face work that genuinely brings the character to life on images a
Share:
Step-by-Step Figure Edge Highlighting Guide for Beginner Artists
How to Paint Anime Figures: First Time Painter Guide