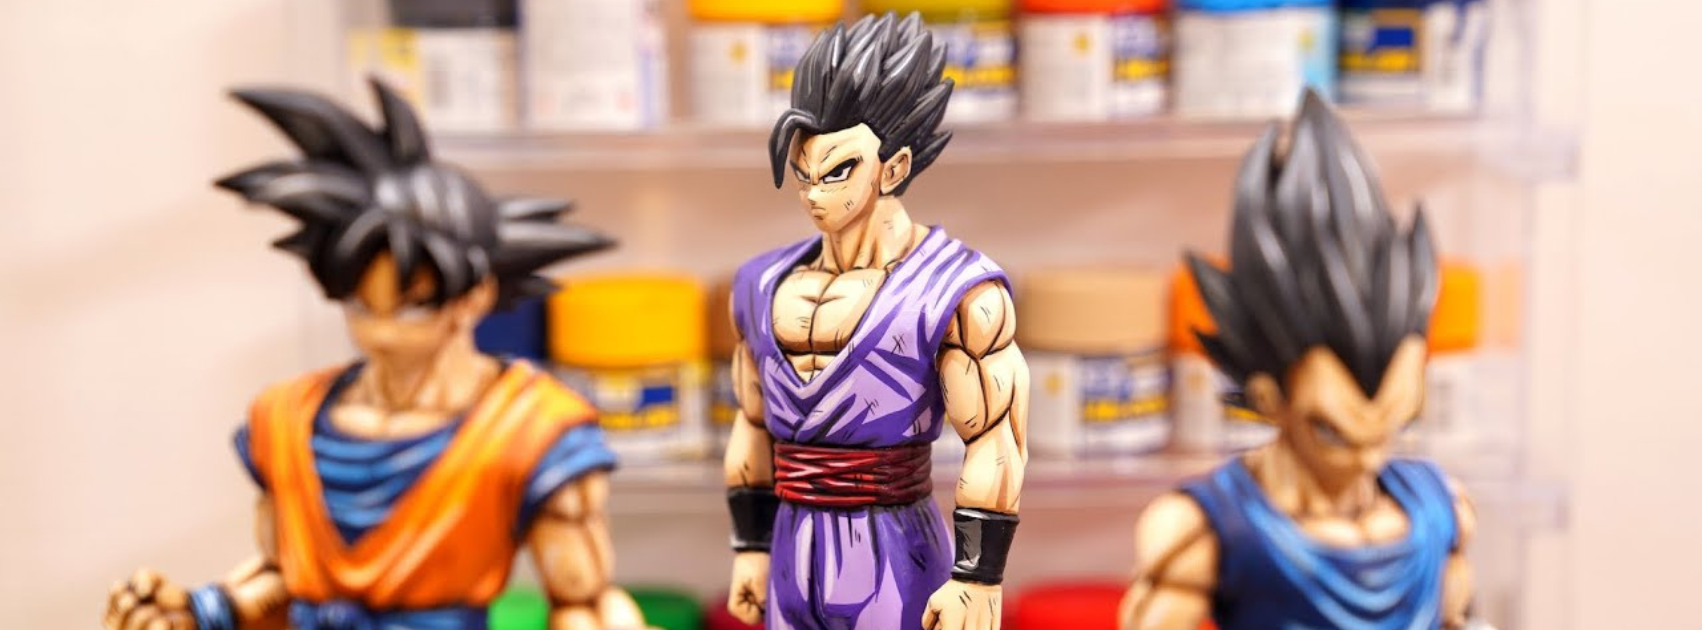
If you have ever looked at a stock anime figure and thought I could make this look better, you are already halfway into the world of custom figure work.
Custom anime figures are not just repaints. They are figures transformed through deliberate process — cleaner shading, sharper detail, anime-accurate colour, and the kind of finish that separates collector-grade work from factory output.
This guide walks you through what custom anime figure work actually involves: the process, the tools, the techniques, and the realistic path from stock figure to finished custom piece.
Table of Contents:
- What is a custom anime figure?
- Why custom anime figures are growing in popularity?
- Tools and materials you actually need
- How to prepare a figure properly?
- The core painting and detailing process
- Sealing and protecting the finished figure
- Where to learn the full process properly?
- Frequently asked questions
What Is a Custom Anime Figure?
ANSWER: A custom anime figure is a mass-produced figure that has been repainted, modified, or refinished by an artist to produce a result that differs from the original factory version — typically aiming for a cleaner, anime-accurate, or character-specific finish.
The four most common types of custom anime figure work:
- Repaints — applying a new colour scheme to an existing figure, often to match the anime more closely or to create an original design
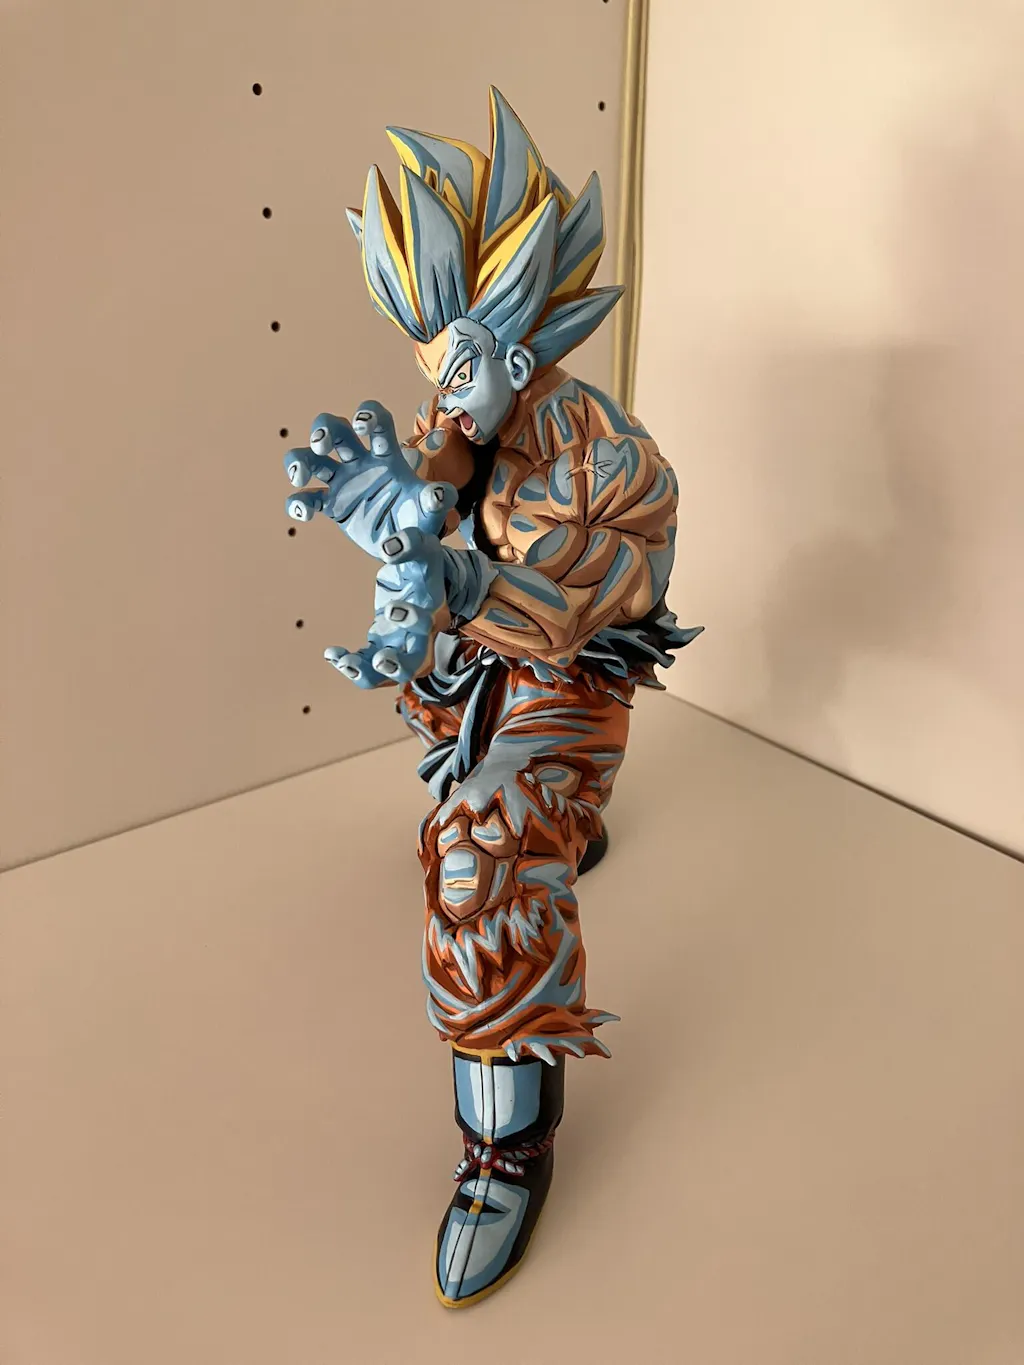
- Cel-shaded customs — using bold, sharp shadow shapes and clean line work to make a 3D figure feel like a 2D anime drawing
- Modifications — cutting, sanding, or sculpting new parts to change a character's appearance, add accessories, or fix sculpt issues
- Full custom builds — working with unpainted resin garage kits that require assembly, pinning, and complete painting from scratch
For most collectors and beginners, repaints and cel-shaded customs are the realistic starting point. Modifications and full custom builds sit further along the skill curve.
This guide focuses on the repaint and cel-shading side of custom anime figure work — the most accessible entry point and the one that delivers the biggest visual upgrade for the time invested.

Why Custom Anime Figures Are Growing in Popularity?
The anime collectibles market is one of the fastest-growing segments in the wider hobby industry.
According to Grand View Research, the global anime merchandising market reached USD 10.85 billion in 2024, with figurines representing the largest segment at over 37 percent of total revenue.
That growth is not just about official products. It reflects a wider collector culture where personal expression matters — collectors increasingly want figures that feel unique to them, painted to match their favourite scene from the anime, or produced to a higher visual standard than the factory finish provides.
Custom anime figure work fits exactly into that demand. It is a way to take a mass-produced piece and turn it into something that feels personal, deliberate, and characterful.
Tools and Materials You Actually Need
You do not need a professional studio to start producing strong custom anime figures. You need the right essentials.
|
Tool |
Essentials |
Upgrades |
Purpose |
|---|---|---|---|
| Cutting | Hobby knife, side cutters | Photo-etch saw, pin vise drill | Removing parts, cleaning seam lines, modifications |
| Sanding | Sandpaper (400, 800, 1200 grit), sanding sticks | Micro-mesh pads | Smoothing surfaces before primer |
| Priming | Aerosol primer (Vallejo, Tamiya, Mr. Surfacer) | Airbrush primer (Stynylrez) | Creating a paint-ready surface |
| Painting | Acrylic paints (Vallejo, Citadel), round brushes (sizes 0, 00, 1, 2) | Airbrush, lacquer paints | Applying base coats, shadows, highlights, details |
| Sealing | Aerosol matte or gloss varnish | Airbrush-ready varnishes | Protecting the finished paint |
| Safety | Respirator, nitrile gloves, ventilation | Spray booth | Protecting health from fumes and chemicals |
Practical recommendations:
- Acrylic paints from Vallejo Model Color or Citadel are the best starting point for beginners. They are water-based, low-odour, easy to clean, and forgiving while you learn.
- A high-quality size 0 round brush will be your most important tool. It handles eyes, fine details, and edge highlights — all the work that defines a finished figure.
- A wet palette dramatically improves paint consistency and makes thinning easier across longer sessions.
- A respirator with organic vapour cartridges is non-negotiable when using aerosol primers or varnishes.
What to avoid:
- Cheap craft store paints not designed for figure work
- Soft brushes for fine detail; sable or sable-blend brushes give significantly better results
- Working in unventilated spaces with aerosol products
How to Prepare a Figure Properly
Preparation is the stage that determines whether your custom anime figure will hold up or fall apart later. Most beginner figure repaints fail at this stage, not at the painting stage.
Step 1: Disassemble the Figure
Most prize figures and many collector figures separate into parts that are held together with pegs and small amounts of glue.
A gentle wiggling motion usually separates arms, heads, and accessories. For stubborn joints, dipping the part briefly in hot water (not boiling) softens the plastic and makes disassembly easier.
Step 2: Wash Every Part
Every PVC figure leaves the factory with a thin layer of mould release agent on the surface.
If you do not wash this off, primer and paint will not bond properly. The figure will look fine for a few weeks, then start chipping at every contact point.
- Use warm water and a few drops of dish soap
- Scrub gently with a soft toothbrush, paying attention to recessed details
- Rinse thoroughly with cool water
- Air dry for at least 24 hours before priming
This is the single most skipped step in beginner figure customisation, and it is responsible for the majority of paint adhesion failures.
Step 3: Remove Seam Lines
Seam lines are the small raised lines where the two halves of the factory mould met. Leaving them visible immediately marks the figure as unrefined work.
- Start with 400-grit sandpaper to knock down the raised line
- Move to 800-grit to refine the surface
- Finish with 1200-grit to smooth back to a flawless finish
Wrap sandpaper around a craft stick for flat surfaces. Use a flexible sanding sponge for curves to avoid creating flat spots on rounded shapes.
Step 4: Fill Gaps and Imperfections
Some figures have small gaps, sink marks, or imperfections that sanding alone will not fix.
- Tamiya Basic Putty for tiny pinholes and minor scratches
- Milliput or two-part epoxy putty for larger gaps that need structural strength
Apply small amounts, smooth with a sculpting tool or wet fingertip, and let the putty cure fully before sanding flush.
Step 5: Prime the Figure
Priming creates a uniform surface for paint to bond to and reveals any prep work that needs more attention.
A light, even coat applied from 6-8 inches away in a well-ventilated area is the right approach. Two thin coats produce significantly better results than one heavy coat.

The Core Painting and Detailing Process
Once the figure is prepped and primed, the actual painting process follows a specific sequence. Each stage builds on the one before it, and skipping or rushing any stage compounds problems further down the line.
1. Base Coating
The base coat establishes the foundational colour for every area of the figure.
The key to clean base coats is paint thinning. Acrylics straight from the bottle are too thick — thin them on the palette to roughly the consistency of skimmed milk, and apply in two or three thin coats rather than one heavy one.
2. Washing and Shading
A wash is highly thinned dark paint that flows into recesses and creates depth. It is one of the highest-impact techniques in figure painting.
The wash settles into muscle valleys, fabric folds, and armour edges, giving the figure a sense of three-dimensional structure that flat base coats cannot produce.
3. Layering
Layering is the technique of bringing the original base colour back to raised surfaces after washing, while leaving the wash visible in recesses.
This stage creates the clean separation between mid-tone and shadow that defines a structured custom anime figure.
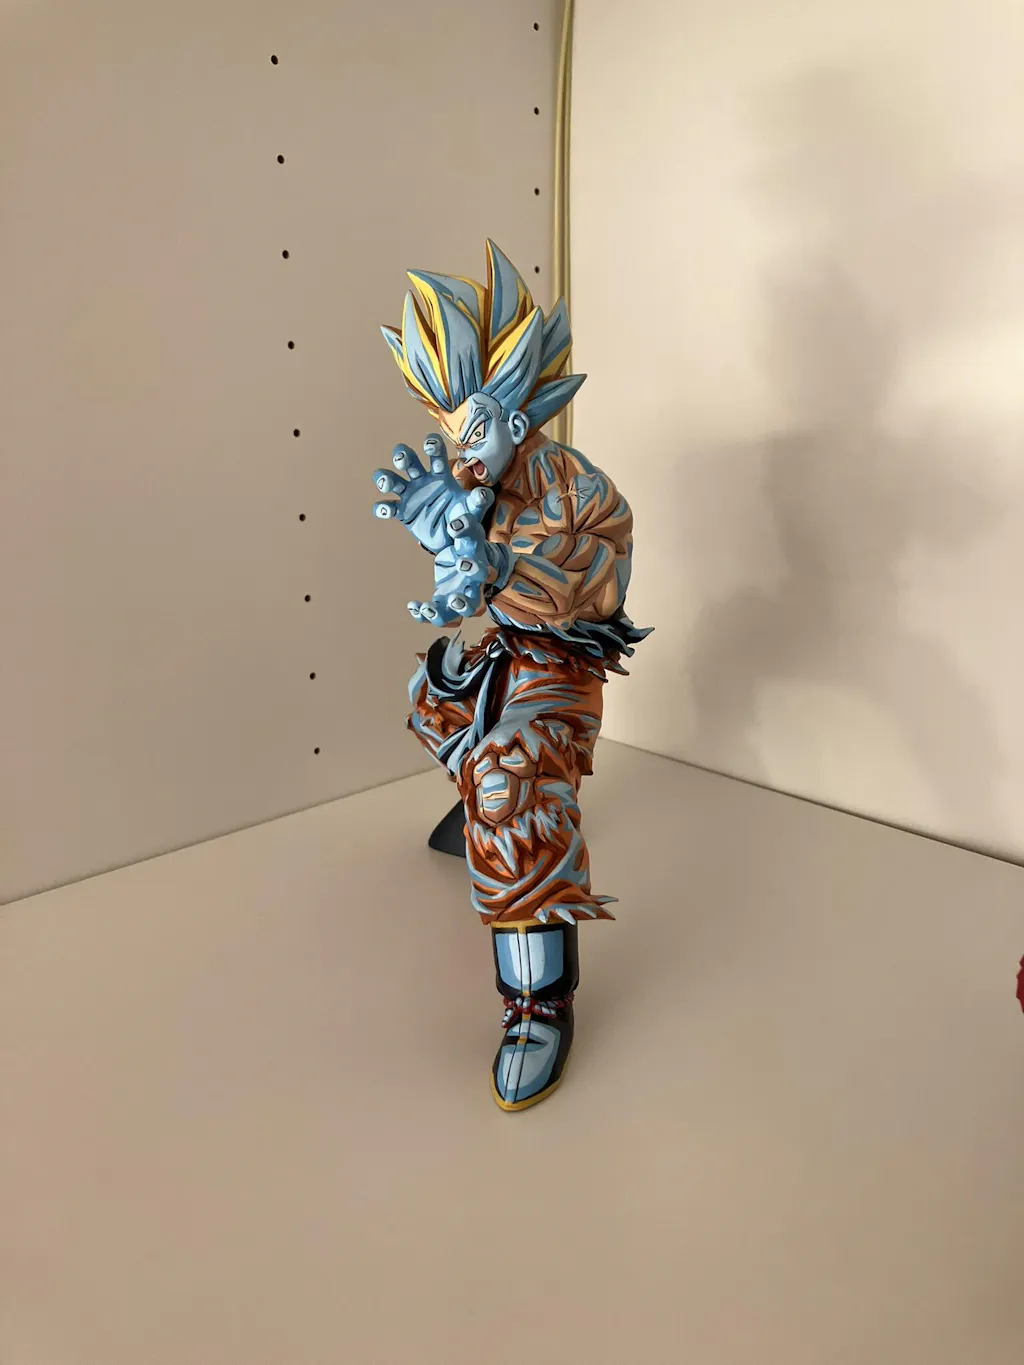
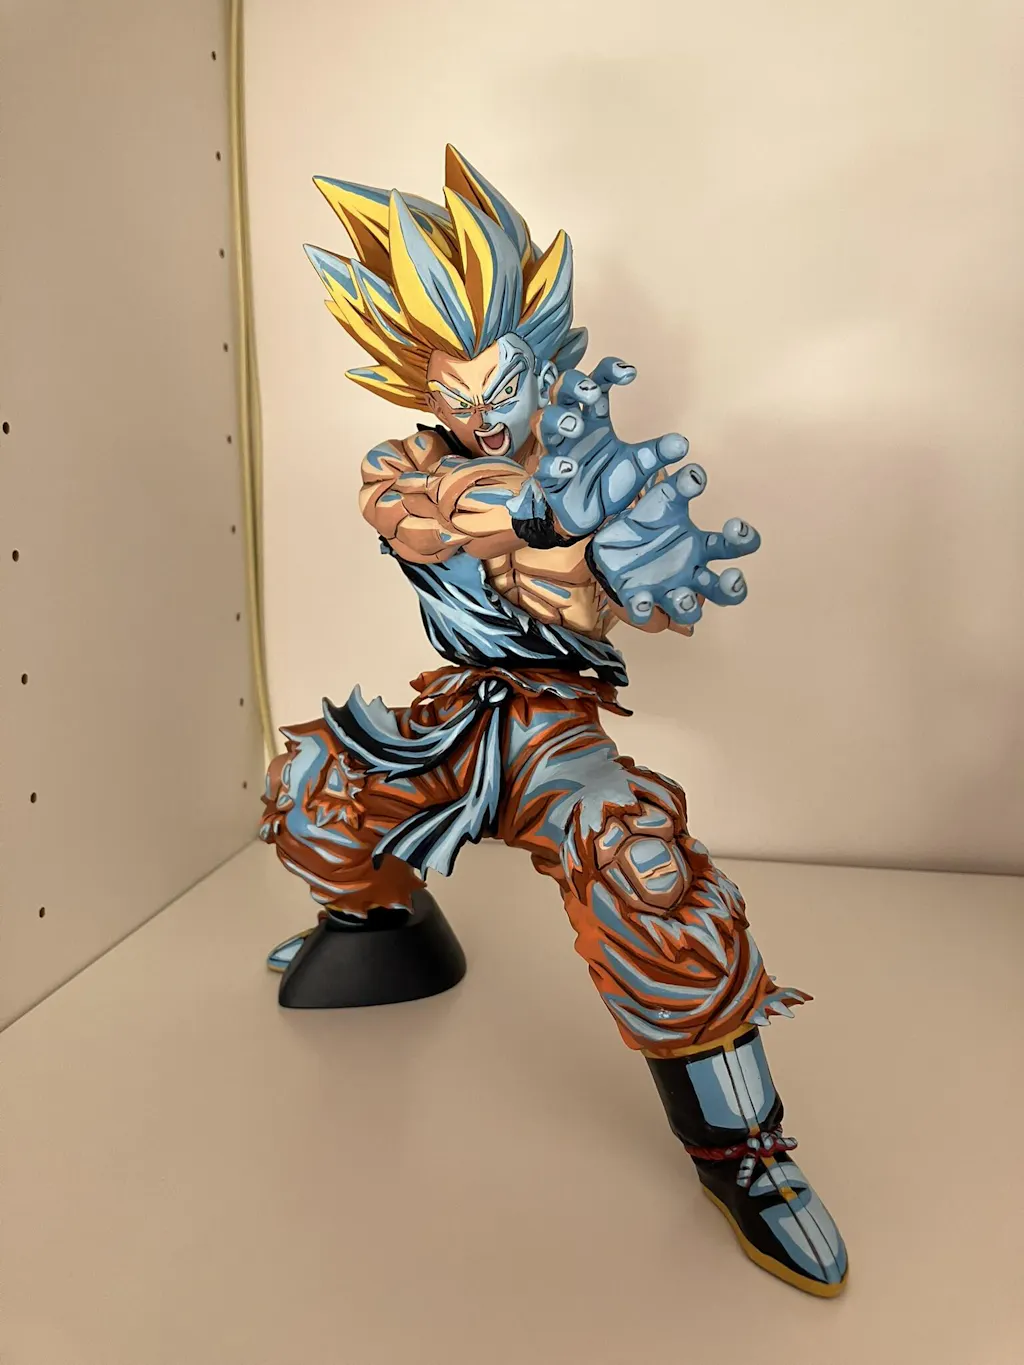
4. Cel-Shading
Cel-shading is the technique that gives custom anime figures their illustrated, animated quality.
Sharp, deliberate shadow shapes are painted with a brush rather than blended softly. This is what makes the figure look like a 2D anime drawing translated into three dimensions.
5. Edge Highlighting
Edge highlighting applies a lighter version of the base colour to the sharpest edges and corners of the figure.
It is the technique that finishes the figure visually — adding the punch and definition that separates collector-level work from factory finishes.
6. Face and Eye Detailing
The face is what collectors look at first and judge most quickly. Strong face work saves a figure with weak detailing elsewhere; weak face work ruins a figure regardless of how well the body is painted.
Face detailing covers the eye sclera, iris, pupil, eye outline, specular highlight, eyebrows, mouth, and subtle skin highlights.

Sealing and Protecting the Finished Figure
The final stage of any custom anime figure project is sealing the work. Without sealing, the paint is vulnerable to chipping, fading, and damage from handling.
Choose the Right Finish
- Matte — flat, realistic finish suited to skin, clothing, and most non-metallic surfaces. The default for most anime figure customs
- Gloss — shiny, reflective finish suited to eyes, lips, gemstones, and wet effects
- Satin (semi-gloss) — subtle sheen suited to leather, certain fabrics, and armour that needs life without looking plastic
Many strong customs use a matte varnish across the whole figure, then add gloss specifically to the eyes for that wet, alive look.
Apply the Top Coat Correctly
For aerosol varnish:
- Warm the can in a bowl of warm water for ten minutes to improve atomisation
- Shake the can for a full two minutes — under-shaking causes cloudy or frosted finishes
- Spray in light, sweeping coats from 8-10 inches away
- Two or three thin coats produce better results than one heavy coat
Always work in low humidity. High humidity traps moisture under the varnish and produces a hazy, frosted finish that is very difficult to recover from.
Add Decals Before the Final Seal
If you are using waterslide decals for clothing patterns, character symbols, or fine detail, apply them before the final top coat.
Use a decal-softening solution to help them conform to curved surfaces, then seal them in place with the varnish so they look painted on rather than applied.
Where to Learn the Full Process Properly
Custom anime figure work involves a specific sequence of techniques applied in the right order. YouTube tutorials and forum posts can give you fragments, but they rarely produce the kind of structured progression that beginners need.
If you want a complete, structured walkthrough of the full custom process — from setup through to final reveal:
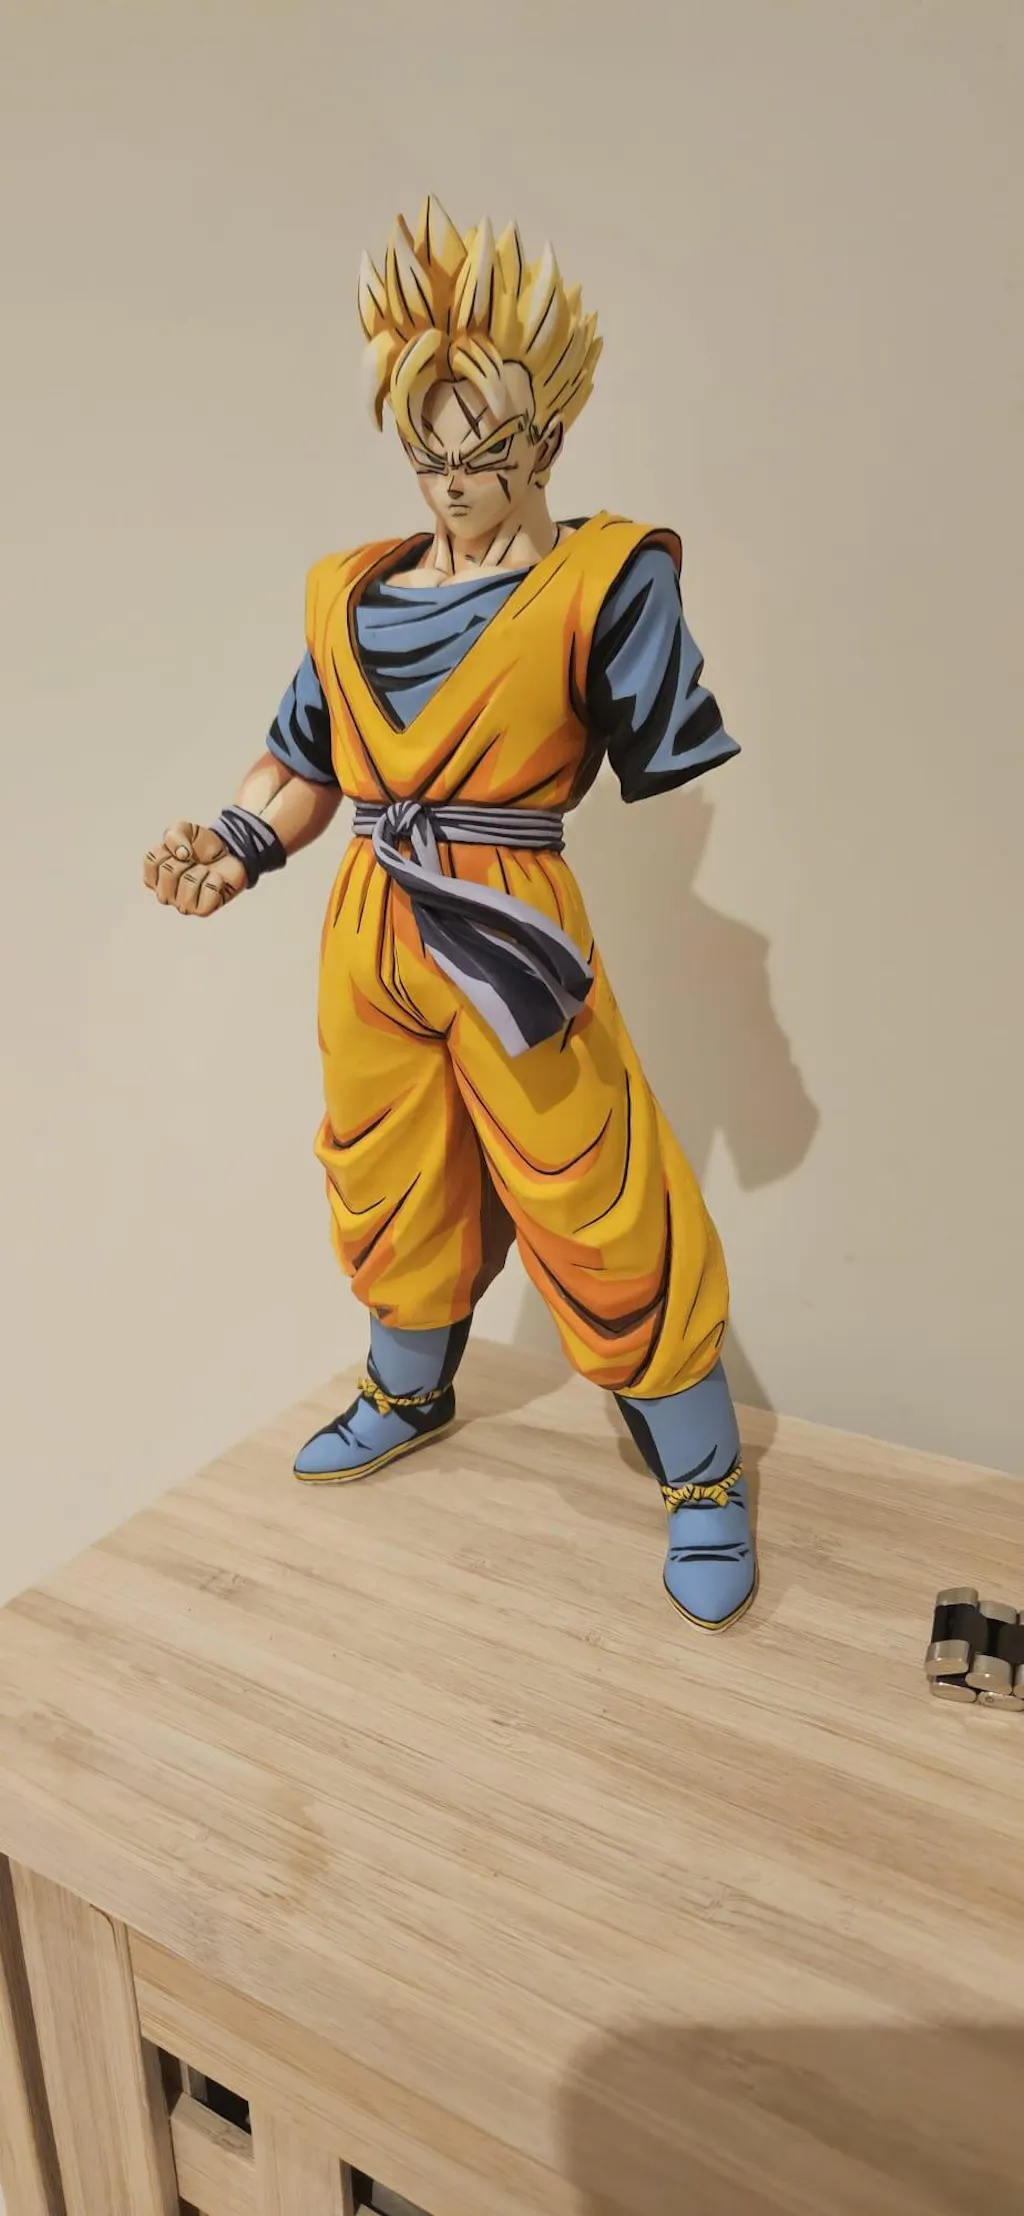
👉 2D Figure Painting Course - full Vegeta repaint across 12 focused chapters
It covers every technique mentioned in this guide, applied to a real Dragon Ball figure, with the exact tools and process used by the studio that produces collector-grade custom figures sold internationally.
For collectors who want to skip the learning curve entirely, our Dragon Ball custom figures collection features completed pieces produced using the same techniques.
Frequently Asked Questions
Is custom anime figure work suitable for complete beginners?
Yes. The full process is learnable, and the basic techniques produce strong visible improvement on the first or second attempt. The main requirement is patience with the preparation and priming stages, where most beginner failures actually occur.
What is the best paint for a beginner to use?
Water-based acrylics from Vallejo Model Color or Citadel are the strongest starting point. They are low-odour, water-clean-up, forgiving when you make mistakes, and work well across every stage from base coats to fine detail.
Lacquer paints give a tougher finish but require harsh thinners and serious ventilation, making them an advanced choice rather than a beginner one.
How do I fix a mistake after the paint has dried?
For acrylics, small mistakes can often be lifted by gently rubbing with a cotton swab dampened with 90 percent or higher isopropyl alcohol.
For larger mistakes, lightly sand the affected area with 1200 to 1500-grit sandpaper, reapply primer if needed, and repaint to blend in. Always test alcohol or solvents on a hidden area first to confirm they will not damage the plastic.
Do I need an airbrush to customise figures?
No. Strong custom anime figures can be produced entirely by hand-brushing, and most beginners produce better results focusing on hand-brush skills before adding airbrush equipment.
An airbrush helps with smooth base coats and soft gradients, but it is not required to produce collector-quality results.
How do I prevent paint from rubbing off joints?
Sand or file the joint contact points slightly before painting to reduce friction. After painting, apply several thin coats of varnish (gloss or semi-gloss is more durable than matte) and allow the varnish to fully cure for 48-72 hours before reassembling.
Forcing joints together while varnish is still soft is the most common cause of joint paint chipping.
Can I customise any anime figure?
Almost any anime figure can be customised, but some are easier to work with than others.
Mid-size figures (25cm and above) with clear sculpted detail and minimal joint complexity are the easiest starting point. Tiny figures and figures with extensive movable joints are significantly more demanding.
How long does a full custom anime figure take?
For a beginner working on a mid-size figure with all the techniques covered in this guide, a full custom typically takes 15-25 hours across multiple sessions.
This includes preparation, priming, base coating, washing, layering, cel-shading, edge highlighting, face work, and sealing. Experienced painters work faster, but the time investment is part of what makes custom anime figures rewarding.
Conclusion: Custom Anime Figures
Custom anime figure work is one of the most rewarding hobbies in the wider collector space. It transforms mass-produced figures into pieces that feel personal, deliberate, and characterful. It teaches a real, transferable skill set that applies across every figure in your collection.
And the gap between a stock figure and a strong custom is large enough that even early attempts produce visible improvement.
The process itself is not complicated. Preparation, priming, base coating, washing, layering, cel-shading, edge highlighting, face work, sealing — each stage builds on the one before it, and getting each stage right is more about patience and discipline than natural talent.

Share:
How to Thin Acrylic Paint for Airbrushing: Pro Tips & Tricks
Your Ultimate Guide to an Anime Figures Display