If you have ever bought a figure to repaint and watched the paint chip off two weeks later, the problem was almost certainly the material. Or, more accurately, your approach to that material.
A figure made from soft vinyl needs different primer than a figure made from rigid resin. A PVC figure with movable joints needs different paint than a polystone statue. Treat them all the same and the work fails.
This article covers what paintable action figures are actually made of, how each material behaves, what it means for the painter, and what it means for the collector. By the end, you will know how to identify a figure's material, what to expect from it, and how to make smart sourcing decisions before any paint goes near it.
Table of Contents:
- What counts as a paintable action figure?
- The six core materials you will encounter
- PVC: the most common figure material
- ABS: the harder cousin of PVC
- Resin: the detail material
- Vinyl: the designer toy material
- Polystone: the heavy display material
- Sofubi (soft vinyl): the Japanese specialty material
- How to identify a figure's material
- Sourcing paintable action figures
- Frequently asked questions
What Counts as a Paintable Action Figure?
ANSWER: A paintable action figure is any figure that can be primed, painted, and sealed to produce a customised result. In practice, this covers nearly every figure on the market — but some materials and formats are significantly easier to work with than others.
The two main categories of paintable figures:
- Pre-painted figures sold for repainting — factory figures that collectors buy specifically to strip, prime, and recolour. The most common starting point for figure repainters
- Blank figures sold unpainted — typically resin garage kits or unpainted vinyl, sold as raw material for full custom builds
For most collectors, the first category is the realistic starting point. Stripping and repainting a factory PVC figure is more accessible than building a resin kit from scratch.
The material the figure is made from matters more than which category it falls into. The same PVC figure sold pre-painted or sold blank still behaves the same way under primer.
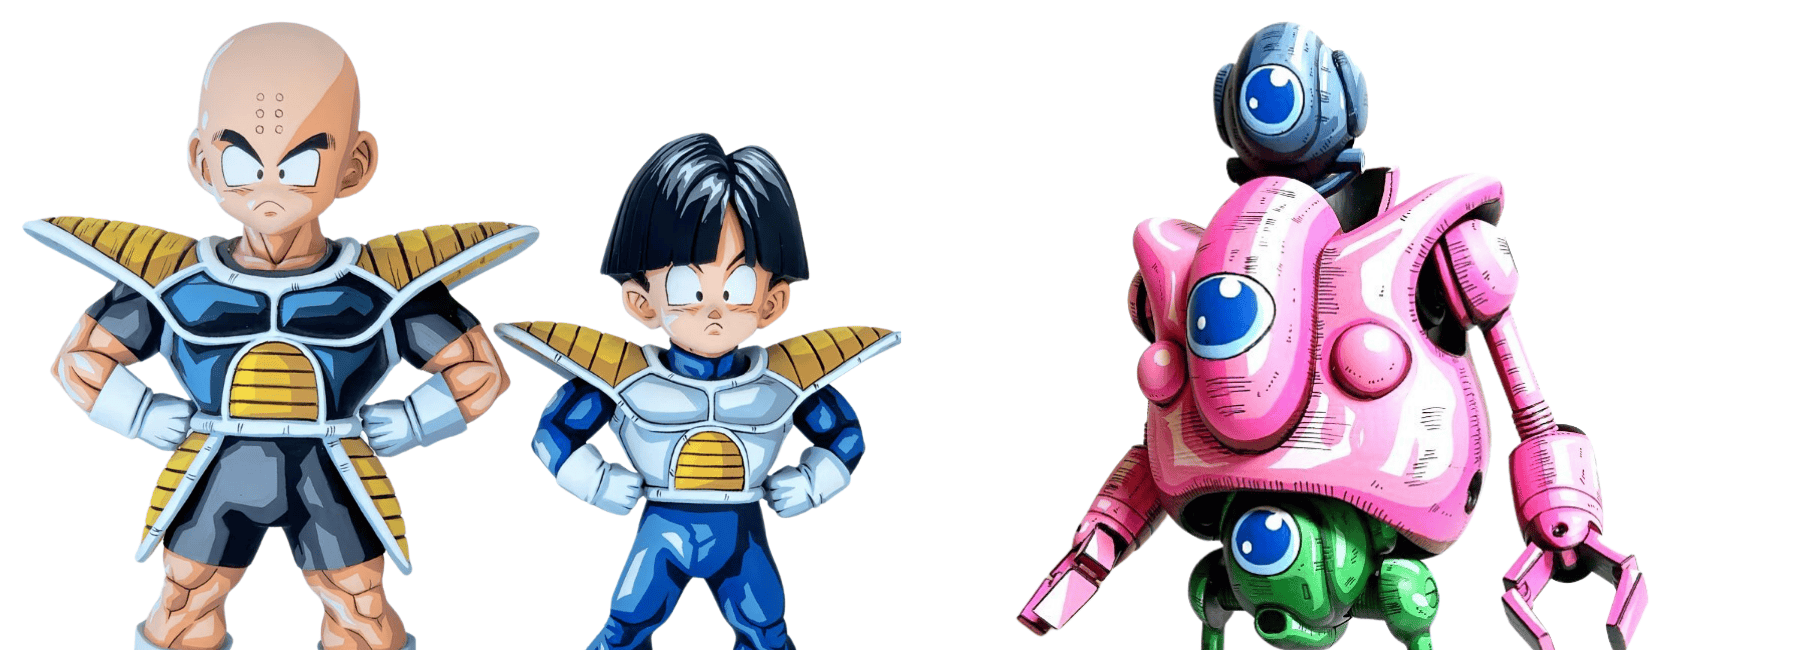
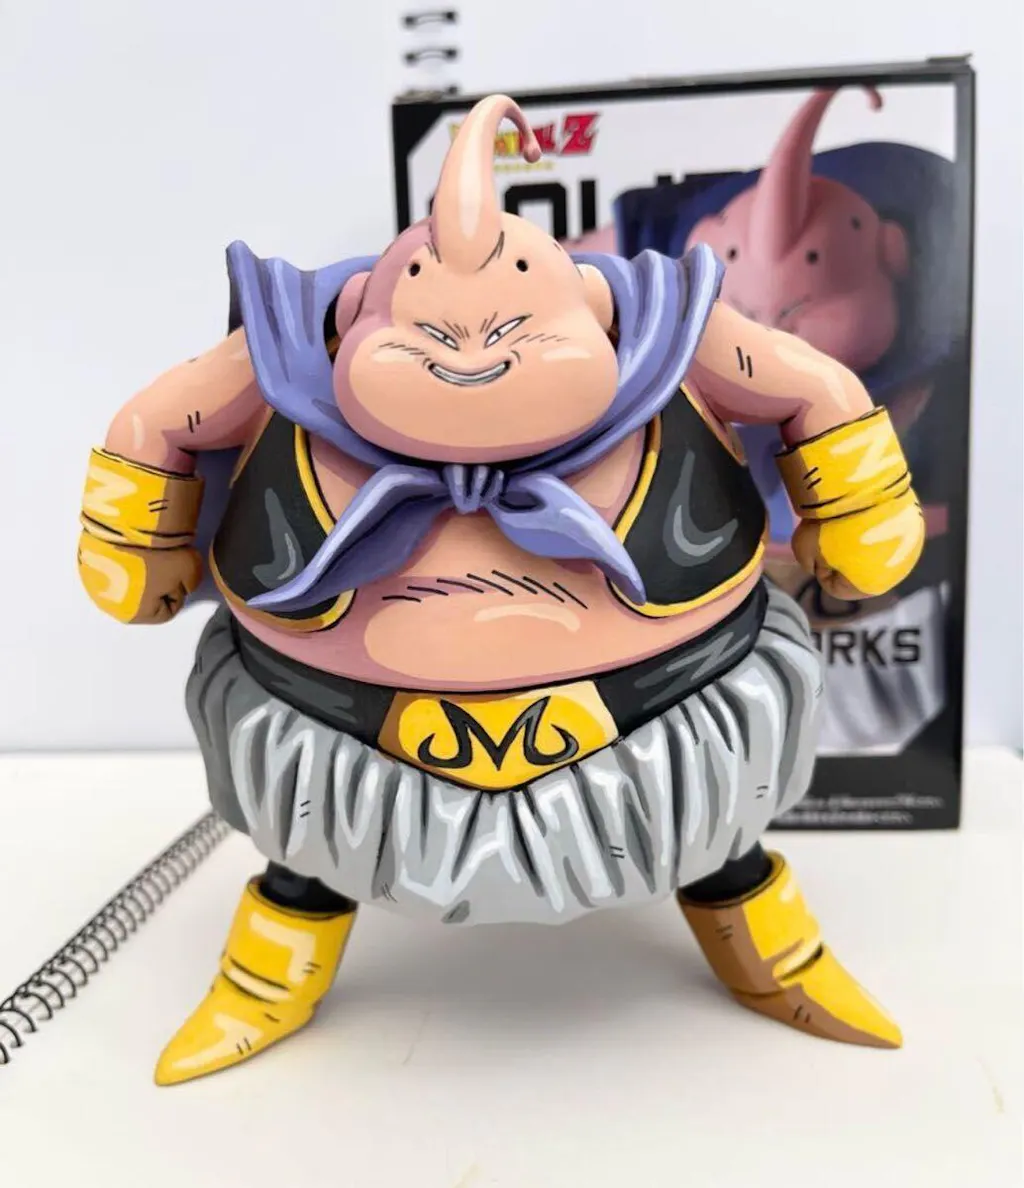
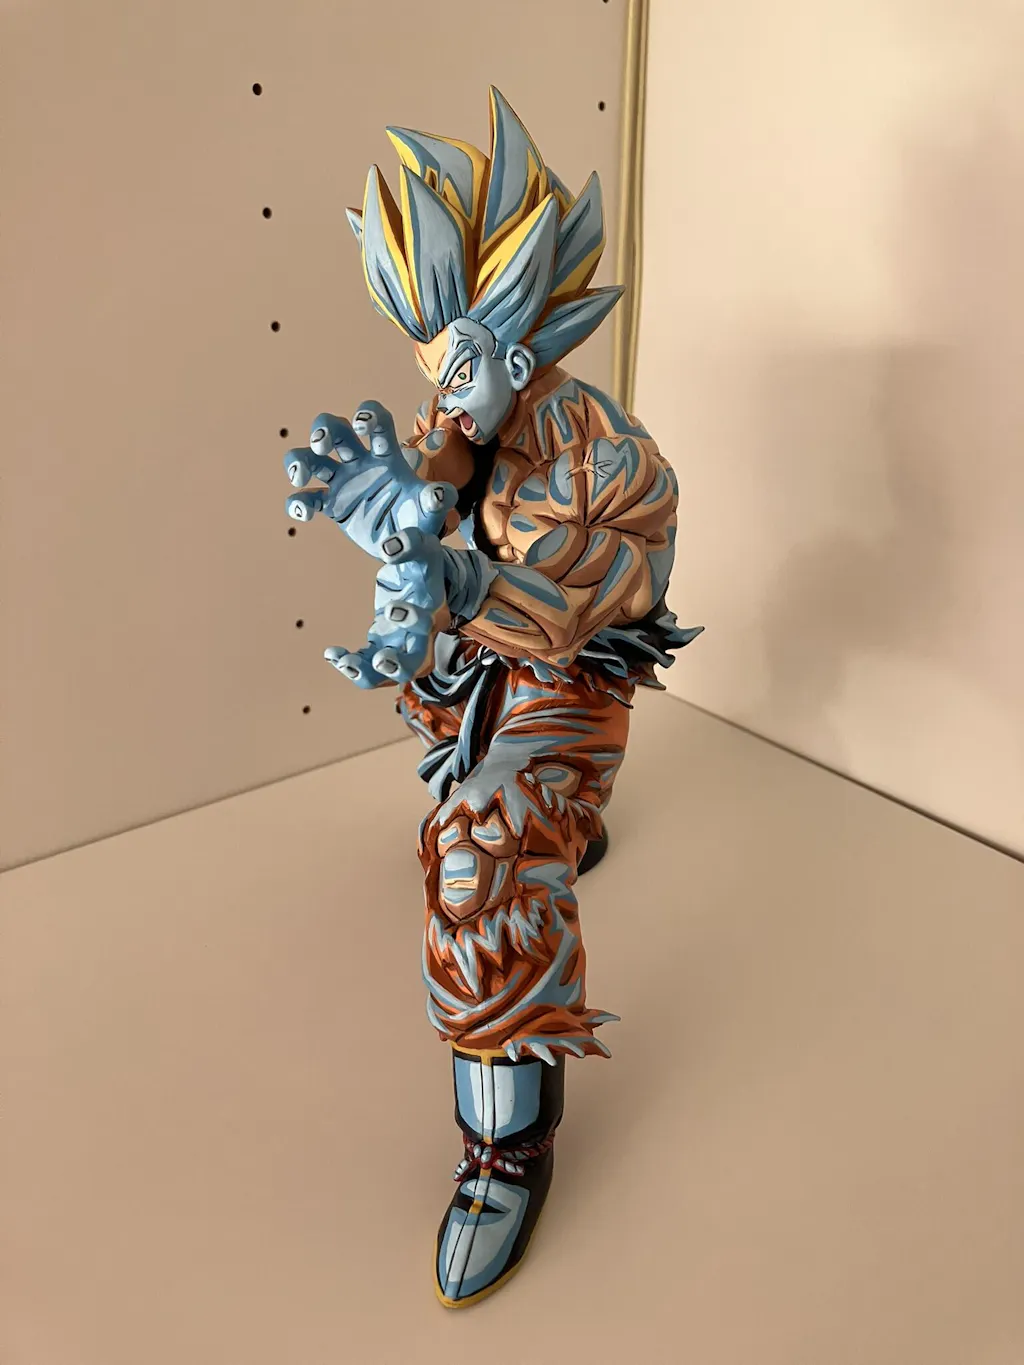
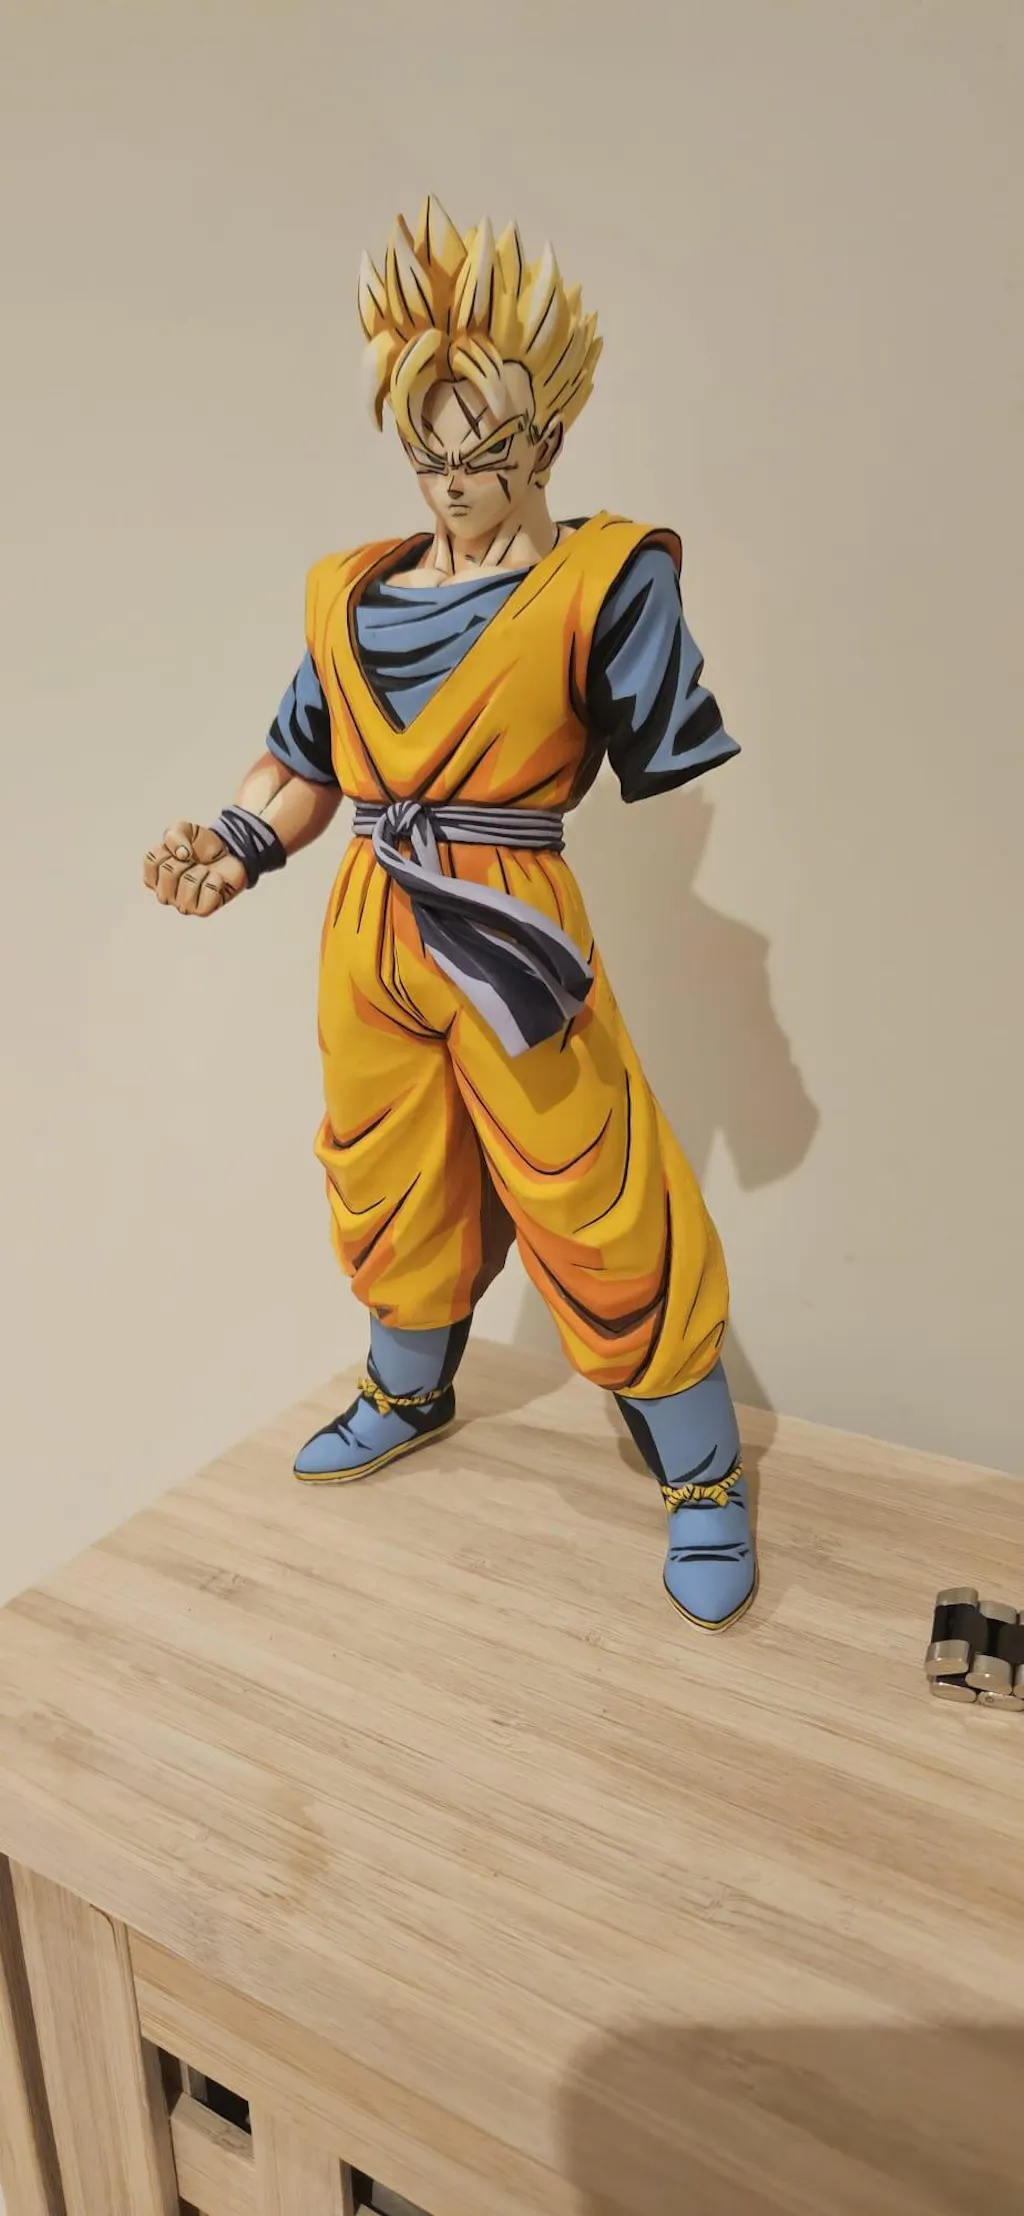
For Dragon Ball specifically, our own Dragon Ball figures collection features completed pieces produced from PVC bases.
The Six Core Materials You Will Encounter
| Material | Typical Use | Hardness | Level | Paint Adhesion | Best For |
|---|---|---|---|---|---|
| PVC | Mass-market figures, prize figures | Slightly flexible | Good | Strong with proper prep | Beginners, anime figures, repaints |
| ABS | Joint parts, hard accessories | Rigid | Very good | Strong | Modular figures, mecha, Gunpla |
| Resin | Garage kits, high-end statues | Rigid, brittle | Excellent | Excellent | Detailed work, advanced painters |
| Vinyl | Designer toys, art figures | Flexible | Moderate | Requires specific primer | Custom toy art, soft poses |
| Polystone | Premium statues, large display pieces | Very rigid, heavy | Excellent | Excellent | Display pieces, no posing |
| Sofubi | Japanese soft vinyl figures | Very flexible | Moderate | Requires flexible paint | Collectible art toys |
These six cover the vast majority of paintable action figures on the market. Each one demands a slightly different approach, and confusing them is the most common reason beginner repaints fail.
1. PVC: The Most Common Figure Material

PVC (polyvinyl chloride) is the dominant material for mass-market figures. Most Banpresto Dragon Ball releases, most prize figures, most sub anime figures — almost all PVC.
What it looks and feels like:
- Slight flex when pressed, particularly in thin areas like fingers and hair tips
- Mid-weight rather than heavy
- Smooth surface, often with visible seam lines from the moulding process
How it behaves under primer:
- Requires a thorough wash before priming to remove mould release agent
- Bonds well with quality acrylic primers (Vallejo, Citadel, Tamiya)
- Cheap aerosol primers can fail to bond properly — invest in a hobby-grade primer
How it behaves under paint:
- Acrylics adhere well once primed
- Paint stays workable across multiple coats
- Joints and high-friction areas need either flexible paint medium or sanding before painting to reduce friction
What it means for the painter:
PVC is the most beginner-friendly material in figure painting. Forgiving, predictable, and well-documented. Most of the painting techniques covered in our eight-article technique cluster are written with PVC figures as the default.
What it means for the collector:
PVC figures are typically the most affordable starting point for repainting projects. Figures in the £15-£40 range are usually PVC, which makes them ideal practice and portfolio pieces.
2. ABS: The Harder Cousin of PVC

ABS (acrylonitrile butadiene styrene) is a more rigid plastic often used alongside PVC in the same figure. Joint connectors, hard accessories like swords and shields, and modular parts are commonly ABS even when the rest of the figure is PVC.
What it looks and feels like:
- Hard, rigid, no flex
- Often slightly glossier than PVC
- Sharper sculpted detail than PVC
How it behaves under primer:
- Bonds well with the same primers used for PVC
- Slightly more forgiving on adhesion than PVC because the surface is smoother and harder
How it behaves under paint:
- Excellent paint hold
- Works well with all standard acrylic techniques
- Joints made from ABS can chip if forced together too quickly after sealing — full curing time is essential
What it means for the painter:
If you are painting a Gunpla model, a mecha figure, or any figure with significant modular components, you are almost certainly working with ABS. Approach it like PVC but expect even better paint hold and sharper edges.
What it means for the collector:
ABS figures hold their paint long-term better than PVC and are particularly good for figures that will be displayed rather than handled. Most serious mecha and modular figure releases are ABS.
3. Resin: The Detail Material

Resin is the material of choice for high-end figures and collector statues. Garage kits, custom-cast figures, and most premium display pieces are resin.
What it looks and feels like:
- Rigid, hard, and slightly heavier than PVC for the same size
- Excellent fine detail capture — small textures, hair strands, fabric folds all reproduce sharper than in PVC
- Brittle if dropped
How it behaves under primer:
- Needs thorough cleaning before priming — resin retains mould release agents more aggressively than PVC
- Bonds with all standard hobby primers
- Surface needs to be checked carefully for tiny pinholes that should be filled before priming
How it behaves under paint:
- The smoothest, most consistent paint surface of any common figure material
- Detail work — particularly fine line work and face detail — comes out cleaner on resin than on PVC
- Holds varnish well and stays stable over time
What it means for the painter:
Resin is the material that rewards strong technique. The detail it captures shows your work clearly — both your good work and your weak work. It is not a beginner material, but it is the right next step once your fundamentals are solid.
What it means for the collector:
Resin figures are typically more expensive (£100+) and are sold for serious collectors and customisers. Garage kits in particular require assembly, pinning, and full painting, making them a significant project rather than a quick repaint.
4. Vinyl: The Designer Toy Material

Vinyl is the material behind the designer toy world — Funko Pop figures, KAWS-style art toys, blind-box collectibles, and many limited-edition art figures.
What it looks and feels like:
- Smooth, slightly soft surface with light flex
- Less detailed sculpting than PVC or resin (vinyl moulding works best with simpler shapes)
- Even, consistent surface texture
How it behaves under primer:
- Requires a vinyl-compatible primer specifically — generic plastic primers often peel
- Some painters use specialised flexible primers like Stynylrez or Vallejo Mecha Primer for stronger adhesion
- Surface preparation matters more than for PVC because vinyl is smoother and gives paint less to grip onto
How it behaves under paint:
- Acrylics bond well once properly primed
- The flex of the material can crack rigid paint over time — flexible mediums help significantly
- Sealing with flexible varnish improves long-term durability
What it means for the painter:
Vinyl is its own world. Designer toy customisers have built specific techniques around the material. If you are painting a Funko Pop or a custom vinyl art toy, the standard miniature painting workflow needs to adapt — primer choice and paint flex become more important than usual.
What it means for the collector:
Vinyl customs are popular in the designer toy and street art worlds. Vinyl figures are typically affordable as blanks (Munny figures from Kidrobot, blank Funko Pops, custom dunny platforms), making them accessible for experimental painting projects.
5. Polystone: The Heavy Display Material

Polystone is a composite material — essentially polyester resin mixed with stone powder. Used almost exclusively for premium display statues from companies like Sideshow Collectibles, Prime 1, and high-end Dragon Ball statue releases.
What it looks and feels like:
- Very heavy and dense
- Rigid, hard, and stone-like
- Excellent detail capture, similar to resin
- Often comes with significant base sculpting
How it behaves under primer:
- Bonds extremely well with all standard primers
- Surface is smooth and predictable
- Mould release residue is rare on polystone compared to PVC
How it behaves under paint:
- Excellent paint hold
- Stable over decades — polystone statues painted properly stay good for the long term
- Works well with all standard acrylic techniques
What it means for the painter:
Polystone is rare for repainters because the figures are expensive and often already painted to a high standard. When polystone repainting does happen, it is usually for restoration of damaged statues or custom commissions on specific premium pieces.
What it means for the collector:
Polystone figures sit at the premium end of the market — often £200-£1000+. Collectors who repaint polystone are typically working on bespoke commissions or specific personal pieces rather than learning material.
6. Sofubi (Soft Vinyl): The Japanese Specialty Material

Sofubi is short for "soft vinyl" — a Japanese figure tradition with its own cultural and technical identity. Kaiju figures, retro-style monster figures, and many Japanese designer toys are sofubi.
What it looks and feels like:
- Very flexible and soft, similar to a hollow rubber toy
- Often has a slightly grainy or matte surface texture
- Lightweight and forgiving if dropped
How it behaves under primer:
- Standard primers can crack on sofubi as it flexes
- Requires flexible primer formulations specifically designed for soft vinyl
- Paint flexibility matters more than primer adhesion in the long run
How it behaves under paint:
- Acrylics need flexible mediums mixed in to avoid cracking over time
- Sofubi customisers often work in thin paint layers to maintain flex
- Sealing requires flexible varnish
What it means for the painter:
Sofubi has its own dedicated customisation community. The techniques used for sofubi differ enough from standard figure painting that it is worth approaching them as a specialty rather than expecting your standard PVC workflow to transfer.
What it means for the collector:
Sofubi figures occupy a niche market with strong collector culture. Blank sofubi for custom painting is widely available through Japanese suppliers and specialist designer toy retailers.
How to Identify a Figure's Material?
Most figures do not list their material clearly on the box. Identifying material is part visual, part tactile.
Quick identification guide:
- Slight flex when squeezed, mid-weight, smooth surface — almost certainly PVC
- Rigid, hard, no flex, slightly glossy — likely ABS
- Heavy for its size, rigid, fine detail, brittle if hit — likely resin
- Smooth, slightly soft surface, light flex, simpler shapes — vinyl
- Very heavy, dense, stone-like, cold to touch — polystone
- Very flexible, hollow feel, slightly grainy surface — sofubi
When in doubt, the manufacturer's product listing usually specifies. Banpresto and other major Japanese figure makers list materials clearly. Independent garage kit makers always specify resin. Designer toy manufacturers list vinyl or sofubi explicitly.
If you cannot tell and the figure is not labelled, treat it as PVC and prepare accordingly — PVC's prep workflow works for most materials, even if it is not optimal for vinyl or sofubi.
Sourcing Paintable Action Figures
Where you source your figures affects the material you get and the quality of the base you are working with.
Mass-market PVC figures:
- Banpresto Dragon Ball releases, prize figures, retail anime figures
- Available through retailers like AmiAmi, Crunchyroll, Hobby Genki, and direct from importers
- Typical price range £15-£60
Resin garage kits:
- Specialist resin sculptors, often selling through Etsy, eBay, or dedicated kit websites
- Quality varies enormously by sculptor — research the seller's reputation before buying
- Typical price range £80-£400 depending on size and complexity
Vinyl blanks:
- Designer toy retailers (Kidrobot, Mighty Jaxx, Tenacious Toys, MyPlasticHeart)
- Blank Funko Pops available through specialist resellers
- Typical price range £15-£80 for blanks
Polystone statues:
- Premium retailers (Sideshow, Prime 1 Studio, XM Studios)
- Almost always sold pre-painted; repainting typically requires restoration or commission work
- Typical price range £250-£2000+
Sofubi:
- Japanese specialist retailers and direct sofubi makers
- Collector groups and Discord communities for limited-edition releases
- Typical price range £40-£200
👉 Learn to Repaint - Figure Painting Course
Frequently Asked Questions
What is the easiest material for beginners to paint?
PVC. It is forgiving, well-documented, affordable, and behaves predictably under standard primers and acrylics.
Can I paint a Funko Pop?
Yes, but Funkos are vinyl, which means standard plastic primer can fail to bond. Use a vinyl-compatible primer like Stynylrez or Vallejo Mecha Primer, and consider mixing flexible medium into your paint for areas that may flex over time.
Why does paint chip on my joint areas?
Two main reasons. First, joints are high-friction areas where paint rubs off when the joint moves. Second, paint is rigid by default, and joints flex. The fix is to either sand the joint contact points before painting (reducing friction) or to use flexible paint medium and a flexible varnish so the paint moves with the joint.
Is resin worth the price for a beginner?
Generally, no. Resin shows your technique clearly, including your weaknesses. Get your fundamentals solid on PVC first, then move to resin once your prep, base coats, washing, and detailing are consistent.
What primer should I use on each material?
PVC and ABS — any quality acrylic hobby primer (Vallejo Surface Primer, Citadel Chaos Black or Wraithbone, Tamiya Surface Primer). Resin — same primers work well, but ensure thorough cleaning first. Vinyl and sofubi — flexible primers specifically (Stynylrez, Vallejo Mecha Primer). Polystone — any standard hobby primer.
Can I strip the factory paint off a figure and start fresh?
Yes. The most common methods are isopropyl alcohol soaks (for acrylic factory paint on PVC), Simple Green or Super Clean soaks (longer immersion for stubborn factory finishes), and gentle scrubbing with a soft toothbrush. Avoid harsh solvents that may damage the underlying material.
Conclusion: Paintable Action Figures
Materials are the silent variable that shapes every figure repaint. A Vegeta repaint on a PVC base, an ABS Gundam kit, a resin garage kit Goku, a vinyl Funko, a polystone display statue, and a sofubi kaiju all require different choices at every stage from priming to sealing. Treating them as identical is the most common reason beginner repaints fail mysteriously.
Knowing what you are painting is the foundation of everything else. Once you can identify a material and adjust your approach accordingly, the techniques across our eight-article technique cluster — from zenithal priming and base coating through to face and eye detailing — apply cleanly and produce reliable results.

Share:
Your Ultimate Guide to an Anime Figures Display
Dragon Ball Z: Majin Buu vs Pure Evil Buu | Visuals & Strength